Installation is the reverse of removal

“Installation is the reverse of removal” is a familiar phrase to anyone who’s read a Haynes manual. It usually appears at the end of a set of long and complicated instructions about removing something oily and can be translated as: “putting it back on is just as hard and complicated as taking it off. Good luck!”

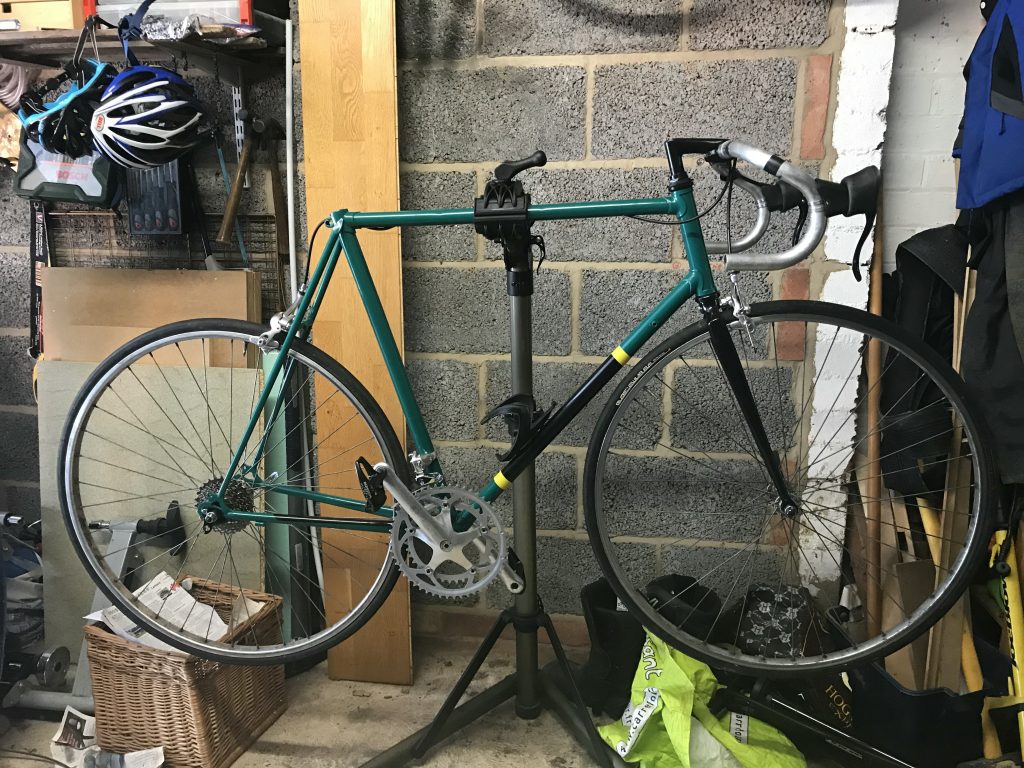
With the bike back, it’s now time to re-build. So far there haven’t been too many issues.

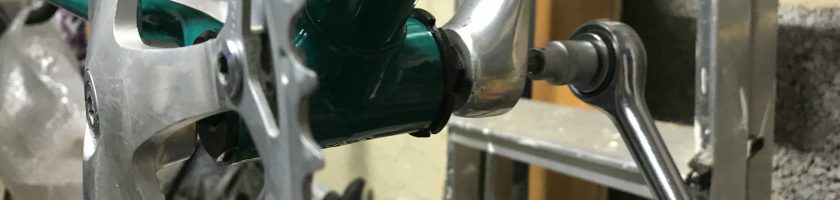
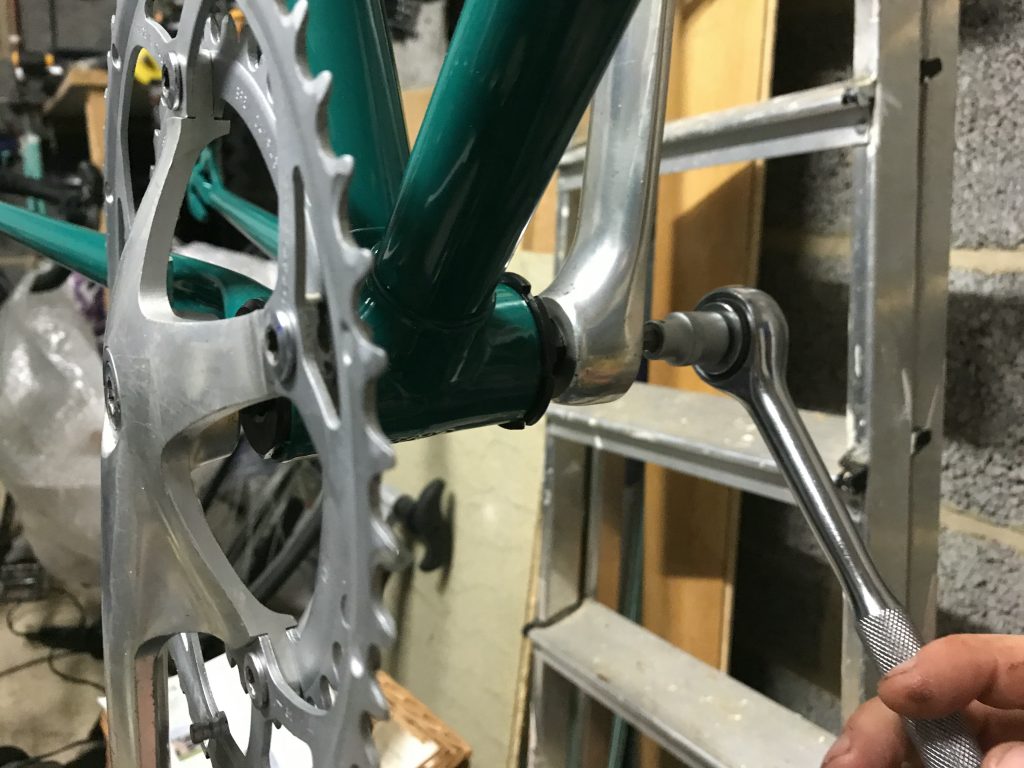
First up was the bottom bracket and cranks. These went on like a dream, the replacement BB cup and cone fitting perfectly after I’d cleaned up the shell threads. The axle went in, the cranks went on, followed by the pedals; it was pretty much perfect.
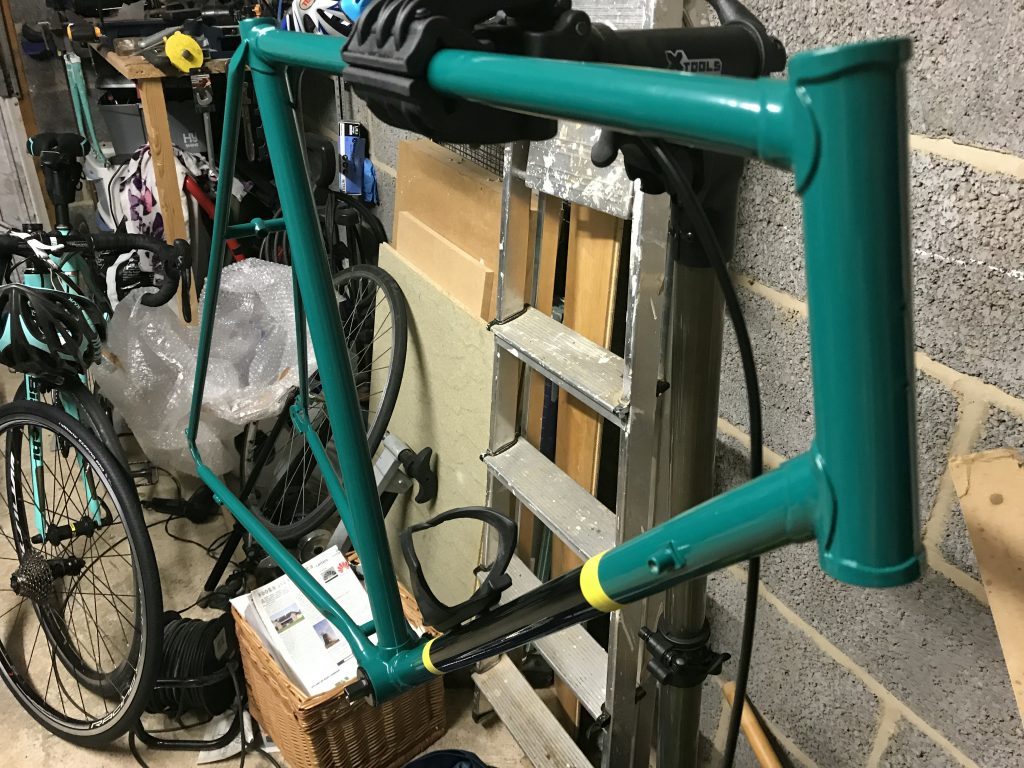
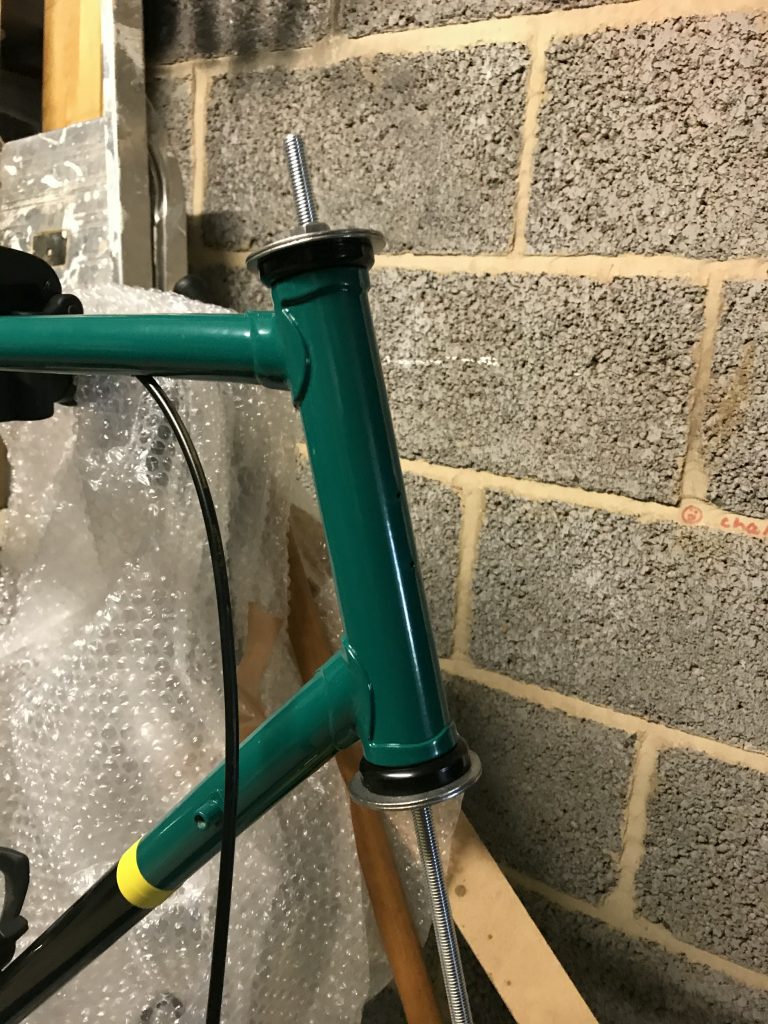
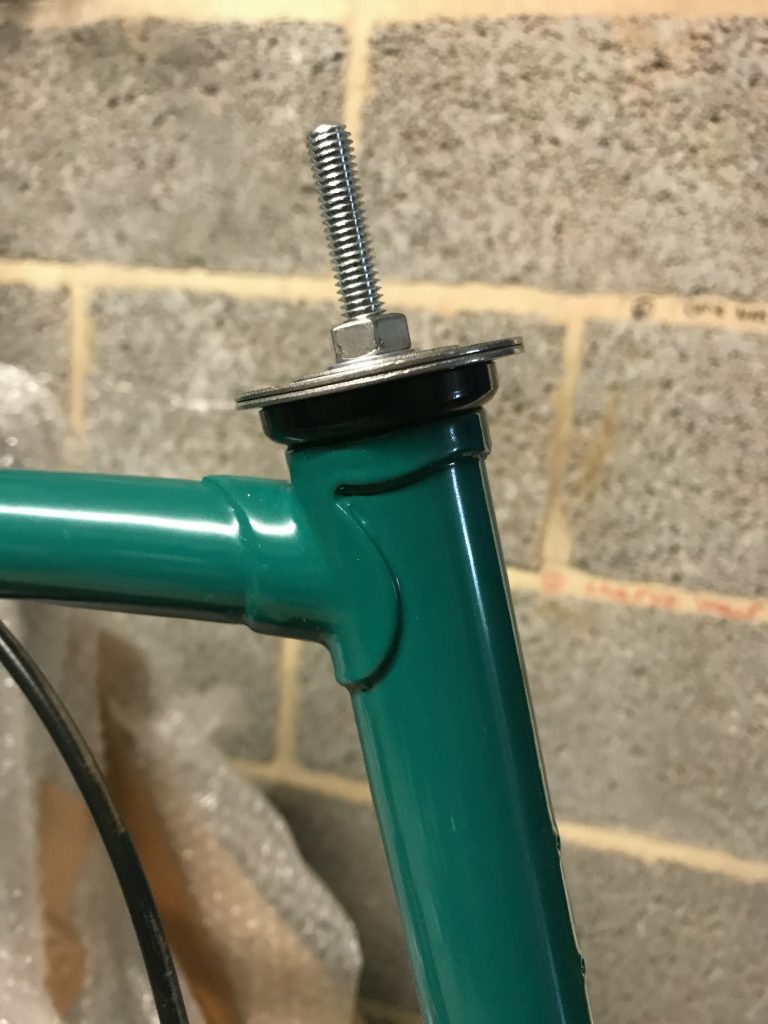
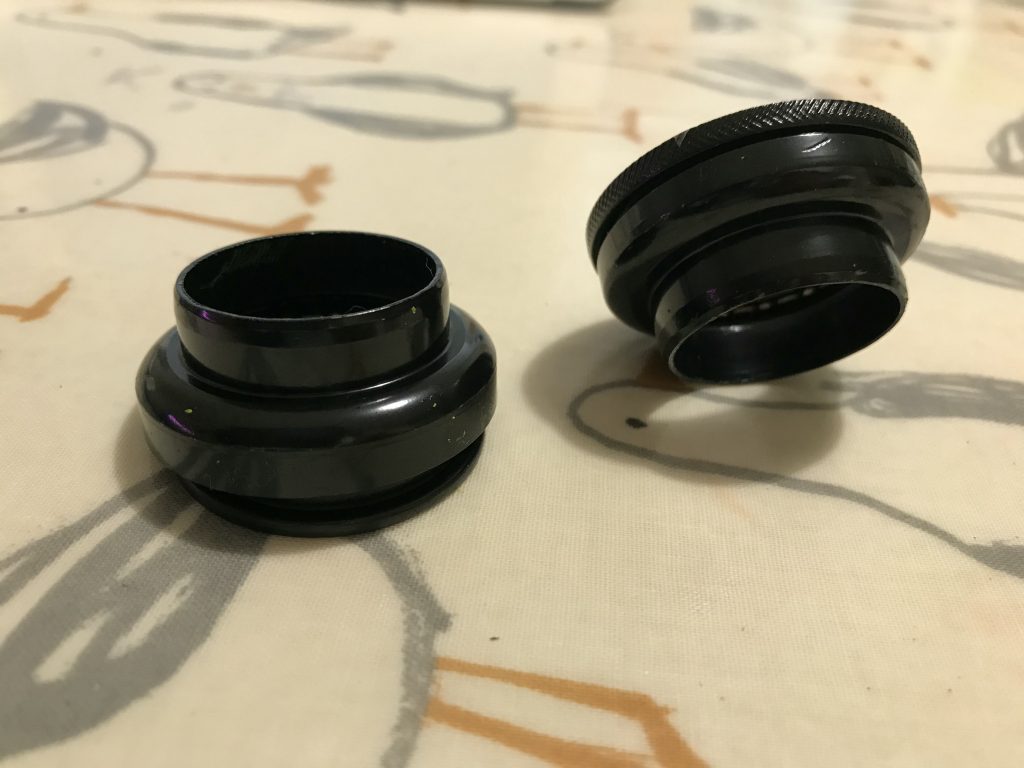
I then fitted the headset. The interface between the headset cup races and the frame is snug and this is rather important. Play here will lead to wear on the interface; the very thing the bearings are there to avoid! To fit the races, one typically uses a bearing press such as the Park Tools HHP-2, which retails for £140. Being a cheapskate, I made my own, using:

  • An M8 threaded rod (M8x1000 but M8x250 would do just fine)
  • Two M8 nuts
  • Four M8x50 penny washers
  • Two M8x25 penny washers

Thread the contraption through the head tube and tighten with trusty pair of spanners. I first tried with just the nuts and 50mm penny washers; the force exerted was enough to bend the washers! I suspect the new paint was thicker than the old, which won’t have helped. Using two of them, and spreading the load with a 25mm washer did the trick. Cups inserted!

If I was doing it again, I might be tempted by an M10 (or even M12) setup. M8 worked, but I did put a lot of force through those threads.

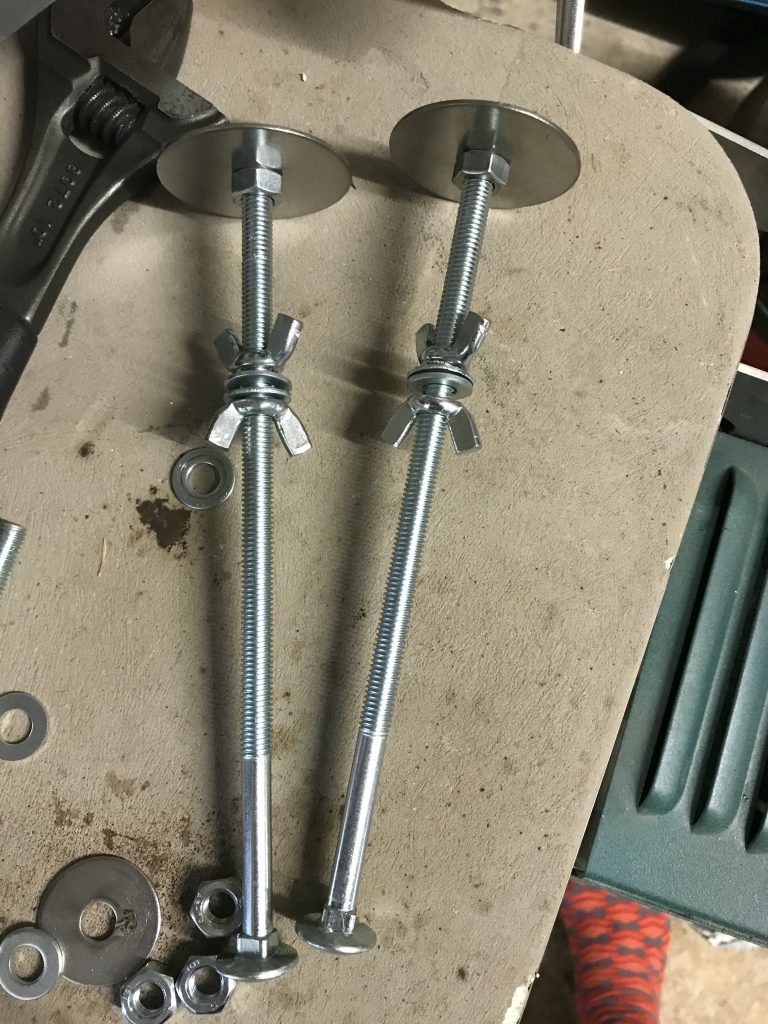
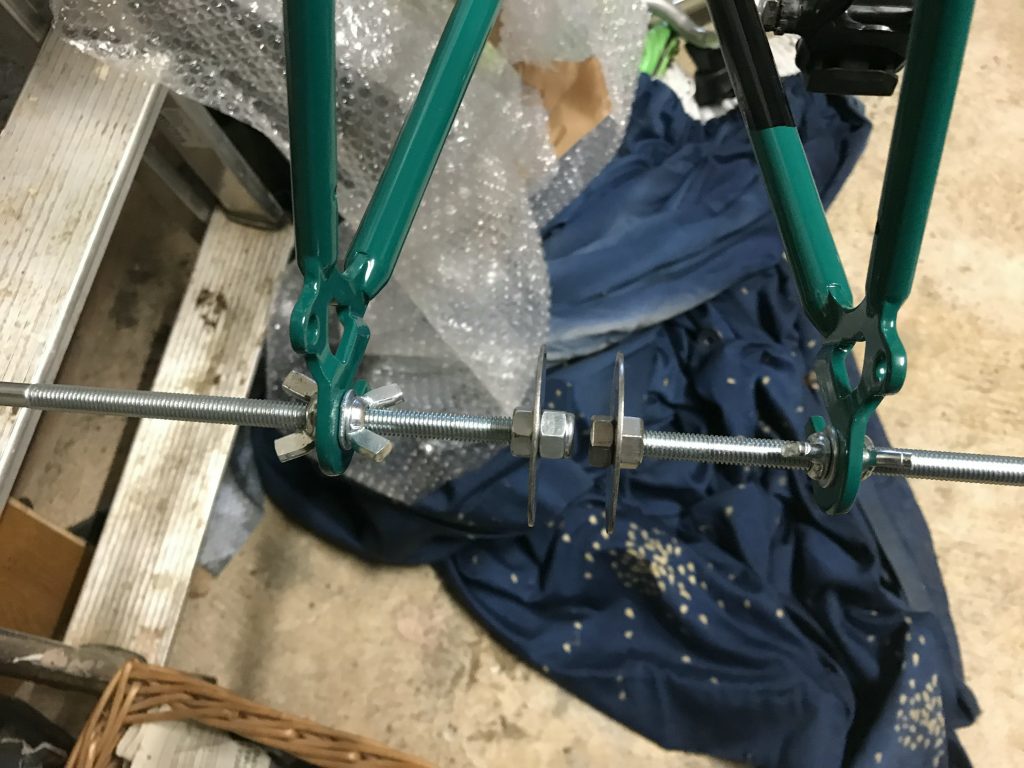
With the cups in, I mounted the forks and applied the headset. Lovely. While I was looking at the frame, I needed to check the rear dropouts were aligned; these should both be pointing straight forward. Again, the usual tool for this is a Park Tools FFG-2 which retails for a hundred quid; again, you can make your own. I used:

  • Two M8x200 carriage bolts
  • Two M8x50 penny washers
  • Four wingnuts
  • Four M8x16 (ish) washers
  • Two nuts
  • Two locknuts

Incidentally, the cost for all these tools was under a tenner.

The procedure is: lock the tools in as per the picture; use the leverage of the carriage bolt to line up the penny washers. It’s slightly trickier than with the proper tool, which effectively has two sockets you perfectly match up; but it’s an awful lot cheaper! Mine were pretty good; the photo shows the pre-adjustment alignment. Not too much tweaking at all and I’d have been gutted to spend a hundred pounds.
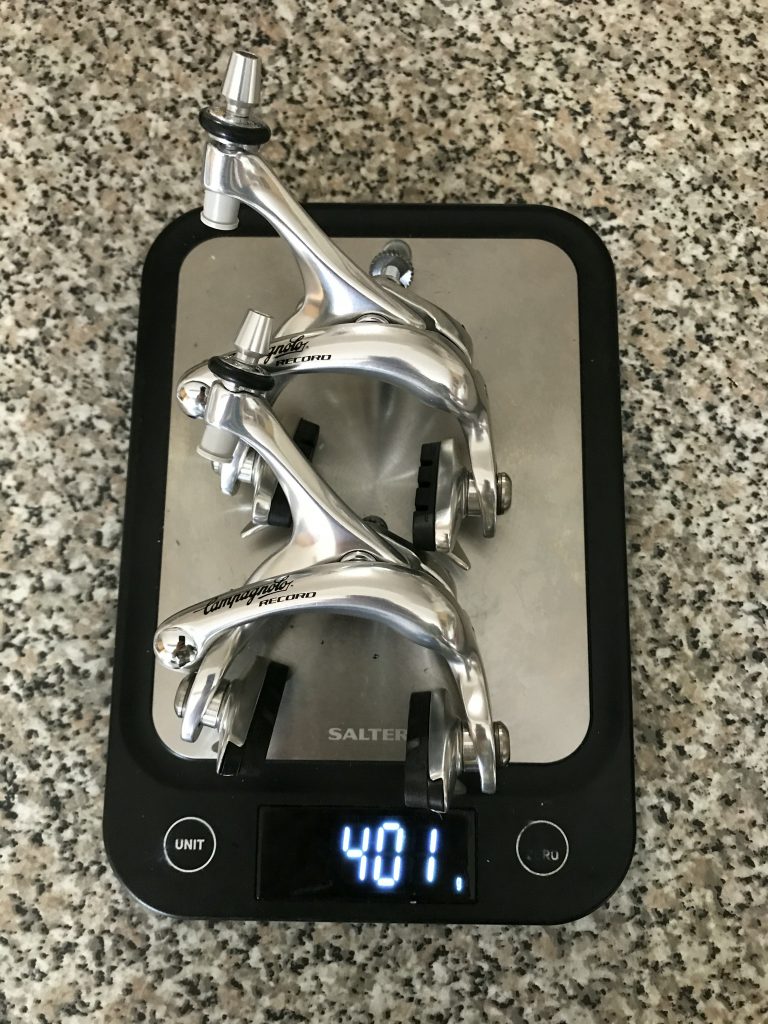
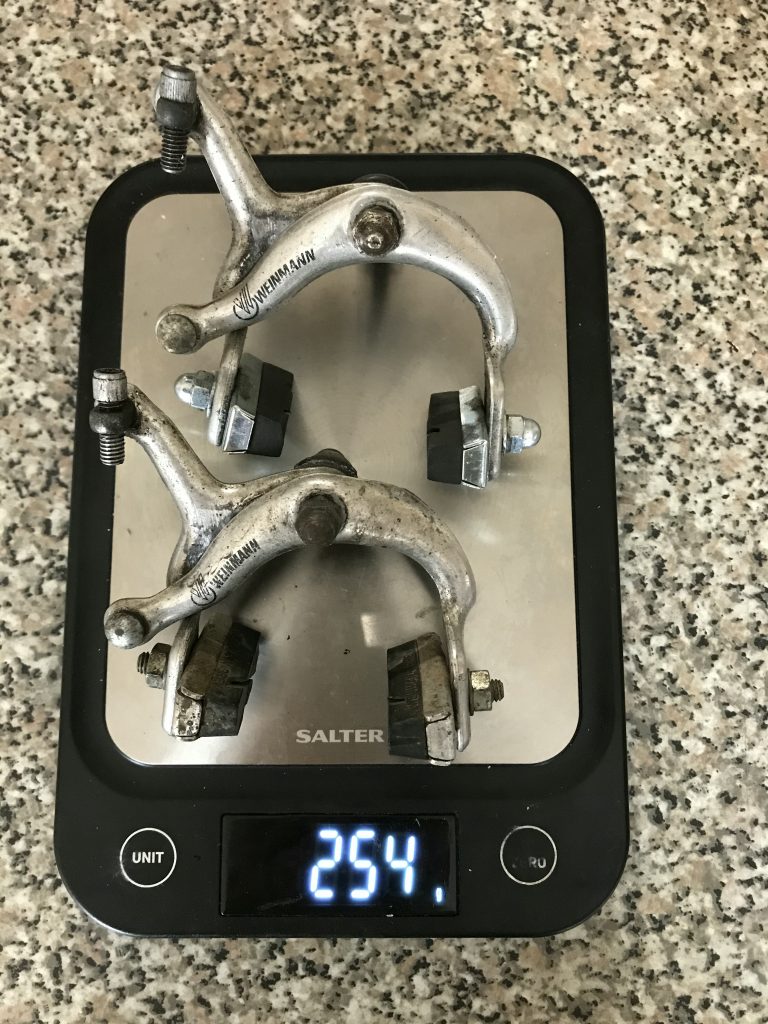
With the frameset done, brakes were next. I had found a set of brand new 1990s Campagnolo Record dual pivot calipers. Technically, they still have a three year warranty. They’re lovely, although they are significantly heavier than my previous Weinmanns. A new length of outer slipped through the top tube really easily – I’ve heard it can be a nightmare but no dramas here. A couple of new cables and the braking system is done!
The last major system is the drivetrain – read: gearing – and finishing kit. The front mech is on; the rear is on the way. It will need a new hanger, which Keith The Cycle Guy sorted for me when I popped in for some brake cables. Then it’s just a case of fitting the gear levers & cables and tuning the thing. Maybe I should go fixie after all…
All about the paint

Busy couple of weeks.

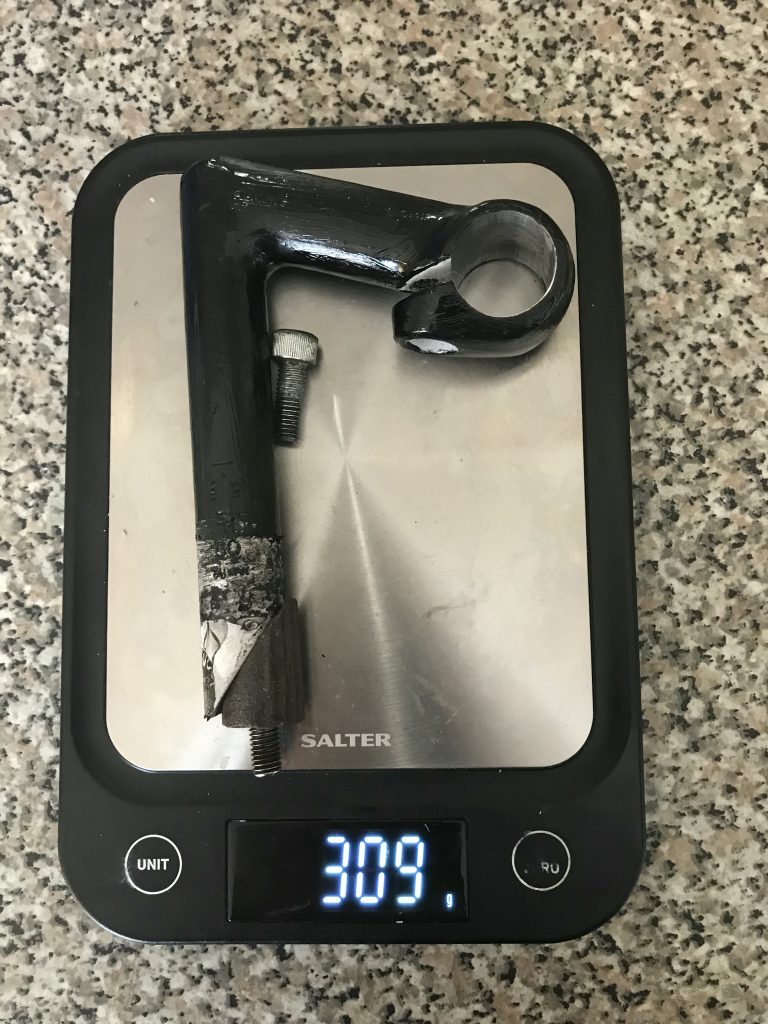
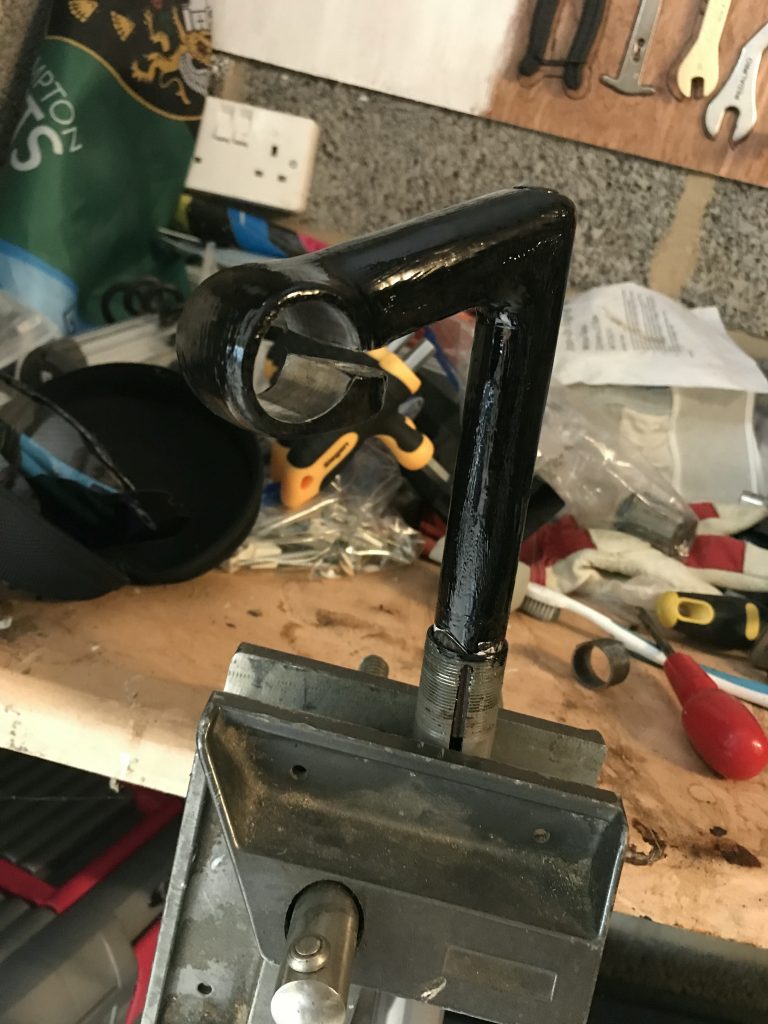
Firstly, I tried to paint my white stem black. I sanded back all the loose and lumpy paint, keyed it, then gave it two very careful coats of Hammerite’s best. Not exactly mint but good enough for me. Or so I thought.

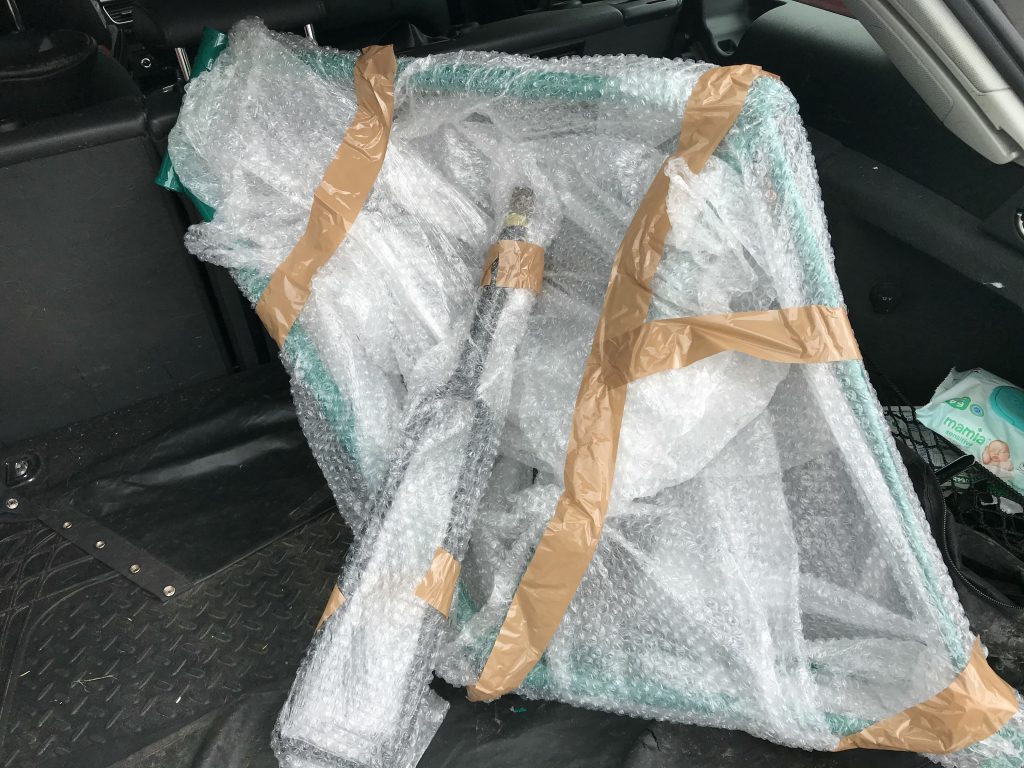
Next, the call came from Vapour Blasting Northants – my frame and forks were finished! A hundred notes later and they were in the back of the car, safely bubble-wrapped up. The colour is pretty much spot on… really pleased with their work so far.

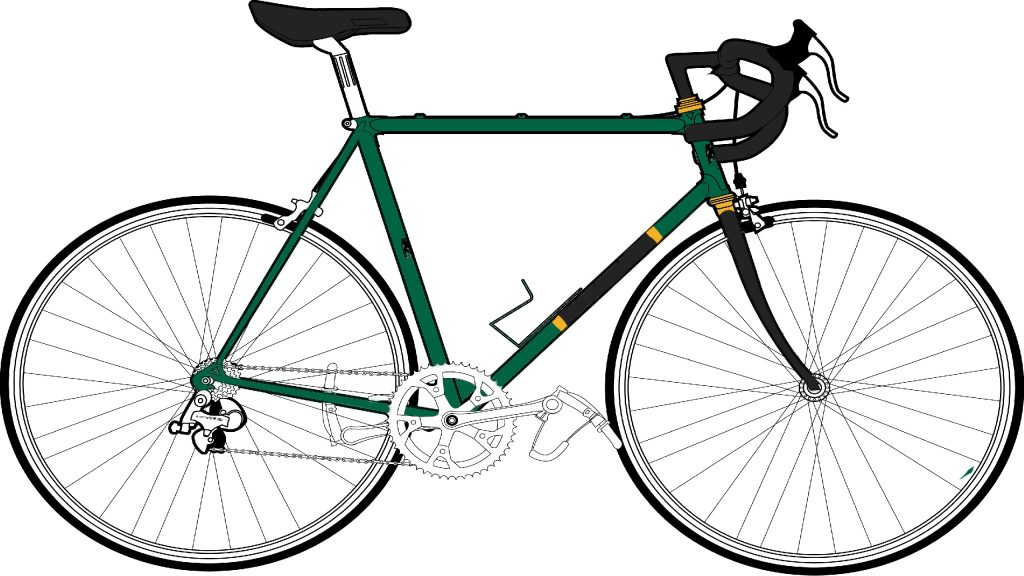
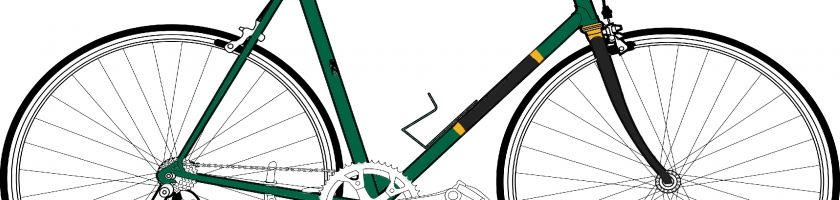
At this point I’ll introduce my planned colourway. It blends a bit of cycling tradition – the bands – with a bit of something that’s dear to me – the Black, Green and Gold.

I have a green frame and forks; the question is how to add the black downtube band and the gold!!

I asked the paintshop about the black band and the owner suggested vinyl wrap. Not convinced but as a low-risk option that sounded good to me. I can always try something later if it doesn’t work out.

The gold is more difficult. A key part is the headset. My old headset was janky so I decided to junk it in and replace it with a new one from eBay. Slightly annoyed as what I’ve received does not match what I ordered but for a fiver it’s good enough. Painting it on the other hand is difficult. Some very kind friends have explained the theory on how to achieve this magical transformation and regrettably I’m just totally lost. I may just leave the thing back. It does look pretty smart.

The gold on the downtube could be achieved in a kludge with a piece of electrical tape. It feels naff but would do as a temporary bodge. If anyone reading is able to paint a headset and downtube band in exchange for a box of beer, please drop me a line…

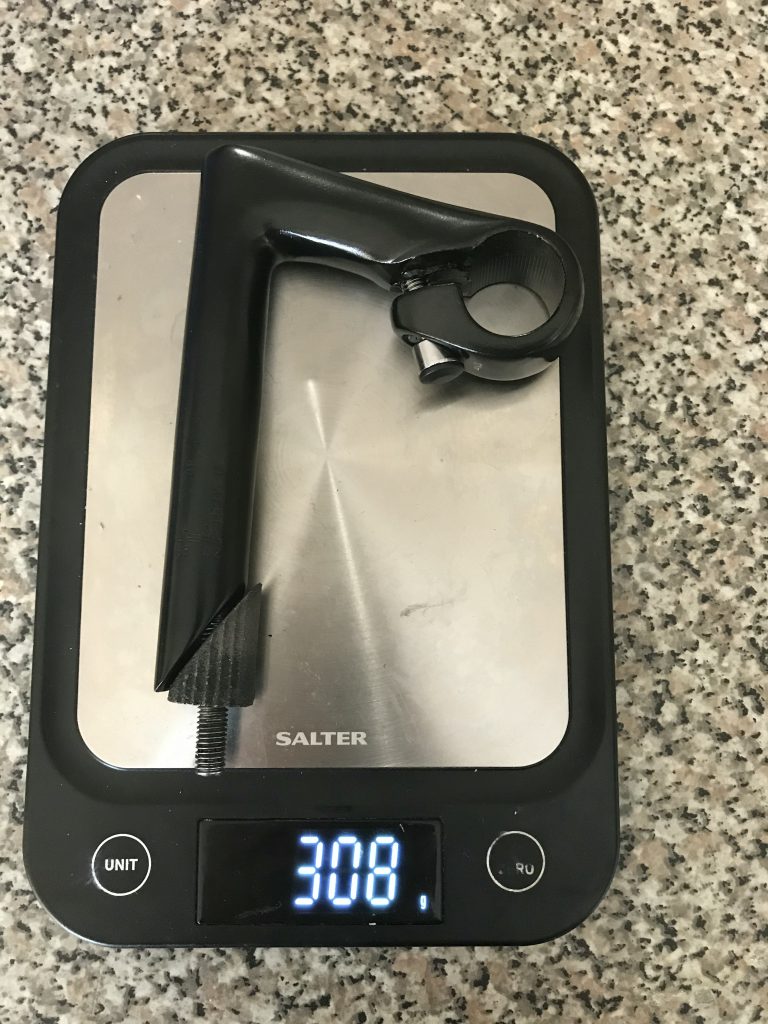
I offered up the headset to the frame; black on green looks good, I’m not going to lie. However, I also tried to pop my newly painted stem in, only to find that the stem:headset interface was precise and a couple of layers of paint were too much. So I bought a new one. It’s smarter and weighs a gramme less (honestly, that’s probably the weight of the paint).

I’m really pleased with how everything is coming together. If I were to abandon the Difficult Gold, I could start reassembly. It’s a tricky decision to make.

It’s my birthday soon (yay!) so I’ve preemptively spent some of my presents on a pair of 90s Campagnolo Record callipers. Sadly, only DualPivot and not the gorgeous Delta brakes from the 90s; I draw the line at £350 for a set of callipers! One could buy a very nice second hand carbon bike for that. I’m also out of freely squintable money so I’ll use my current Cane Creek SCR-5 levers. They’re black and look the business so that’s fine. I have new gear cables and outers so I can fit the bars and braking system as soon as the callipers arrive. That leaves the drivetrain.

The drivetrain is mixed bag. I have everything I need for a single-speed (BB axle, cups, bearings, cranks, chainrings, cassette) but making it change gear requires more of the shiny. I have shifters but need both front and rear derailleurs and this is in a world where a rear derailleur mounting bolt can cost £35. I could save quite a few bob by dropping to Chorus but… it just feels wrong!

I’ve also found I need to make a bearing press. The interface between the head tube and the two races is snug. It took some effort to take the original off and I suspect it’ll take some effort, gently but firmly applied, putting the replacements on. A proper press is expensive but it should be easy enough to Heath Robinson one up with a coachbolt, some large washers and a couple of nuts.. Watch this space…

Cassettes and Axles

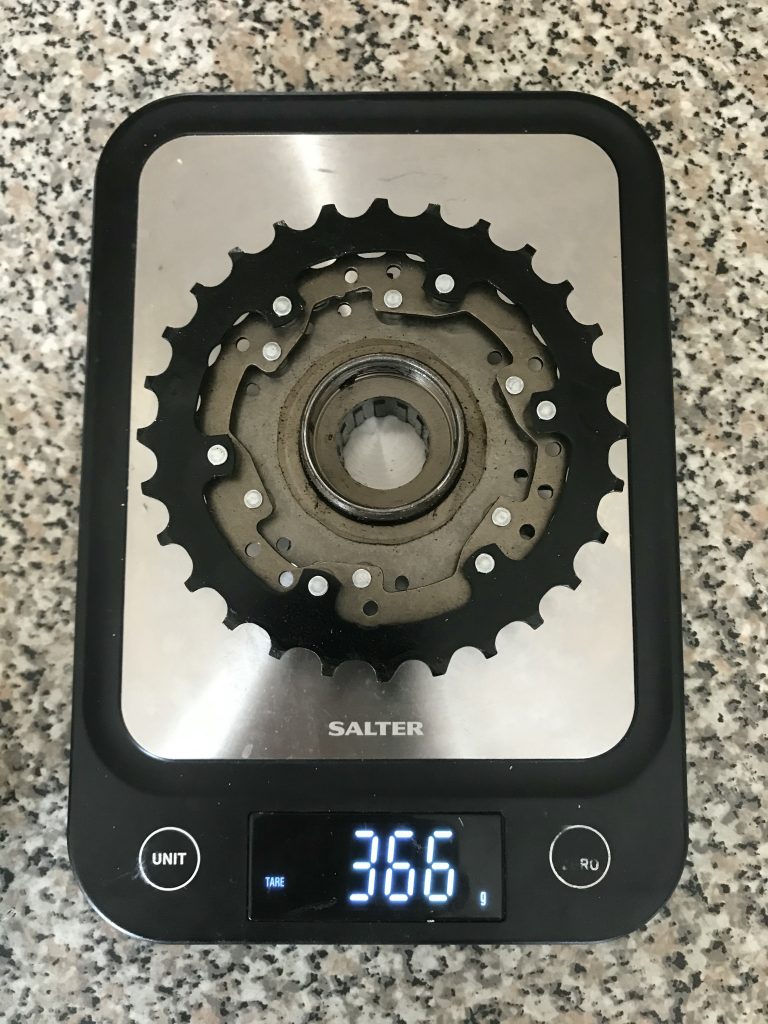
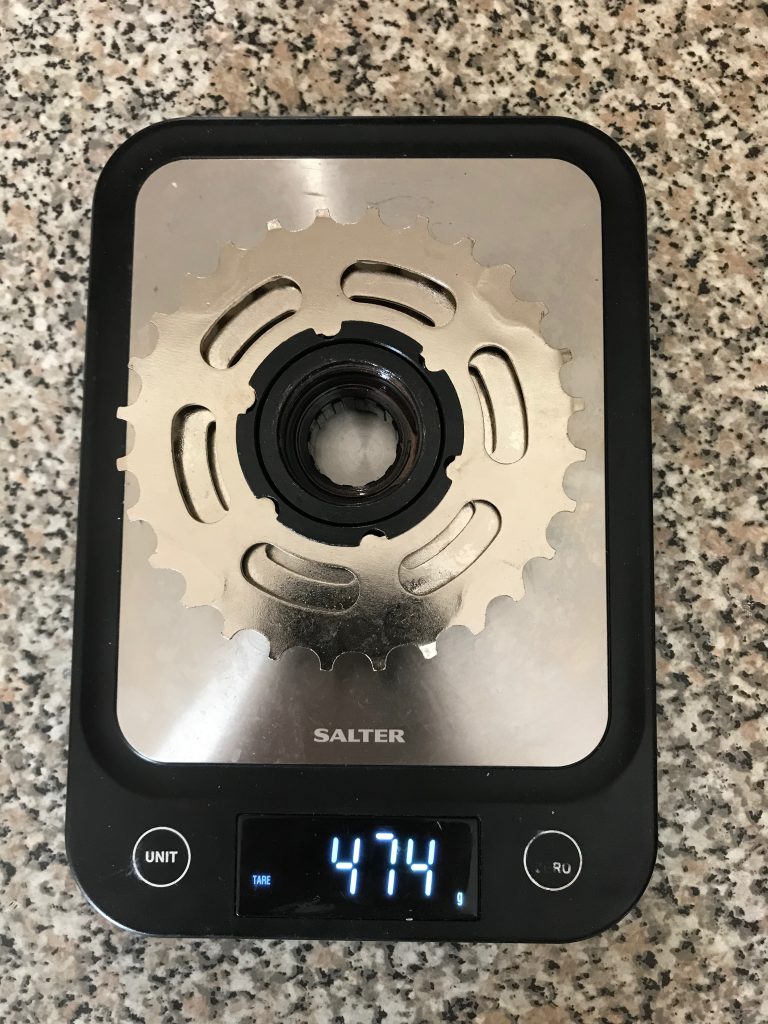
Two updates: firstly, I bought a new seven-speed freewheel cassette. E-bay special. I went for a cheapie one and I totally regret it; it’s considerably heavier than the pukka Shimano 6-speed it’s replacing and just doesn’t smack of the same quality. Who’d have thunk it? Still, it’s on and if I want to splash £20 later in the build I can always switch it. Weight in the hub of the wheel makes a difference to rollability.

Secondly, I came to a conclusion about bottom brackets! The replacement crankset requires an axle with internal thread; the original wax external. (Essentially: the original used nuts to fix it on whereas the replacement uses bolts.)This means I cannot re-use the original The trade-off went something like this:

  1. Reuse the bearings & cups; purchase an ew replace with an internal axle. Pros: much reuse of the original components, so retaining soul and saving landfill; cheap!
  2. Buy sealed bearing BB replacement. The Shimano UN-55 is a great example; there are lots of others out there catering to the fixie, BMX et al communities. Pros: it’s sealed so it should last forever; cons: they’re quite expensive and need some more expensive tools (which I’ll only use once).

I decided on Option 1. I don’t think I’ll be riding enough, or in poor enough weather, for a sealed BB to pay itself back and I’d like to retain some soul and save some landfill. (As an aside, or similar reasons I’ll be reusing my original quill stem.) A friend offered me the loan of the tools but all in all it’s cheaper and easier to just replace the axle.

The next fun part was determining the axle size. There are four critical measurements on a BB axle:

  1. The length of the axle, end-to-end
  2. The distance between the non-drive-side end and the shoulder of the inner race;
  3. The distance between the non-drive-side and drive-side race shoulders
  4. The distance between the drive-side race shoulder and the drive-side edge.

There are so many options, some of which are 1mm apart and precise measurements are tricky. It was about half an hour before I saw the letters “3L” stamped on the side, which turned out to be all I needed.

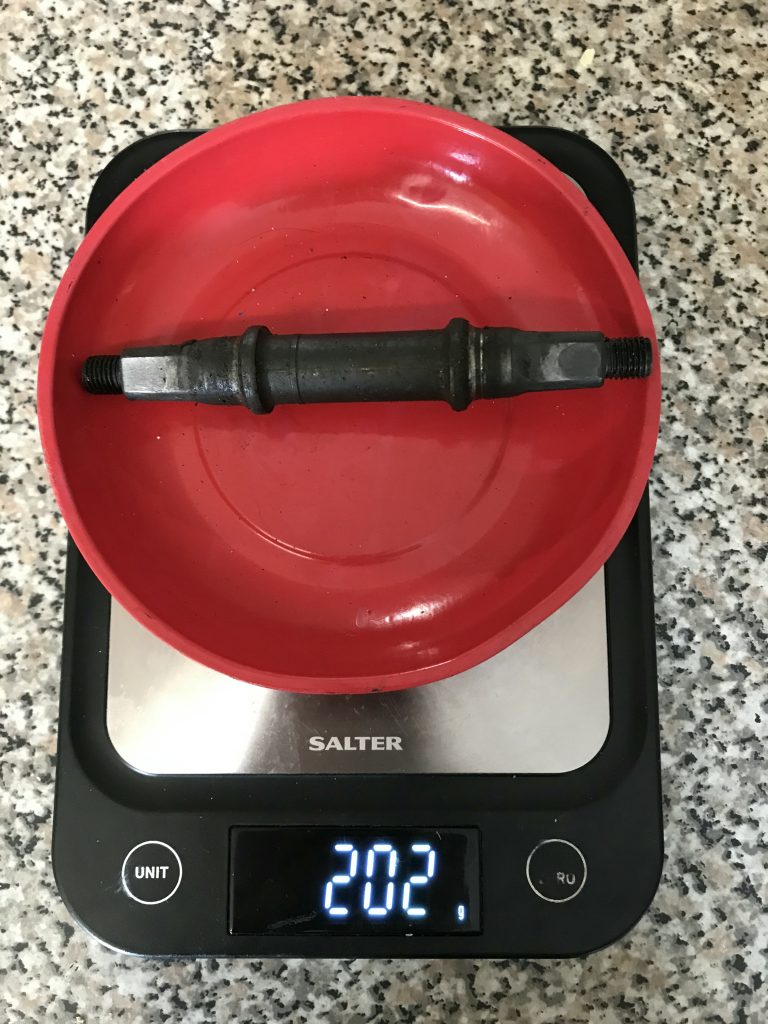
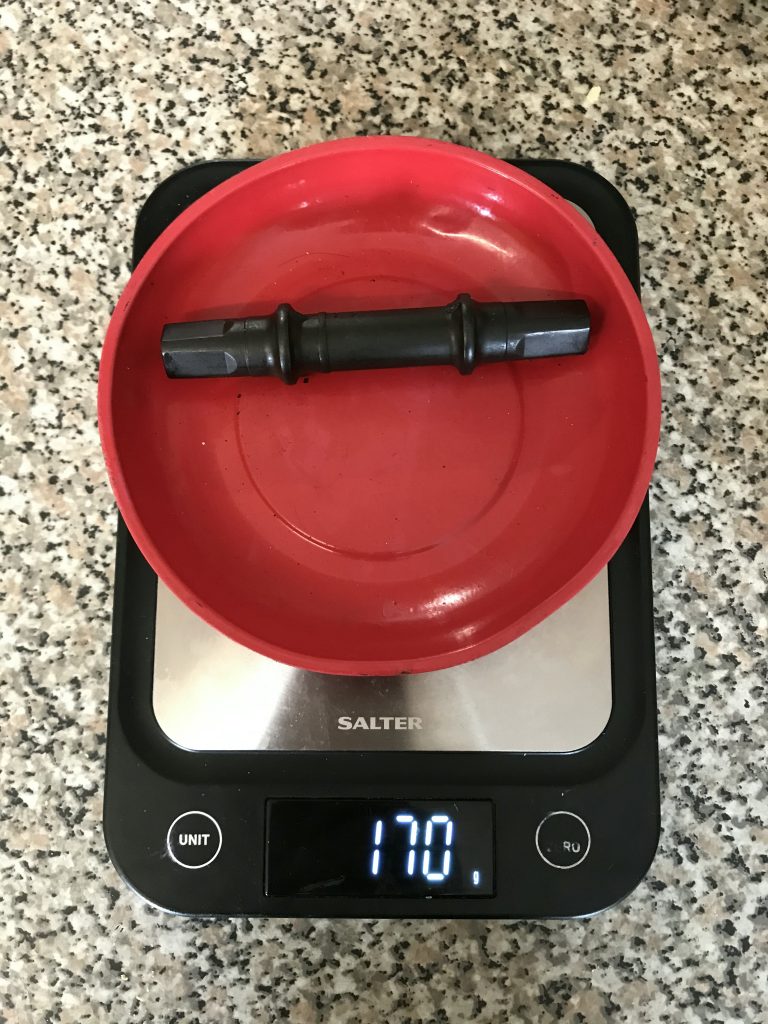
The kit all arrived this weekl The replacement axle is a few grammes lighter than the original; with bolts and washers, it’s the same as the original without nuts. So basically no different..

In other news, the frame and forks are at the workshop and they’re doing them this week. Should be back by Friday; very much looking forward to how the turn out! That’s when the real re-building fun begins.