A Frustrating Fitting (Dismay-me Gears are not the Cream of the crop)

A few days ago, I had a bash at one of the last major parts of the build: the gear system.

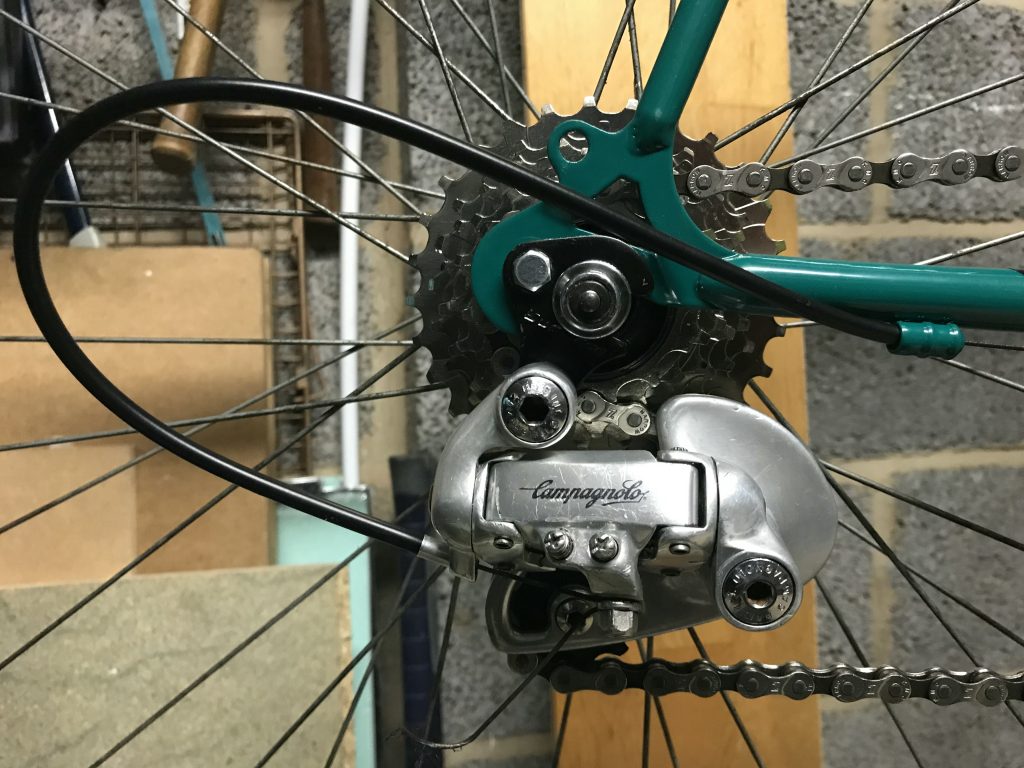
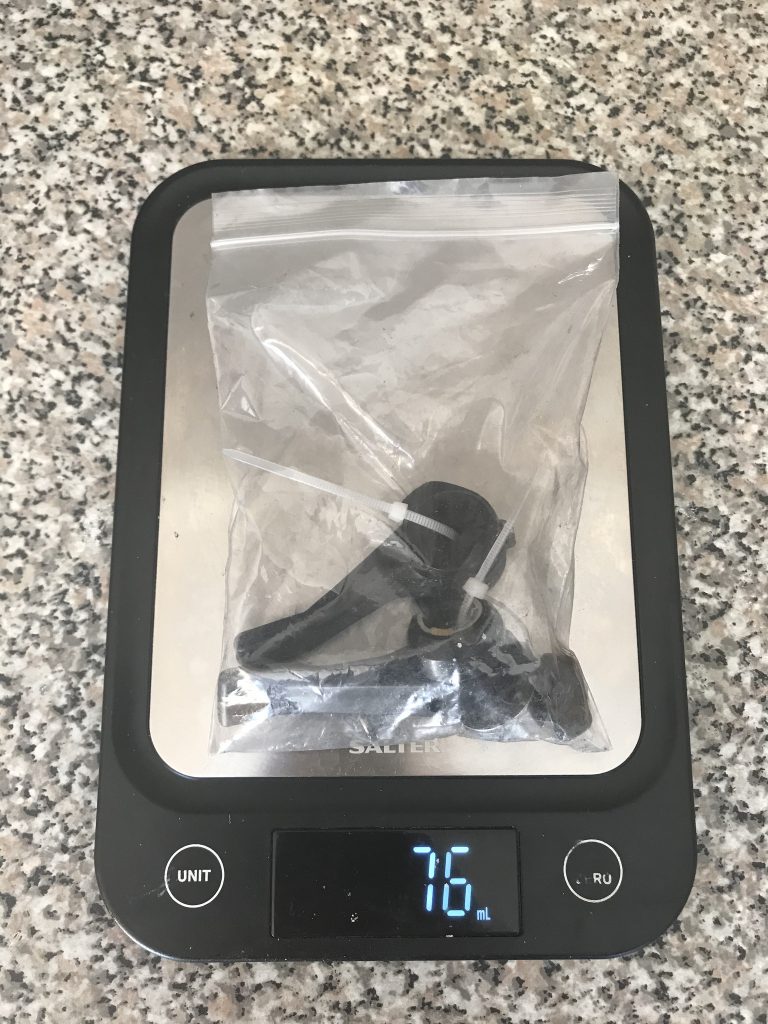
I’ve selected a Campag 7-speed setup, mainly because the were about the last of the downtube shifters before everything went onto the levers. However, despite looking mint, there are a series of problems.
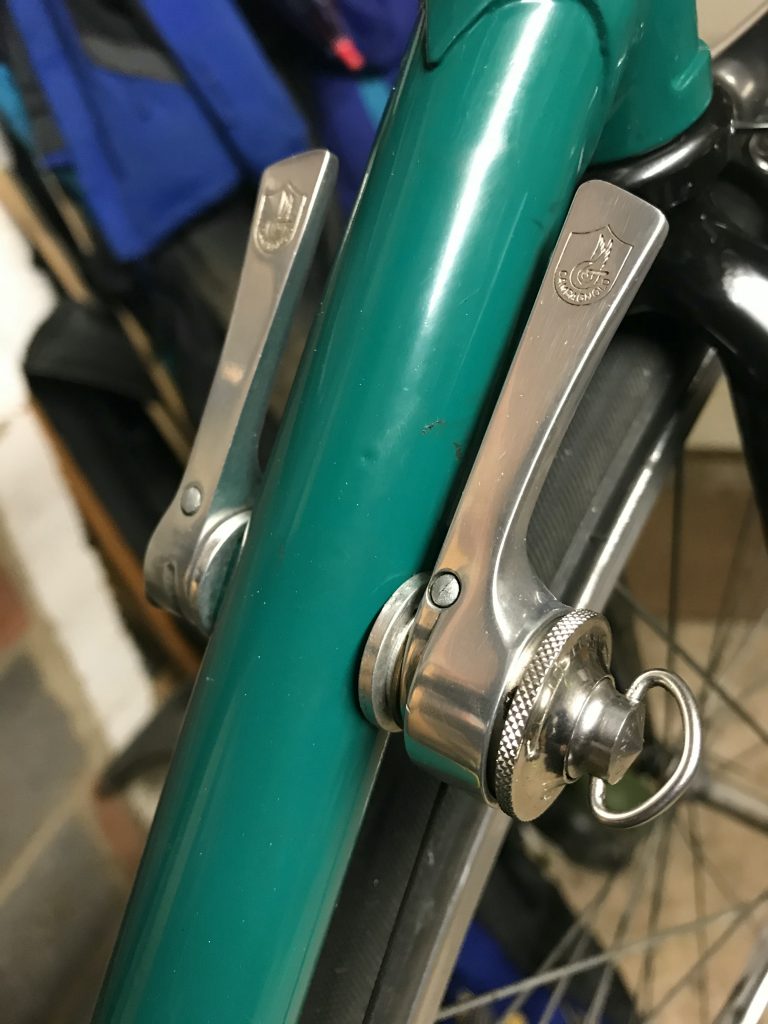
  1. The left lever (front mech) went on fine and works – mostly – a treat. Pushing the lever forward unscrews the tightener though, which means next time I pull it back it doesn’t stick. I suspect this could be fixed with thread lock but I haven’t tested yet.
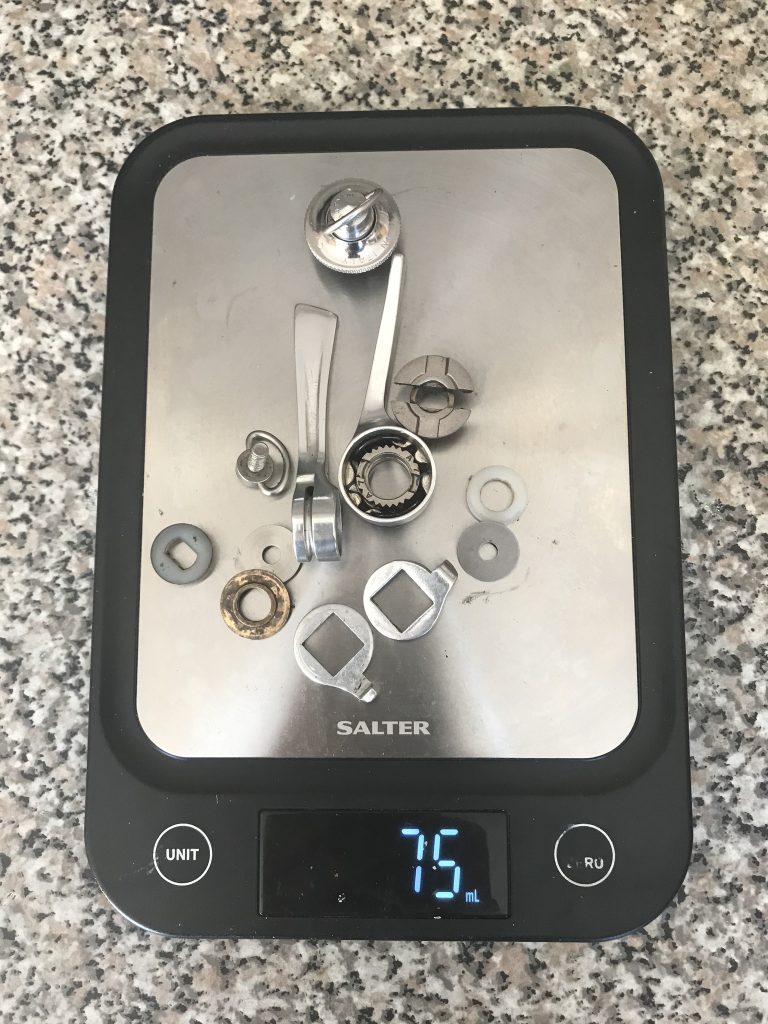
  2. The right lever (rear mech) has a litany of issues. Firstly, the indexing mechanism works by engaging a spring into a rotating ratchet to hold each gear. Fine, except the previous owner has glued the springs to make it permanently friction-based, not index-based. That’s annoying and it’s too late to return it.
  3. It turns out my bosses are slightly longer than required – or there’s a washer missing. Consequently the lever body moved laterally which meant there was no friction whatsoever which is rather important in a friction-based lever.
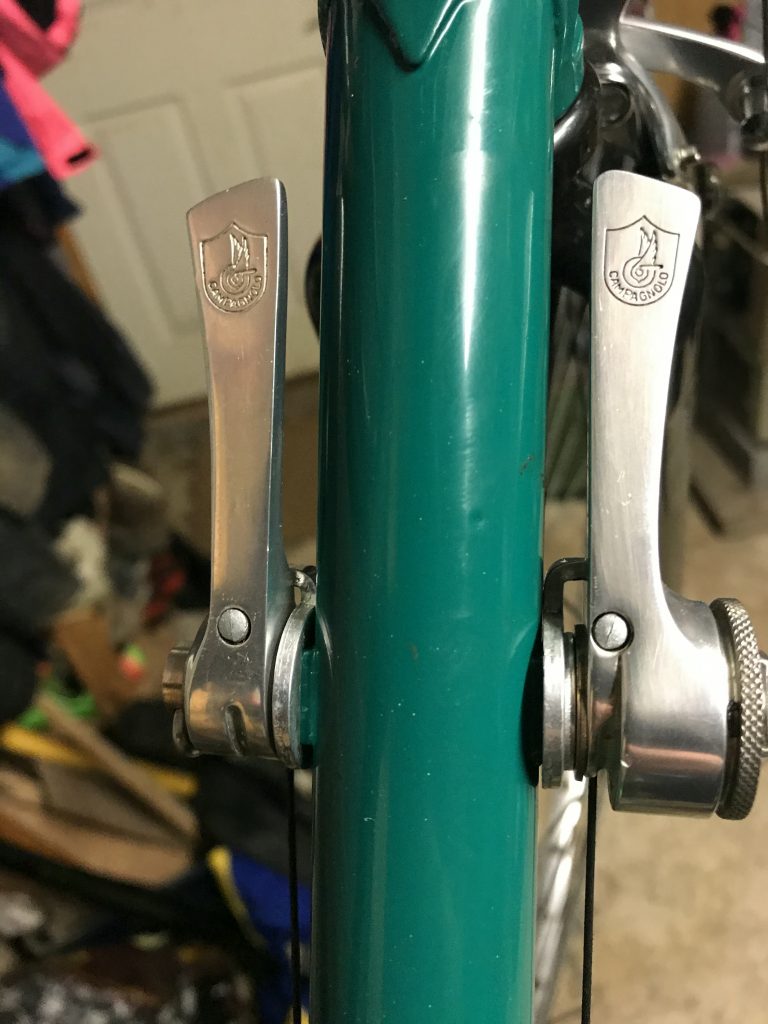
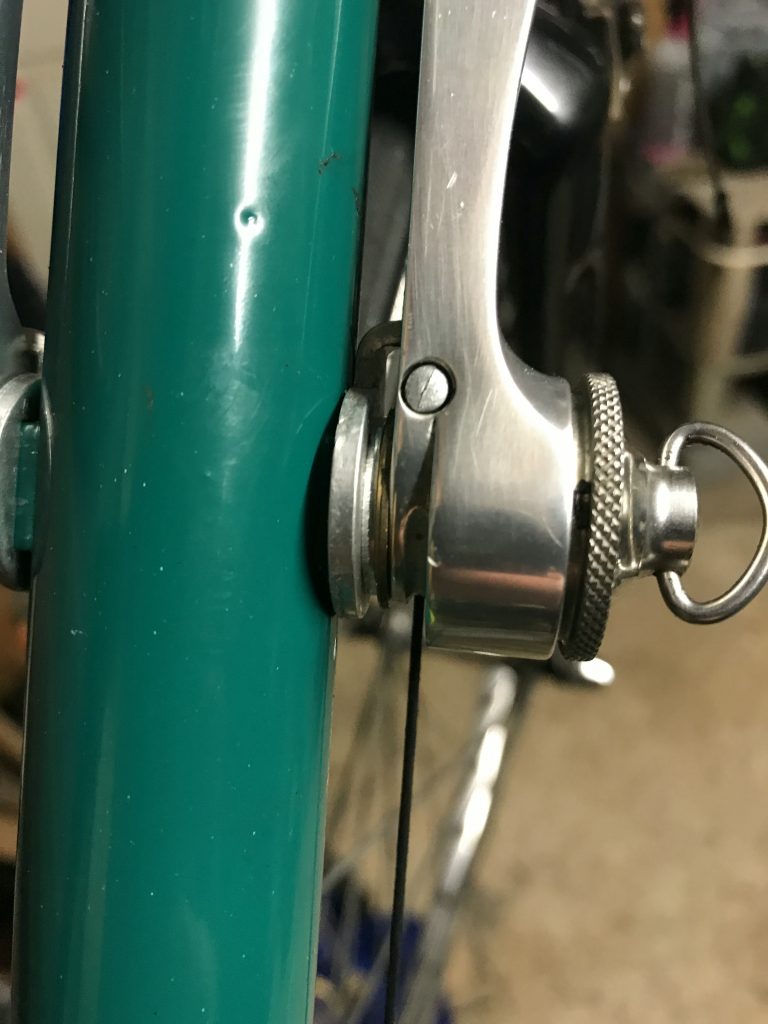
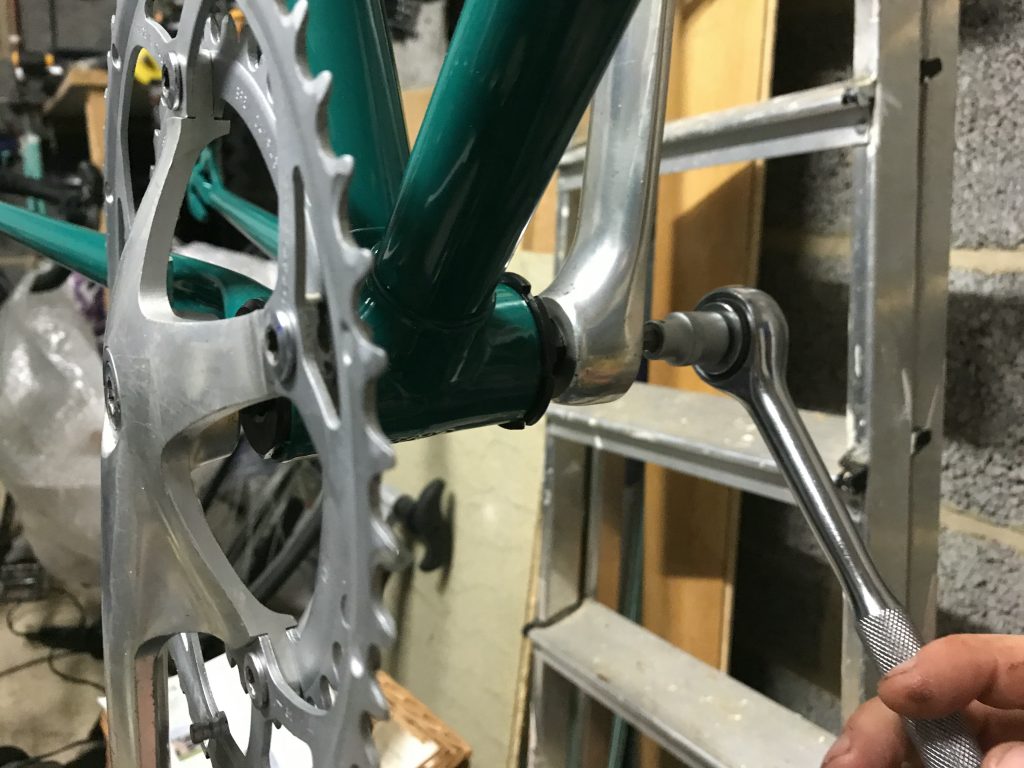
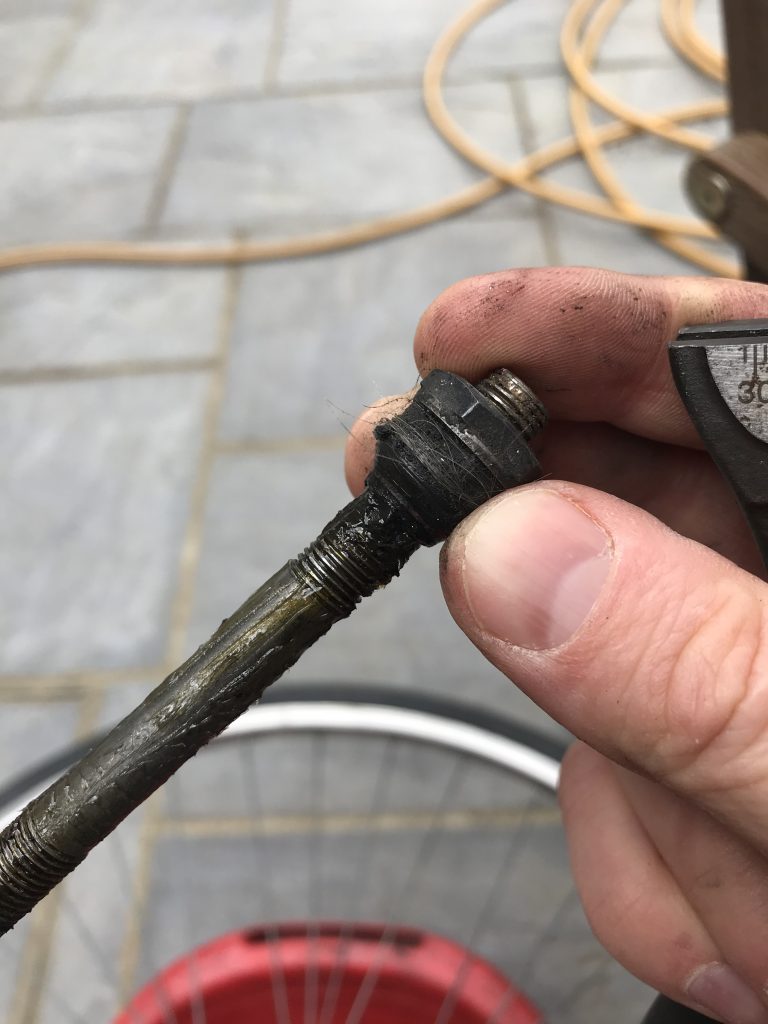
I eventually stopped it rattling by placing an M8 washer over the boss. It was a little small but nothing that a file couldn’t sort out. You can see it in the second picture. Unfortunately, this makes another metal-on-metal interface which gives twice the opportunity to slip; and slip it does!

Finally, when on the inner ring, the chain rubs against the outer ring in four out of seven gears.

I am quite annoyed and don’t know how to proceed. My current plan of attack for each side, and in ascending order of cost, is…

Left Hand Side (front mech):

  1. Use threadlock on the bolt and degrease the friction plates.

Right Hand Side (rear mech):

  1. Use acetone to dissolve whatever is holding the springs, returning it to index-based shifting.
  2. Use friction paste (like that used for seat posts) on the washer faces to see if that gives enough grip. Chance of success low and I’d still have no indexing but at least I already have all the parts.
  3. Assuming the LHS is working, buy a friction-based RH lever. These are fairly affordable, can match and, if I accept no indexing, would be fine.
  4. Buy another set of the same. Maybe there’s a part missing. Afterwards, compete in the Tokyo 2020 straw-clutching competition.
  5. Abort 7sp and find a set of 8sp levers and an 8sp cassette. I’d also need to find a guide that takes the cable around the bosses; these are readily available and as a bonus tend to have inline barrel adjusters to keep the tension right. This feels like compromising on the vision; however, is probably the better technical solution.

Chain Rub:

  • Buy an 8 speed chain. My current one is 6sp so is considerably wider than it needs to be. This should work with any of the options above.

Given received wisdom seems to be that Syncro / Syncro II were both abject failures, I’m leaning towards 3.3, which is a shame because those downtube levers look really good.
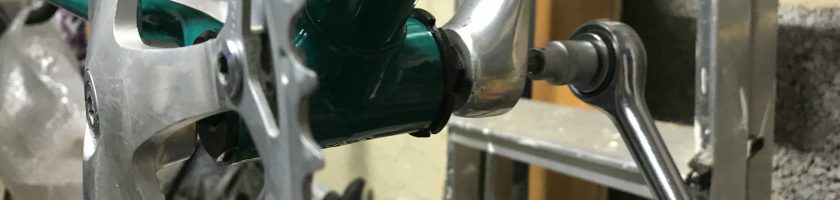
Installation is the reverse of removal

“Installation is the reverse of removal” is a familiar phrase to anyone who’s read a Haynes manual. It usually appears at the end of a set of long and complicated instructions about removing something oily and can be translated as: “putting it back on is just as hard and complicated as taking it off. Good luck!”

With the bike back, it’s now time to re-build. So far there haven’t been too many issues.

First up was the bottom bracket and cranks. These went on like a dream, the replacement BB cup and cone fitting perfectly after I’d cleaned up the shell threads. The axle went in, the cranks went on, followed by the pedals; it was pretty much perfect.

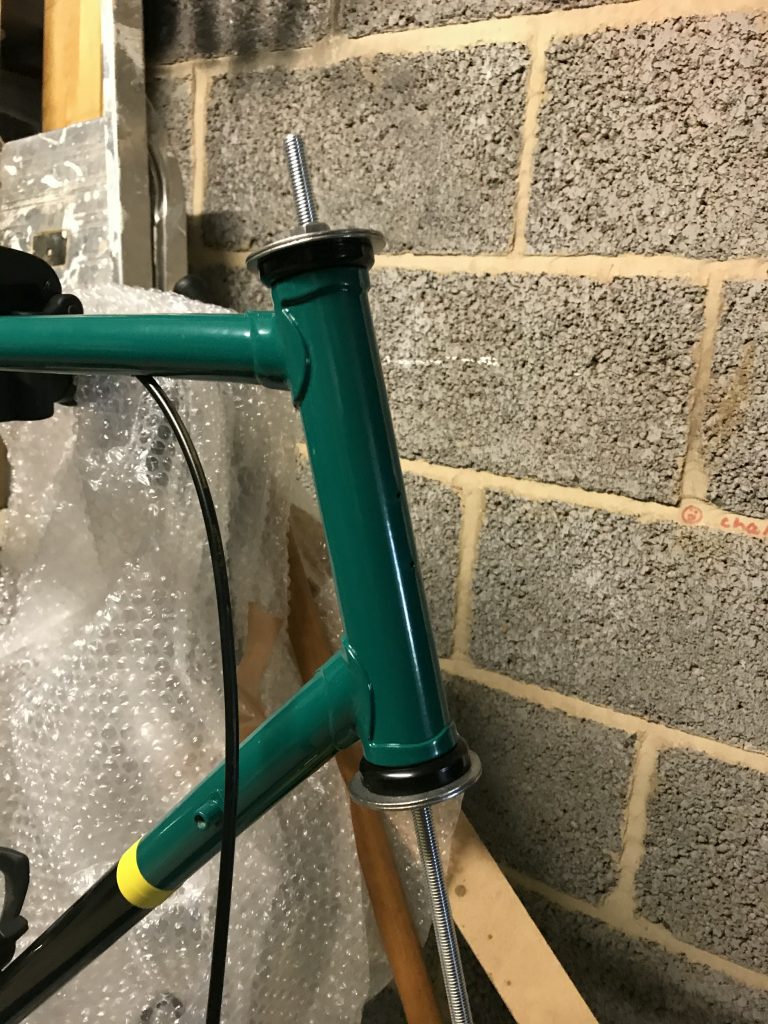
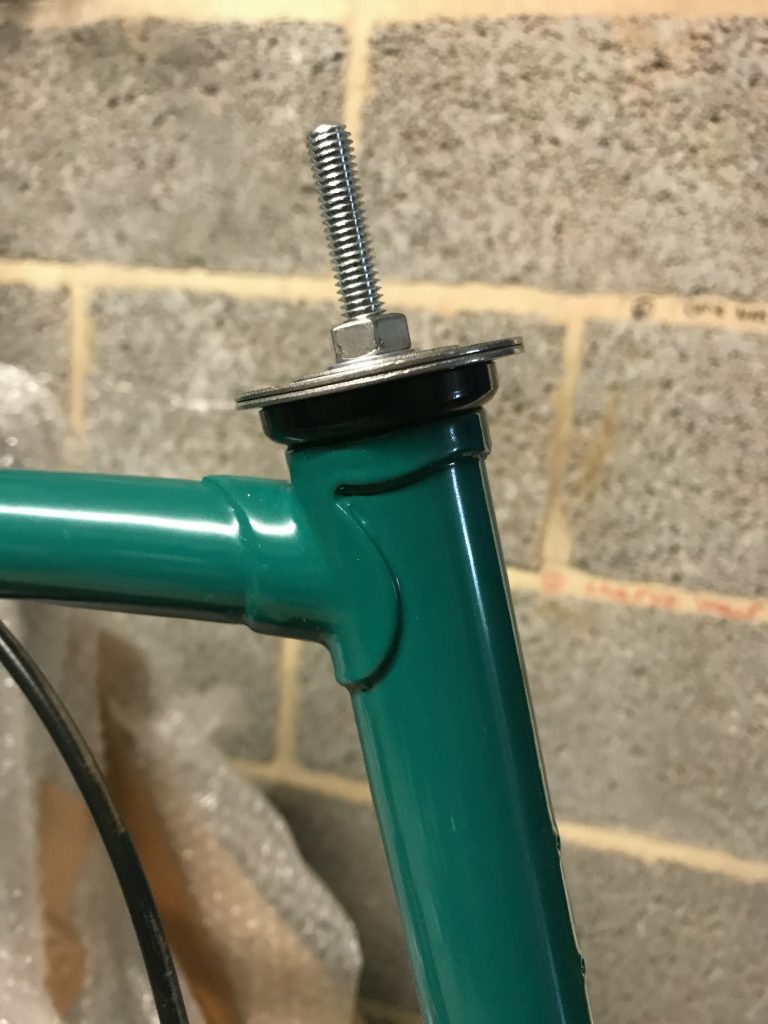
I then fitted the headset. The interface between the headset cup races and the frame is snug and this is rather important. Play here will lead to wear on the interface; the very thing the bearings are there to avoid! To fit the races, one typically uses a bearing press such as the Park Tools HHP-2, which retails for £140. Being a cheapskate, I made my own, using:

  • An M8 threaded rod (M8x1000 but M8x250 would do just fine)
  • Two M8 nuts
  • Four M8x50 penny washers
  • Two M8x25 penny washers

Thread the contraption through the head tube and tighten with trusty pair of spanners. I first tried with just the nuts and 50mm penny washers; the force exerted was enough to bend the washers! I suspect the new paint was thicker than the old, which won’t have helped. Using two of them, and spreading the load with a 25mm washer did the trick. Cups inserted!

If I was doing it again, I might be tempted by an M10 (or even M12) setup. M8 worked, but I did put a lot of force through those threads.

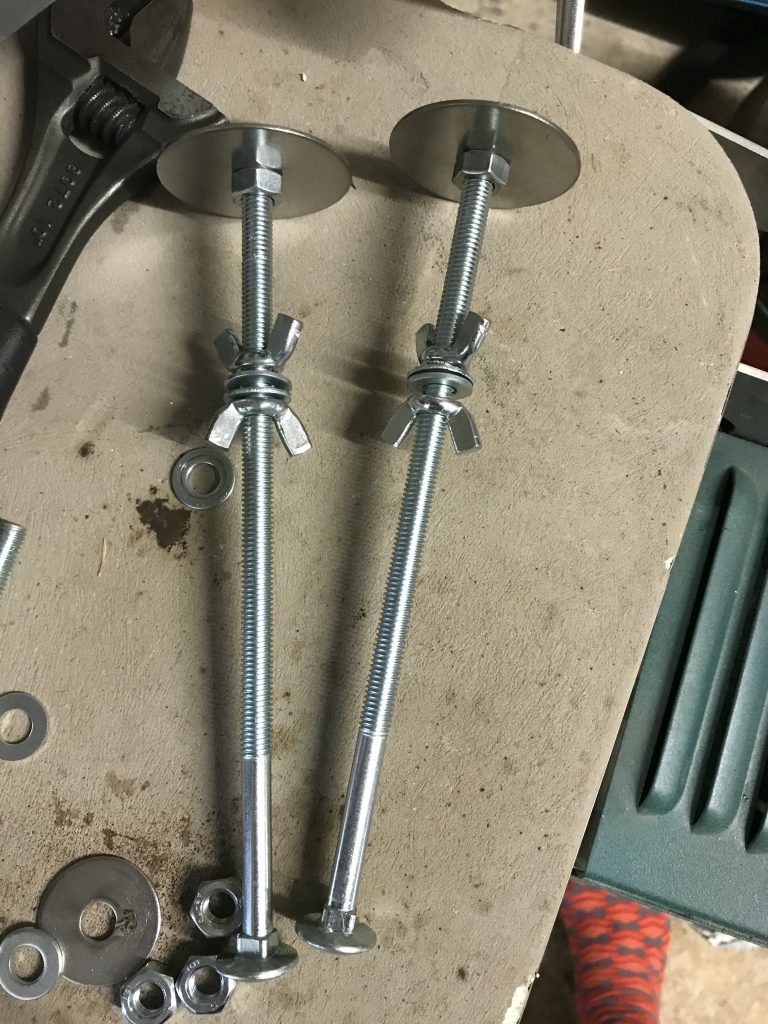
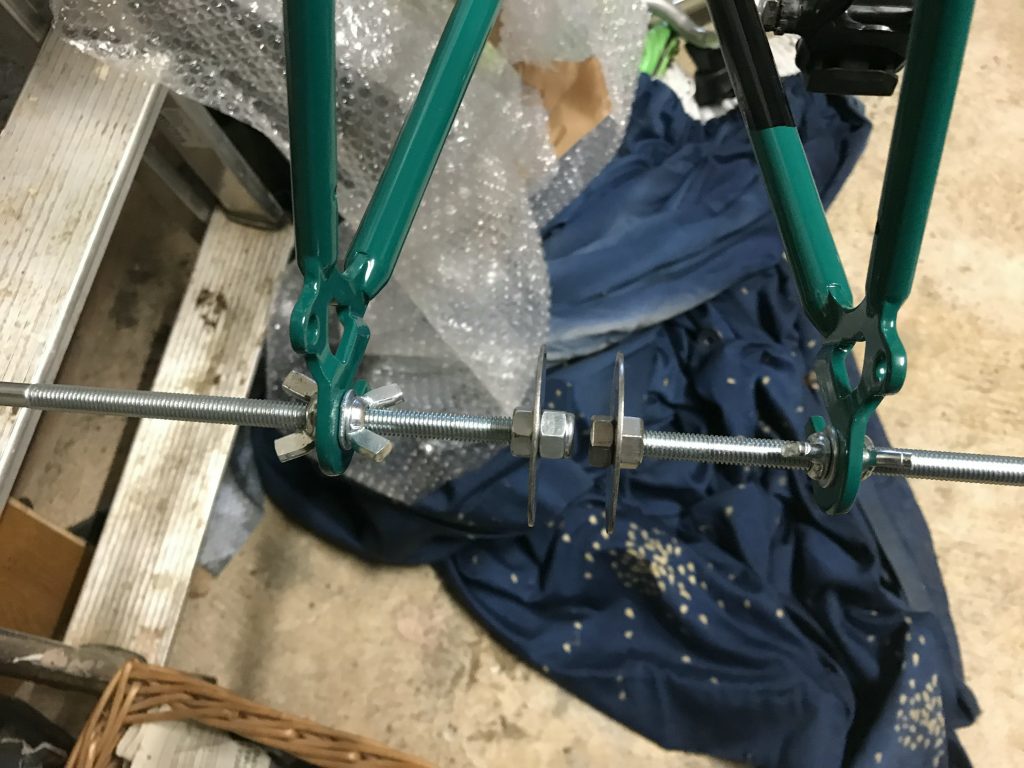
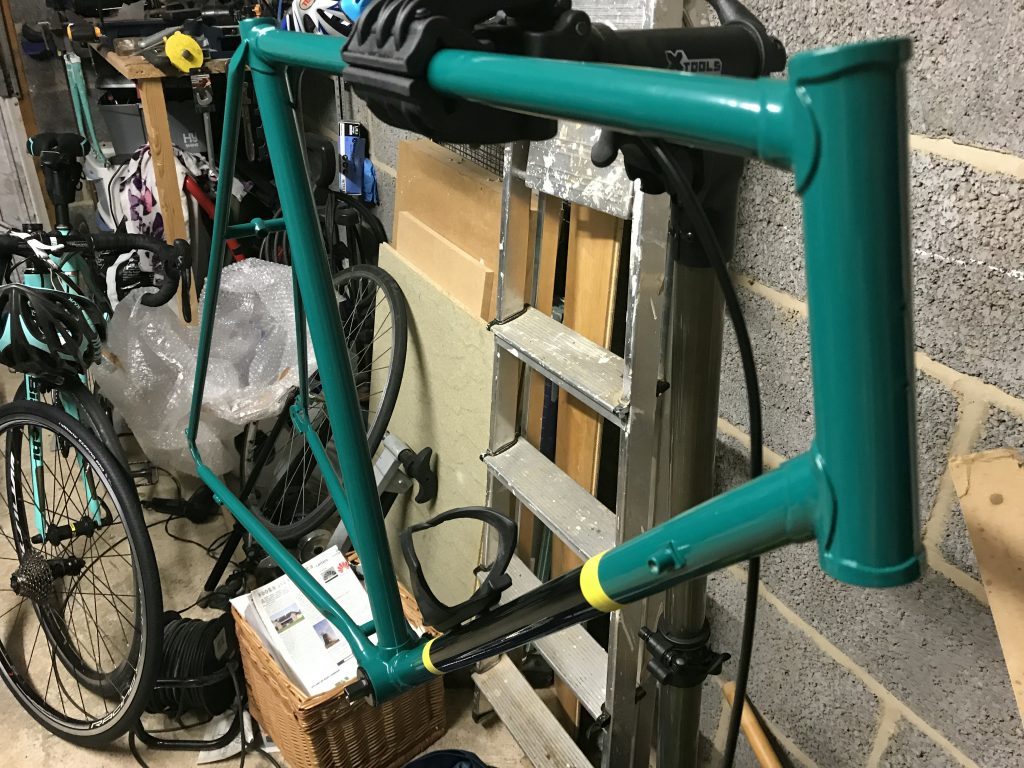
With the cups in, I mounted the forks and applied the headset. Lovely. While I was looking at the frame, I needed to check the rear dropouts were aligned; these should both be pointing straight forward. Again, the usual tool for this is a Park Tools FFG-2 which retails for a hundred quid; again, you can make your own. I used:

  • Two M8x200 carriage bolts
  • Two M8x50 penny washers
  • Four wingnuts
  • Four M8x16 (ish) washers
  • Two nuts
  • Two locknuts

Incidentally, the cost for all these tools was under a tenner.

The procedure is: lock the tools in as per the picture; use the leverage of the carriage bolt to line up the penny washers. It’s slightly trickier than with the proper tool, which effectively has two sockets you perfectly match up; but it’s an awful lot cheaper! Mine were pretty good; the photo shows the pre-adjustment alignment. Not too much tweaking at all and I’d have been gutted to spend a hundred pounds.

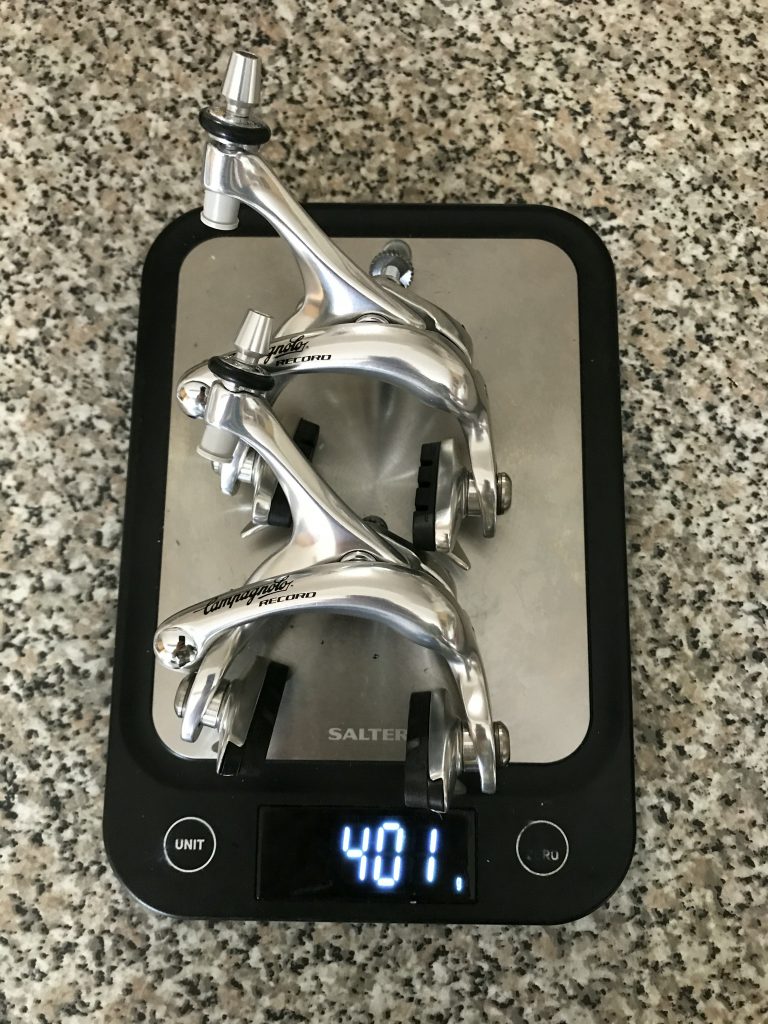
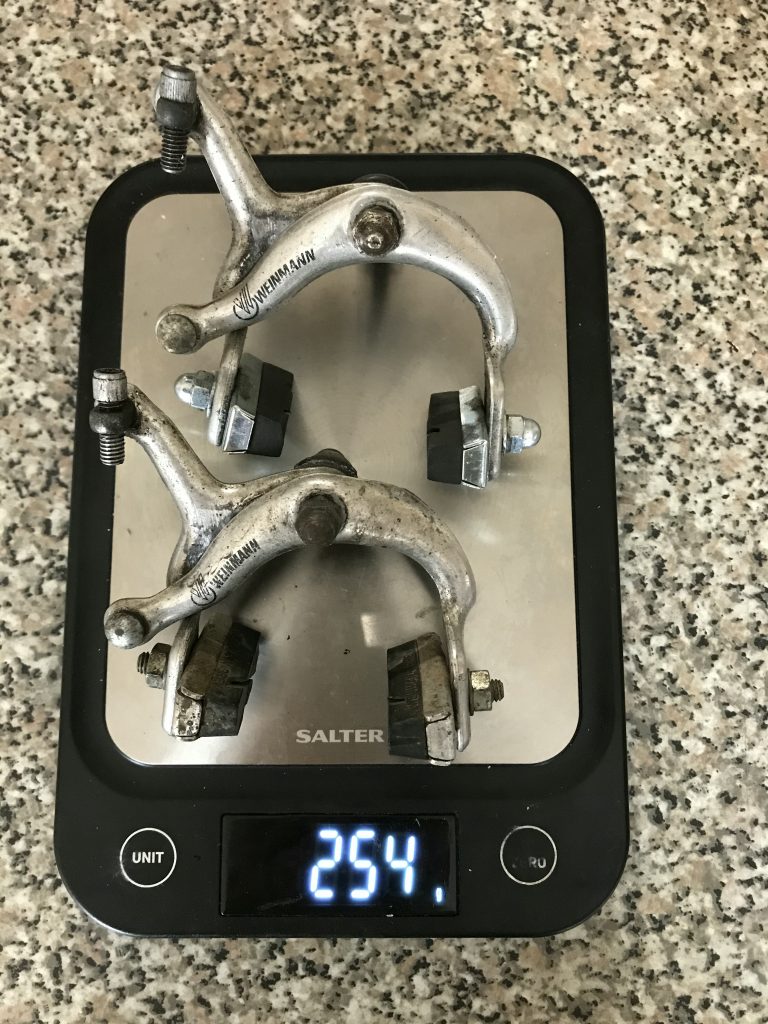
With the frameset done, brakes were next. I had found a set of brand new 1990s Campagnolo Record dual pivot calipers. Technically, they still have a three year warranty. They’re lovely, although they are significantly heavier than my previous Weinmanns. A new length of outer slipped through the top tube really easily – I’ve heard it can be a nightmare but no dramas here. A couple of new cables and the braking system is done!

The last major system is the drivetrain – read: gearing – and finishing kit. The front mech is on; the rear is on the way. It will need a new hanger, which Keith The Cycle Guy sorted for me when I popped in for some brake cables. Then it’s just a case of fitting the gear levers & cables and tuning the thing. Maybe I should go fixie after all…

All about the paint

Busy couple of weeks.

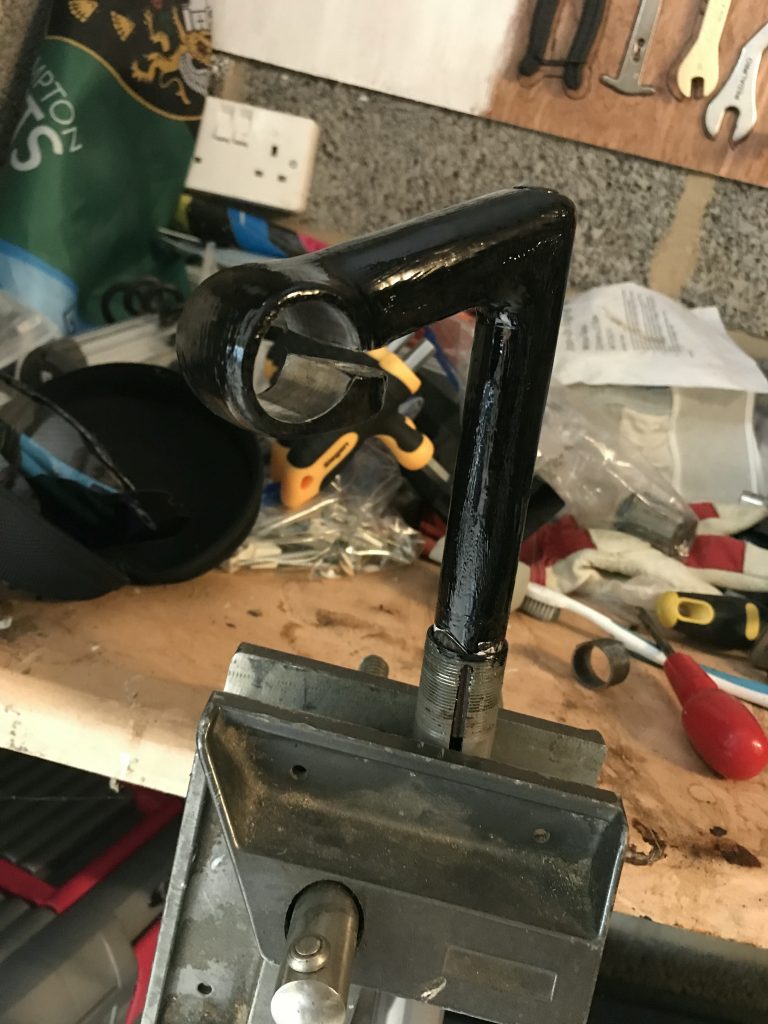
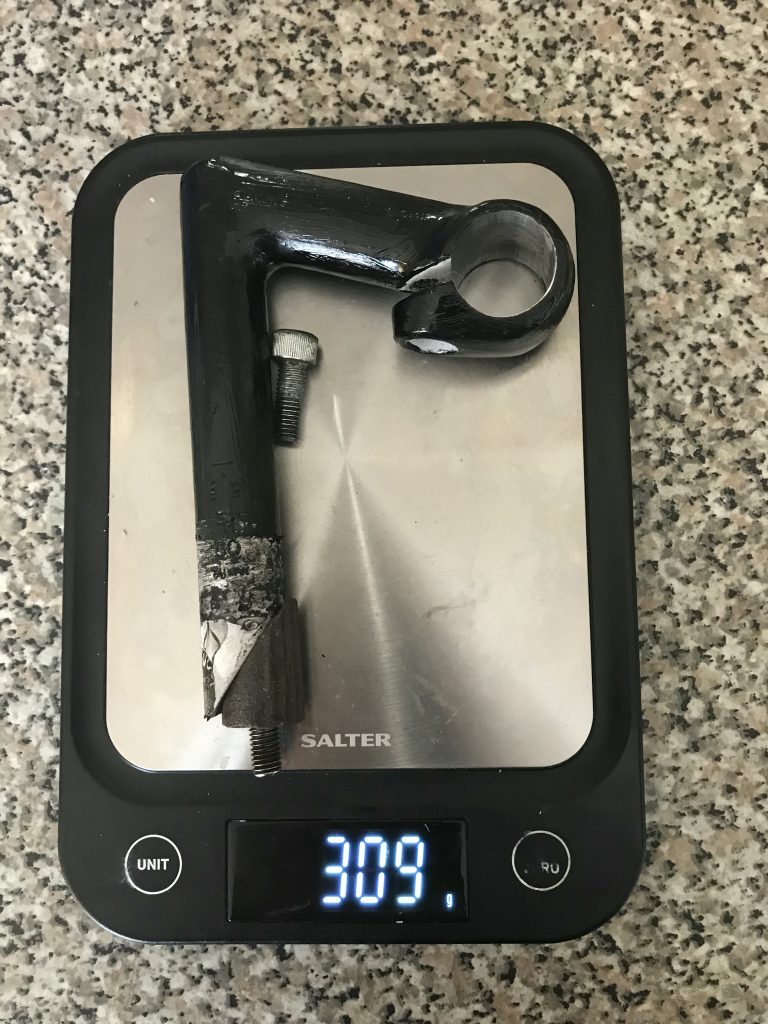
Firstly, I tried to paint my white stem black. I sanded back all the loose and lumpy paint, keyed it, then gave it two very careful coats of Hammerite’s best. Not exactly mint but good enough for me. Or so I thought.

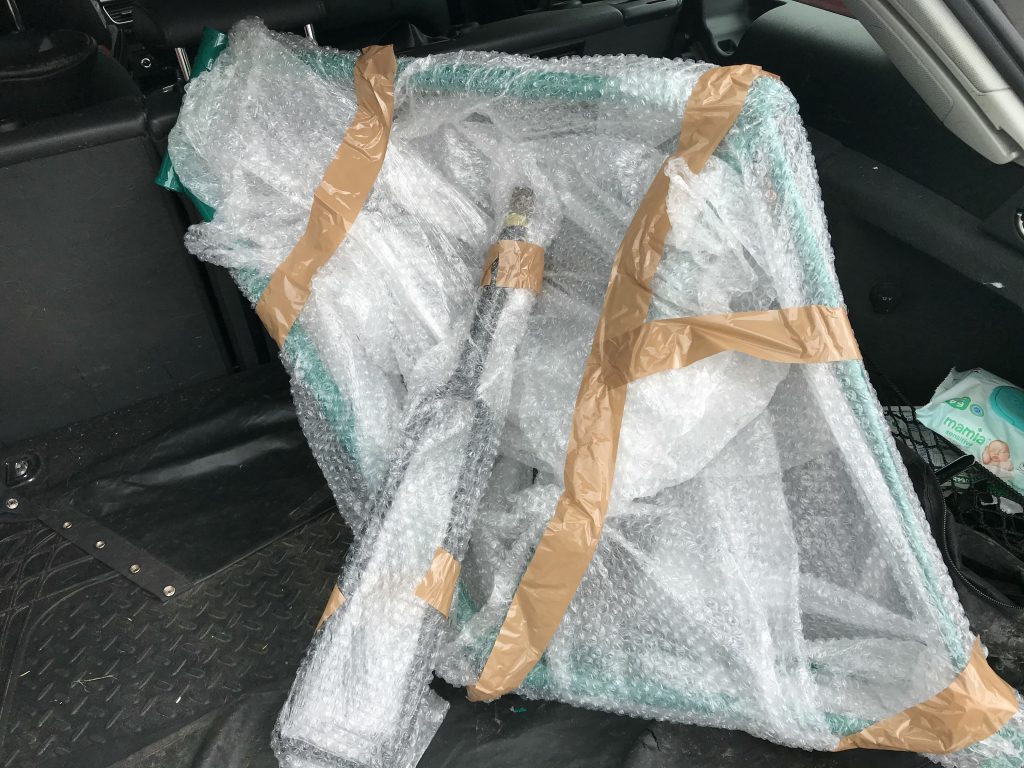
Next, the call came from Vapour Blasting Northants – my frame and forks were finished! A hundred notes later and they were in the back of the car, safely bubble-wrapped up. The colour is pretty much spot on… really pleased with their work so far.

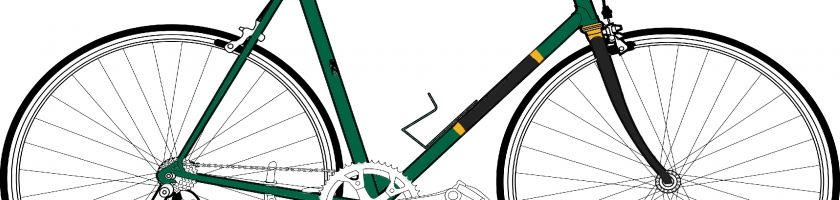
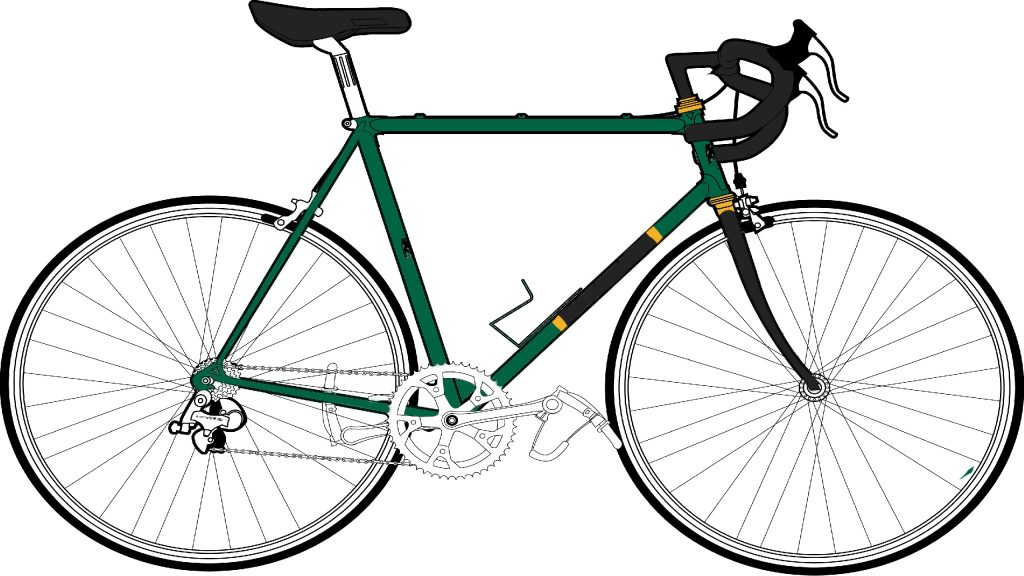
At this point I’ll introduce my planned colourway. It blends a bit of cycling tradition – the bands – with a bit of something that’s dear to me – the Black, Green and Gold.

I have a green frame and forks; the question is how to add the black downtube band and the gold!!

I asked the paintshop about the black band and the owner suggested vinyl wrap. Not convinced but as a low-risk option that sounded good to me. I can always try something later if it doesn’t work out.

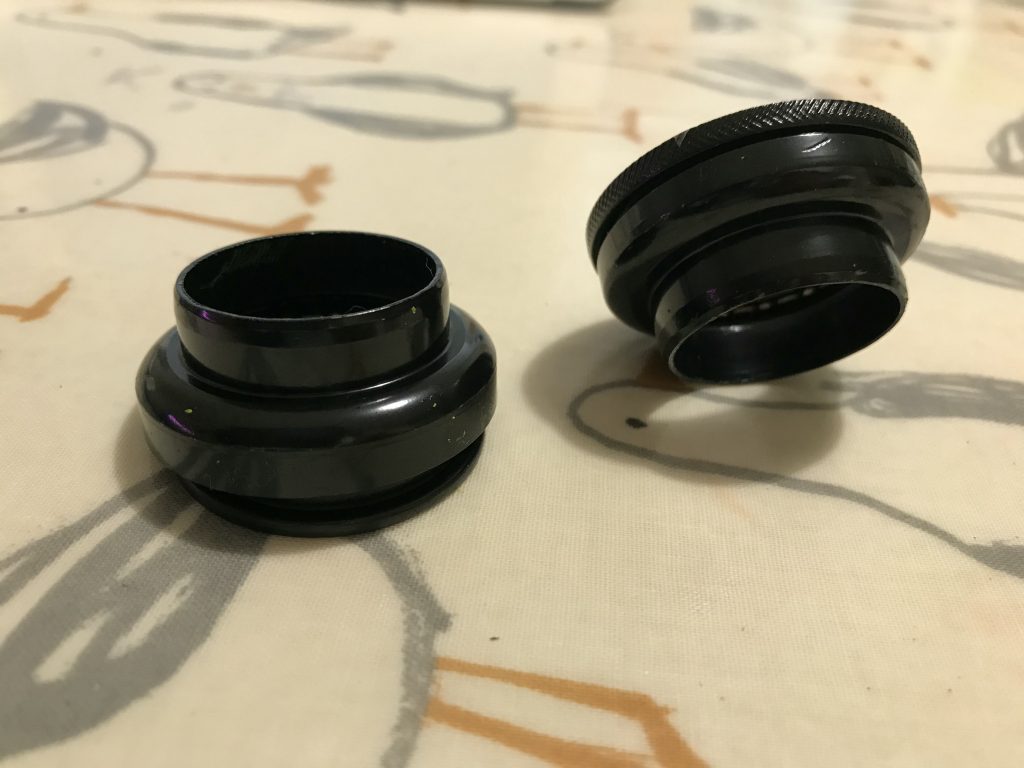
The gold is more difficult. A key part is the headset. My old headset was janky so I decided to junk it in and replace it with a new one from eBay. Slightly annoyed as what I’ve received does not match what I ordered but for a fiver it’s good enough. Painting it on the other hand is difficult. Some very kind friends have explained the theory on how to achieve this magical transformation and regrettably I’m just totally lost. I may just leave the thing back. It does look pretty smart.

The gold on the downtube could be achieved in a kludge with a piece of electrical tape. It feels naff but would do as a temporary bodge. If anyone reading is able to paint a headset and downtube band in exchange for a box of beer, please drop me a line…

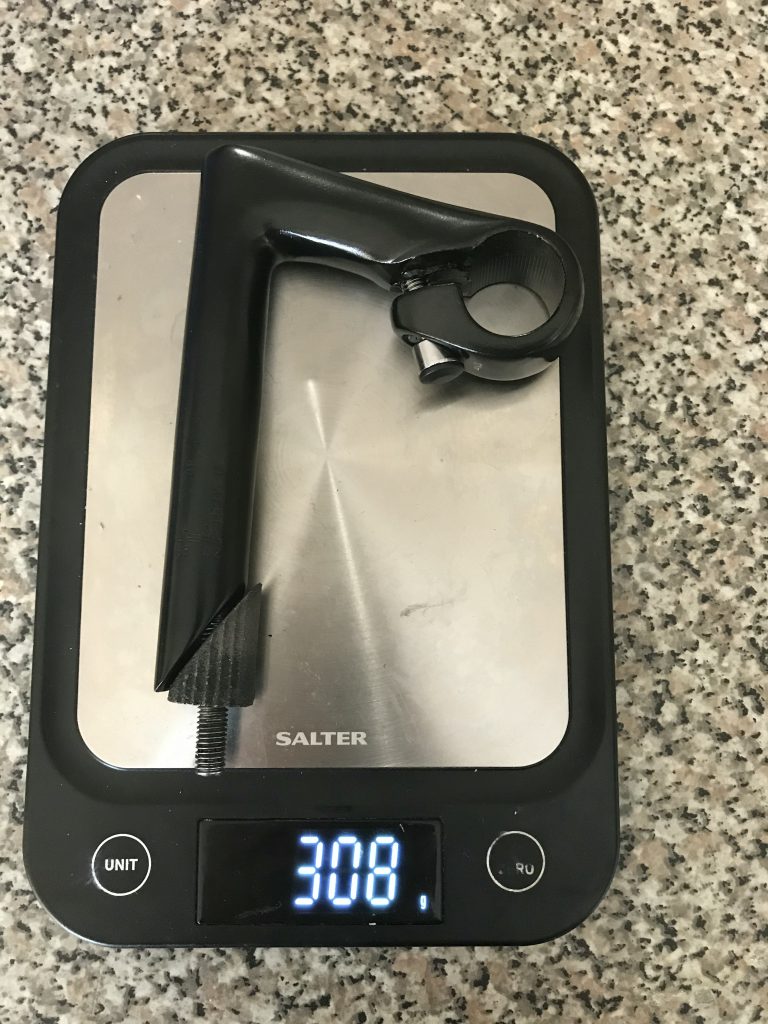
I offered up the headset to the frame; black on green looks good, I’m not going to lie. However, I also tried to pop my newly painted stem in, only to find that the stem:headset interface was precise and a couple of layers of paint were too much. So I bought a new one. It’s smarter and weighs a gramme less (honestly, that’s probably the weight of the paint).

I’m really pleased with how everything is coming together. If I were to abandon the Difficult Gold, I could start reassembly. It’s a tricky decision to make.

It’s my birthday soon (yay!) so I’ve preemptively spent some of my presents on a pair of 90s Campagnolo Record callipers. Sadly, only DualPivot and not the gorgeous Delta brakes from the 90s; I draw the line at £350 for a set of callipers! One could buy a very nice second hand carbon bike for that. I’m also out of freely squintable money so I’ll use my current Cane Creek SCR-5 levers. They’re black and look the business so that’s fine. I have new gear cables and outers so I can fit the bars and braking system as soon as the callipers arrive. That leaves the drivetrain.

The drivetrain is mixed bag. I have everything I need for a single-speed (BB axle, cups, bearings, cranks, chainrings, cassette) but making it change gear requires more of the shiny. I have shifters but need both front and rear derailleurs and this is in a world where a rear derailleur mounting bolt can cost £35. I could save quite a few bob by dropping to Chorus but… it just feels wrong!

I’ve also found I need to make a bearing press. The interface between the head tube and the two races is snug. It took some effort to take the original off and I suspect it’ll take some effort, gently but firmly applied, putting the replacements on. A proper press is expensive but it should be easy enough to Heath Robinson one up with a coachbolt, some large washers and a couple of nuts.. Watch this space…

Cassettes and Axles

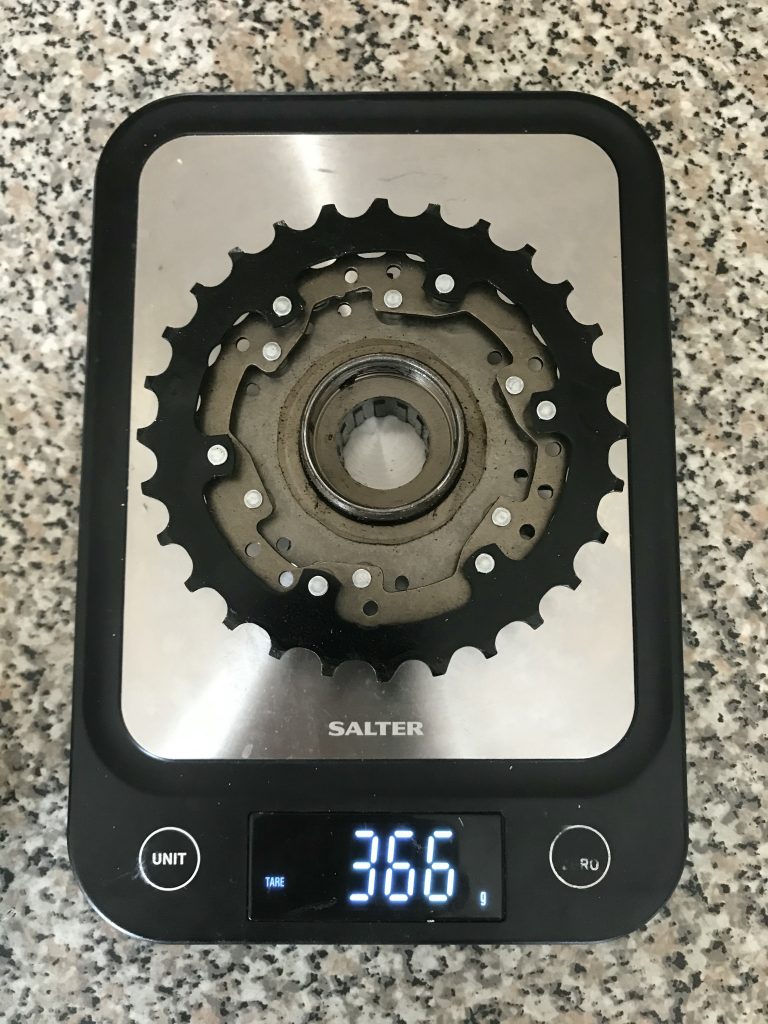
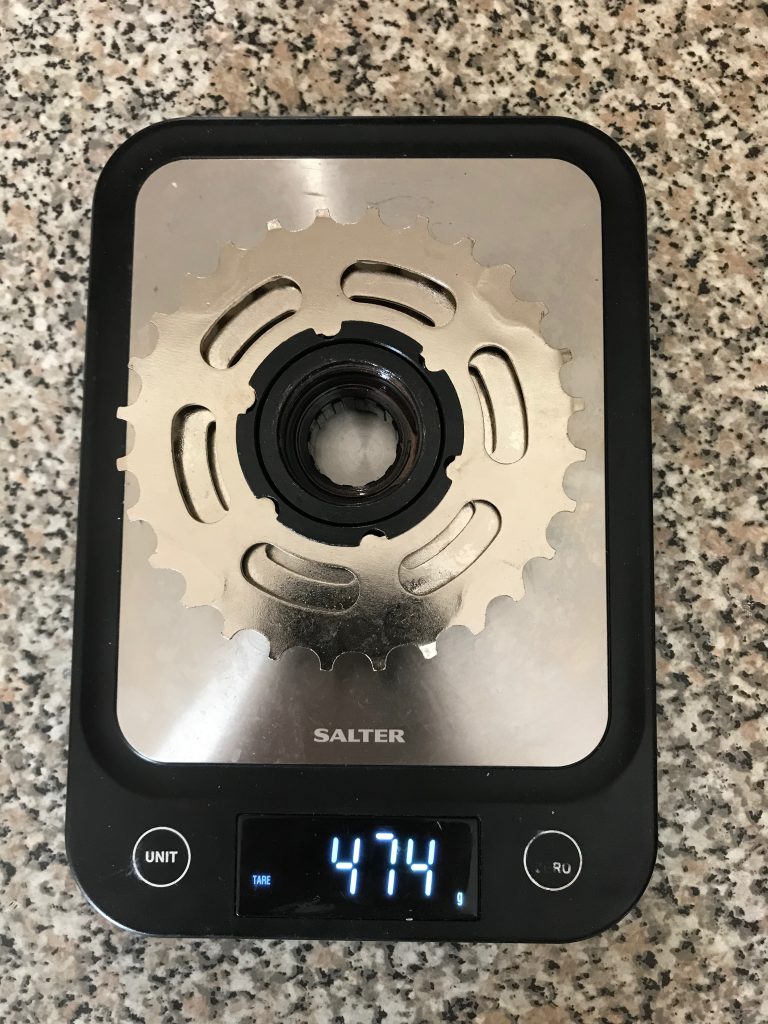
Two updates: firstly, I bought a new seven-speed freewheel cassette. E-bay special. I went for a cheapie one and I totally regret it; it’s considerably heavier than the pukka Shimano 6-speed it’s replacing and just doesn’t smack of the same quality. Who’d have thunk it? Still, it’s on and if I want to splash £20 later in the build I can always switch it. Weight in the hub of the wheel makes a difference to rollability.

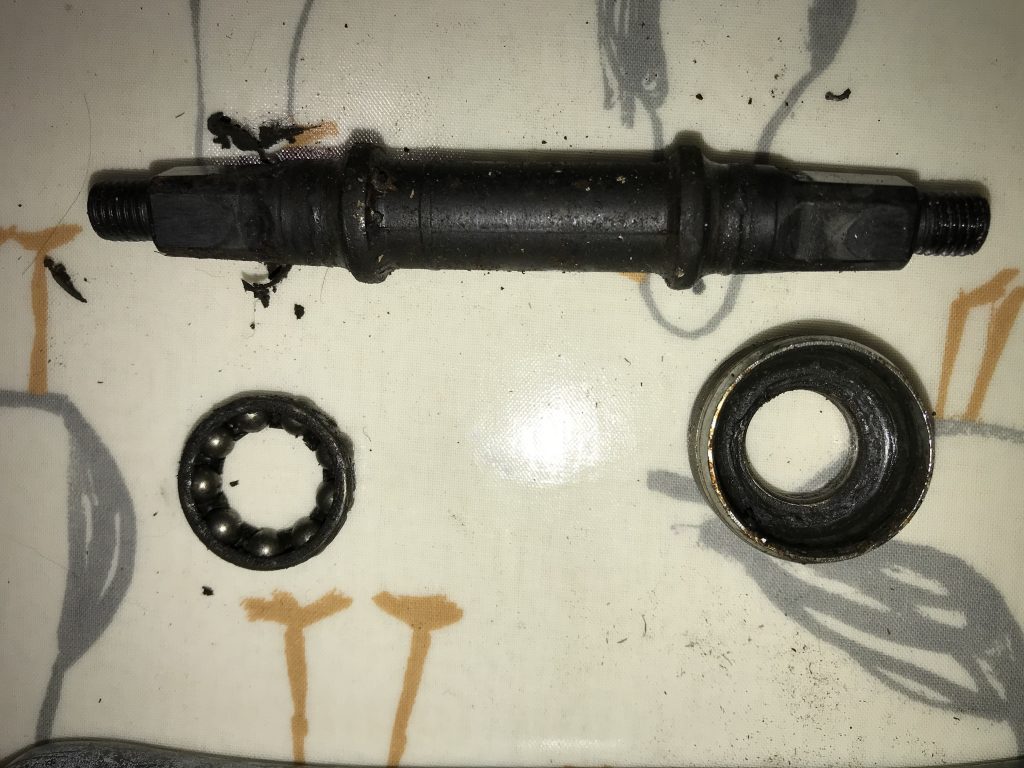
Secondly, I came to a conclusion about bottom brackets! The replacement crankset requires an axle with internal thread; the original wax external. (Essentially: the original used nuts to fix it on whereas the replacement uses bolts.)This means I cannot re-use the original The trade-off went something like this:

  1. Reuse the bearings & cups; purchase an ew replace with an internal axle. Pros: much reuse of the original components, so retaining soul and saving landfill; cheap!
  2. Buy sealed bearing BB replacement. The Shimano UN-55 is a great example; there are lots of others out there catering to the fixie, BMX et al communities. Pros: it’s sealed so it should last forever; cons: they’re quite expensive and need some more expensive tools (which I’ll only use once).

I decided on Option 1. I don’t think I’ll be riding enough, or in poor enough weather, for a sealed BB to pay itself back and I’d like to retain some soul and save some landfill. (As an aside, or similar reasons I’ll be reusing my original quill stem.) A friend offered me the loan of the tools but all in all it’s cheaper and easier to just replace the axle.

The next fun part was determining the axle size. There are four critical measurements on a BB axle:

  1. The length of the axle, end-to-end
  2. The distance between the non-drive-side end and the shoulder of the inner race;
  3. The distance between the non-drive-side and drive-side race shoulders
  4. The distance between the drive-side race shoulder and the drive-side edge.

There are so many options, some of which are 1mm apart and precise measurements are tricky. It was about half an hour before I saw the letters “3L” stamped on the side, which turned out to be all I needed.

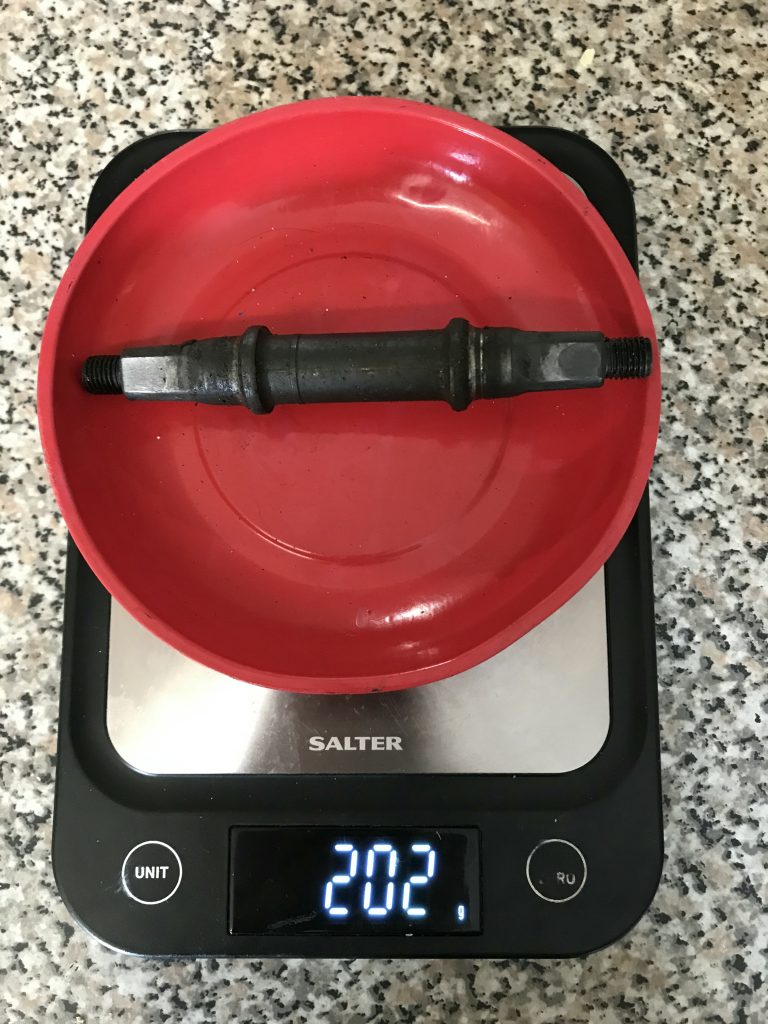
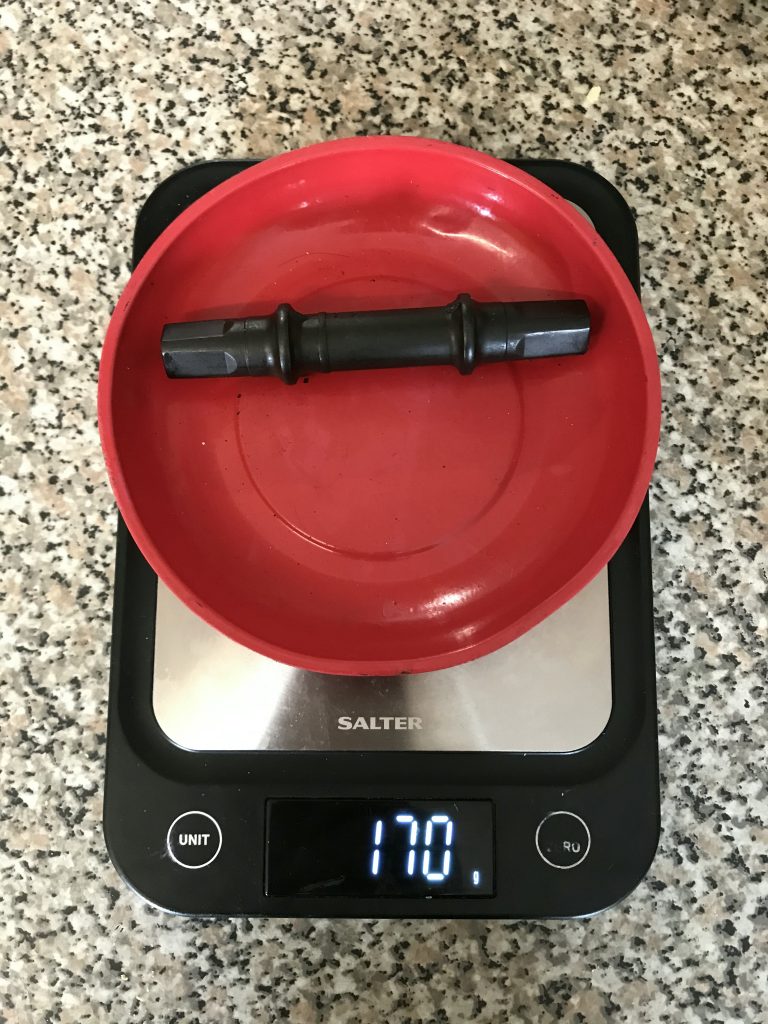
The kit all arrived this weekl The replacement axle is a few grammes lighter than the original; with bolts and washers, it’s the same as the original without nuts. So basically no different..

In other news, the frame and forks are at the workshop and they’re doing them this week. Should be back by Friday; very much looking forward to how the turn out! That’s when the real re-building fun begins.

Forks In

So, forks. After much deliberation, watching youtube and the thought of flexing my puny cyclist arms against forged steel, I decided to abandon the idea and buy new ones. I managed to find the sole auction for a set of 1″ threaded forks with a steerer over 207mm and hit ‘buy’.

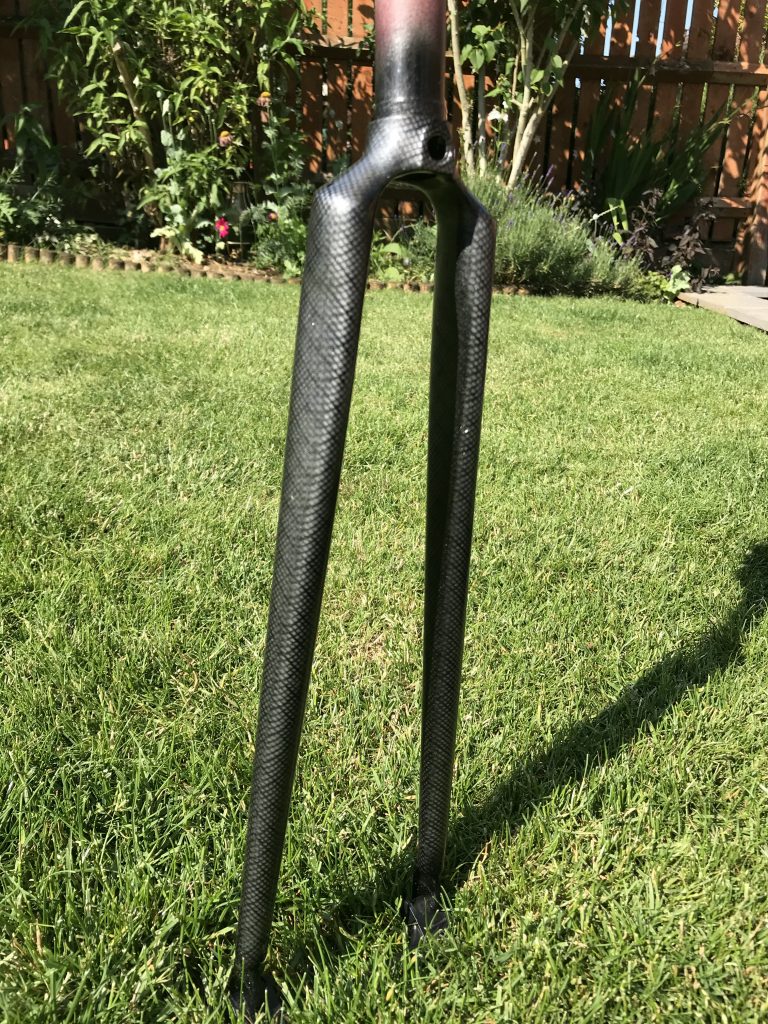
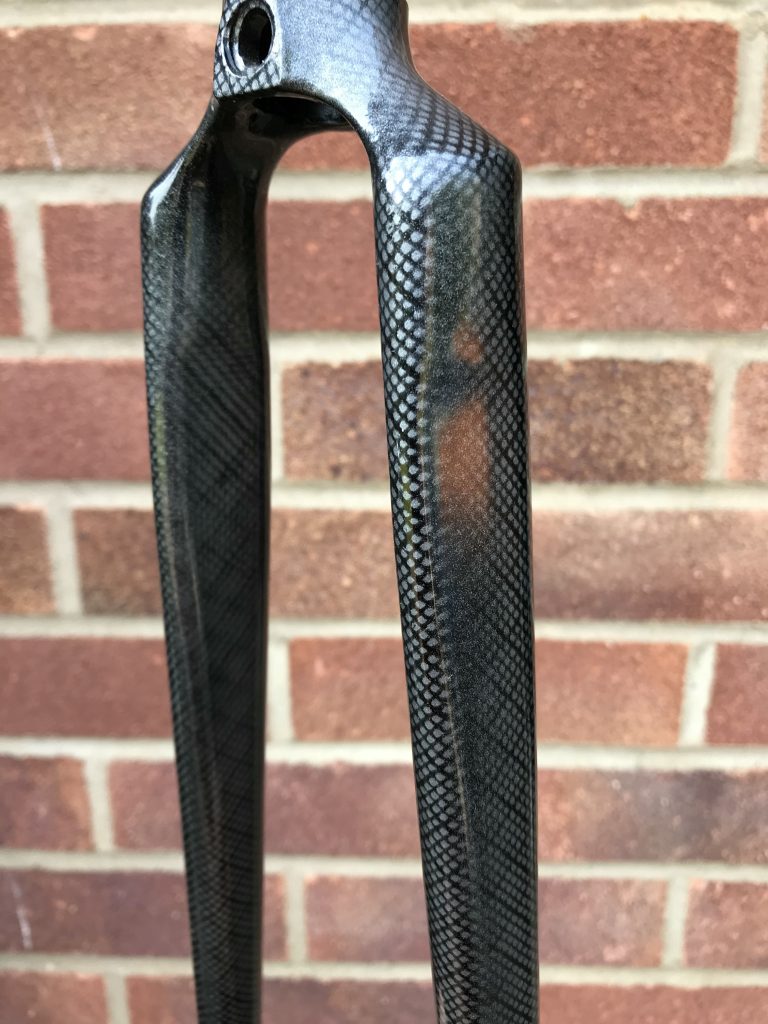
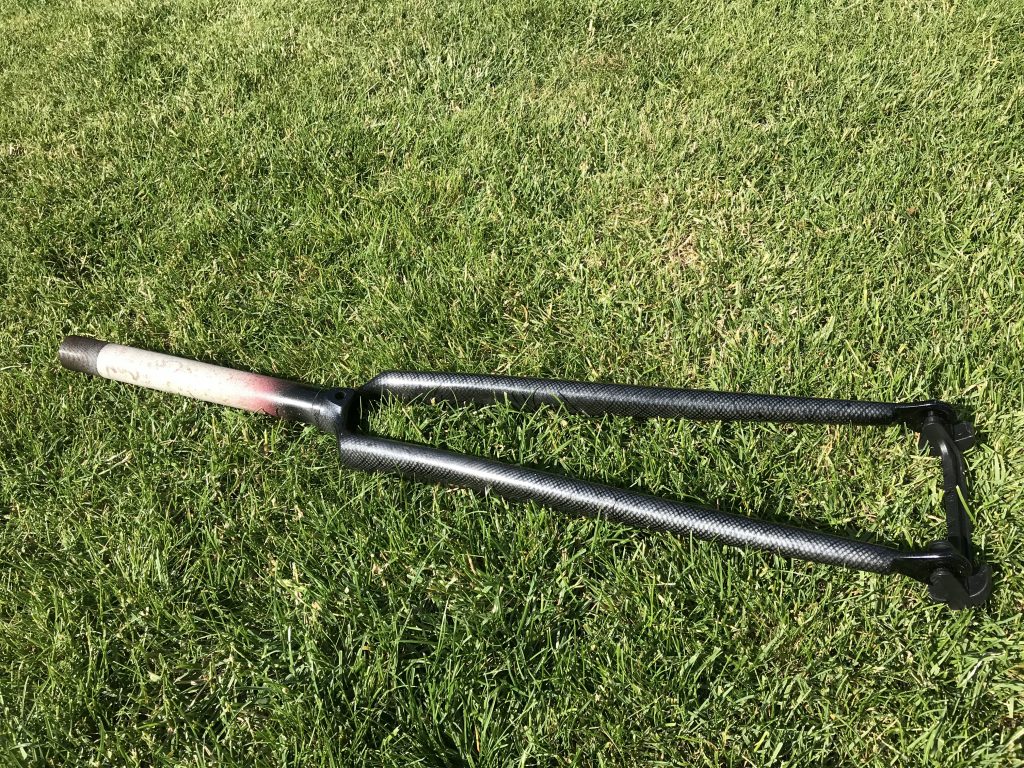
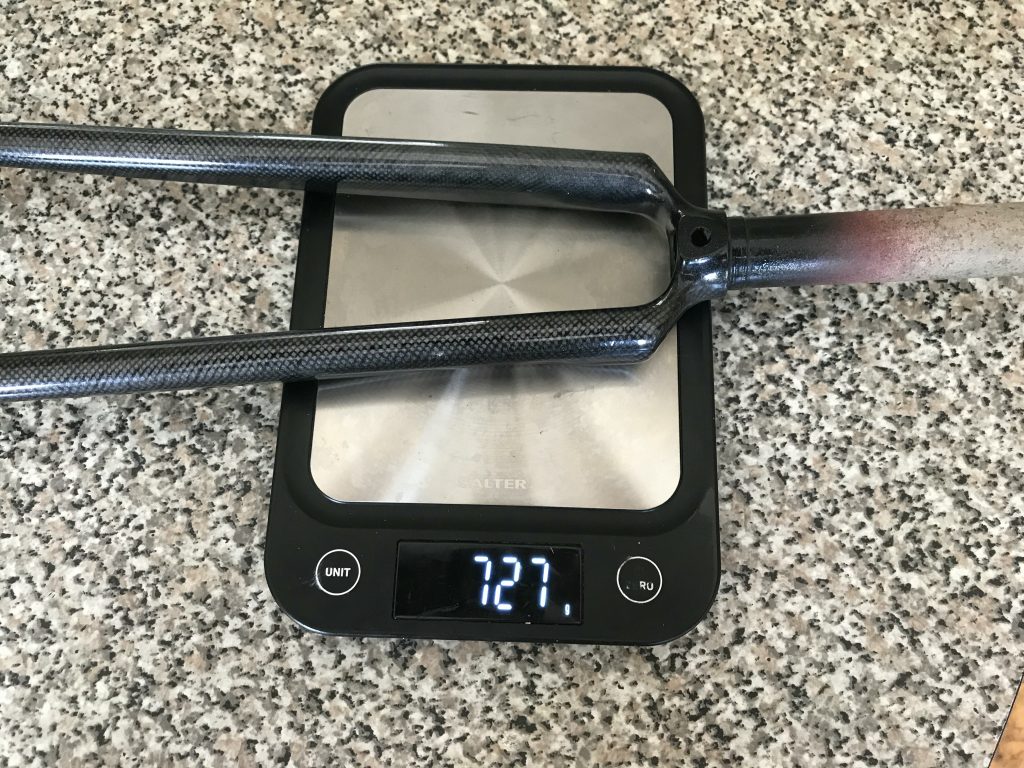
They’re made from Columbus SL tubing (apparently “the Italian Reynolds”) and have a lovely bladed profile to them. They’re currently painted in a really dodgy carbon fibre-effect so they’ll be joining the frame in the blasters and coaters. Seriously. Who’d put carbon effect on a steel road fork?

Dodgy carbon effect aside, I’m really pleased. They’re apparently new; the general condition bears that out, particularly the brake mounting point. They don’t have the chunky shoulder pads I was hoping for but the blades more than make up for that.

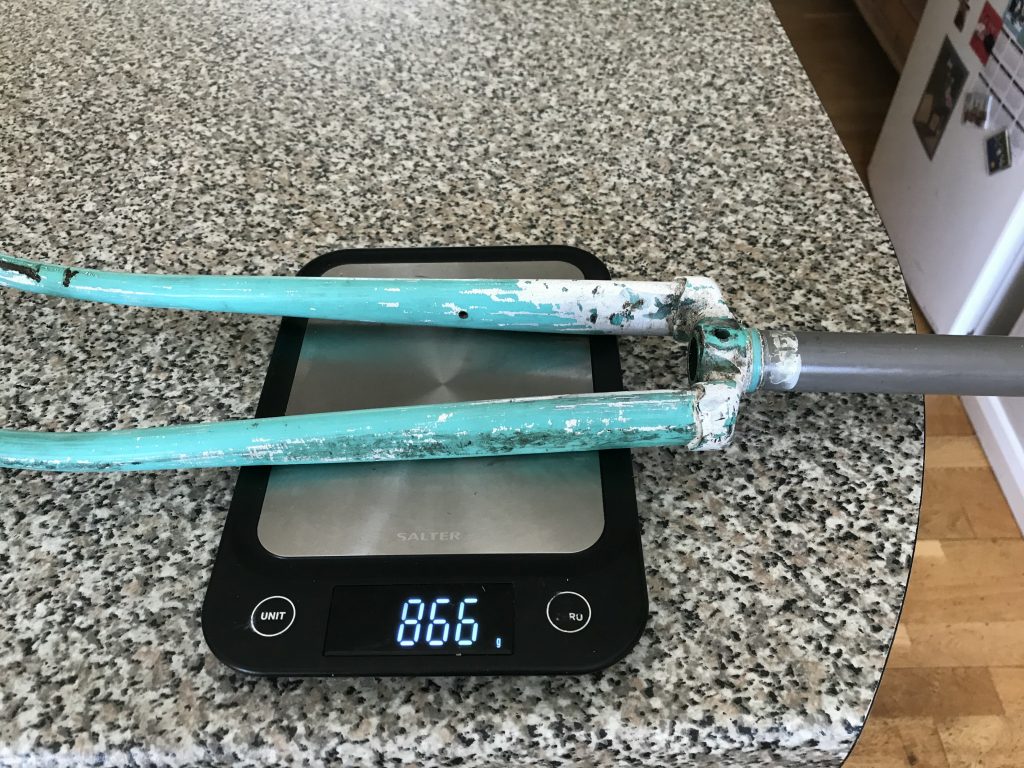
Of course, I had to weigh the two. For once, there is real daylight between the two components. 151g. I mean, that’s enough for me to eat almost three Mars bars and still be ahead. Ventoux watch out.

I also made a decision on the frame. I’ not going to try and cold set it. It is wonky but it rides just fine and that’s what I’m going to be calling “character”.

With the forks in and frame ready, I can take the next step. I’ve booked them in with Vapour Blasting Northants to be vapour blasted and powder coated and will be dropping them off tomorrow morning after the school run. I’ve kindly been given the right Pantone colour, found a dodgy Internet site which reckons it’s found the nearest RAL code and apparently that’s what I need for paint. We’ll see how it turns out next week!

Chainsets and Shifters

It’s been a quiet time on the bike. A couple of bits have arrived though.

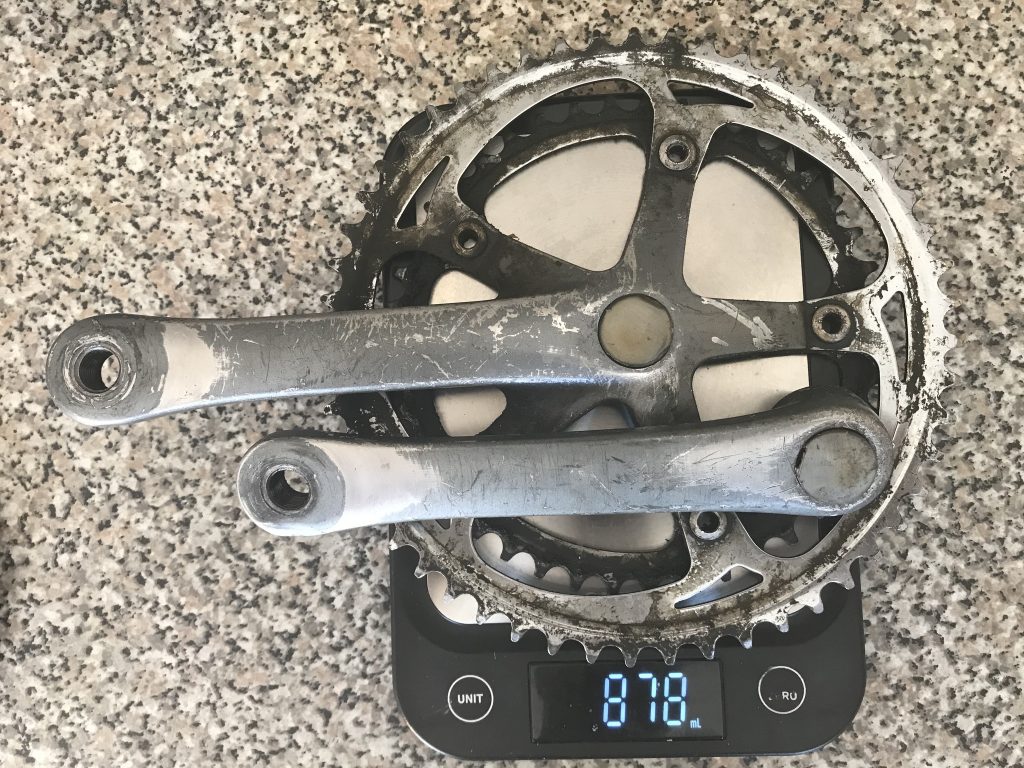
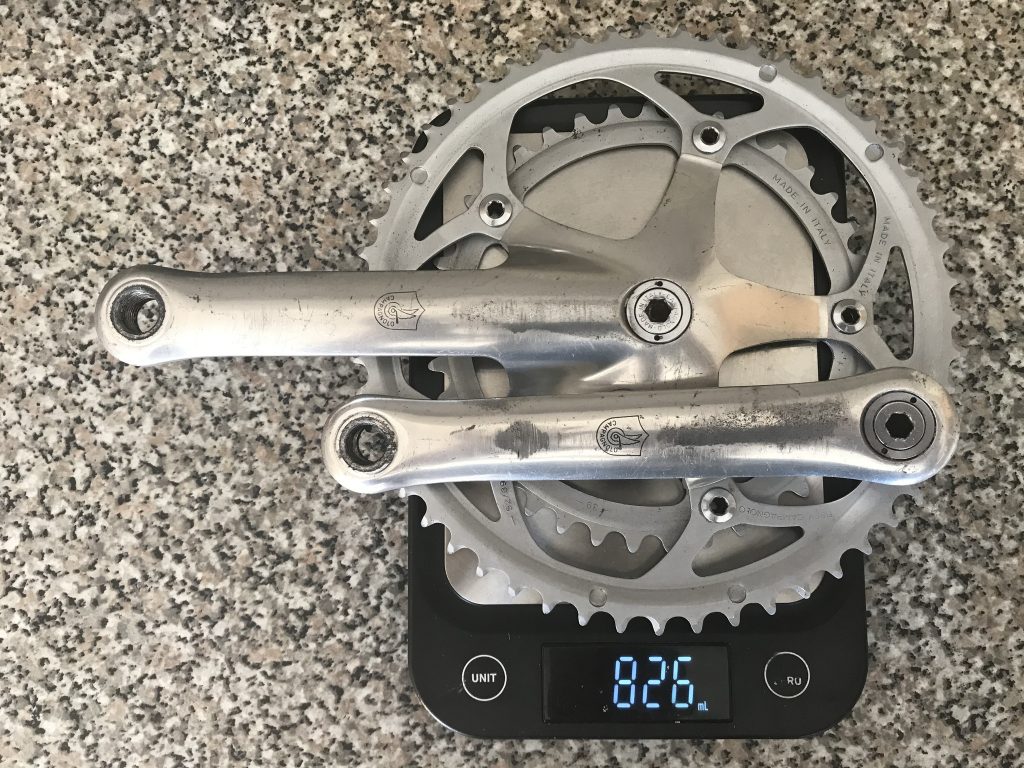
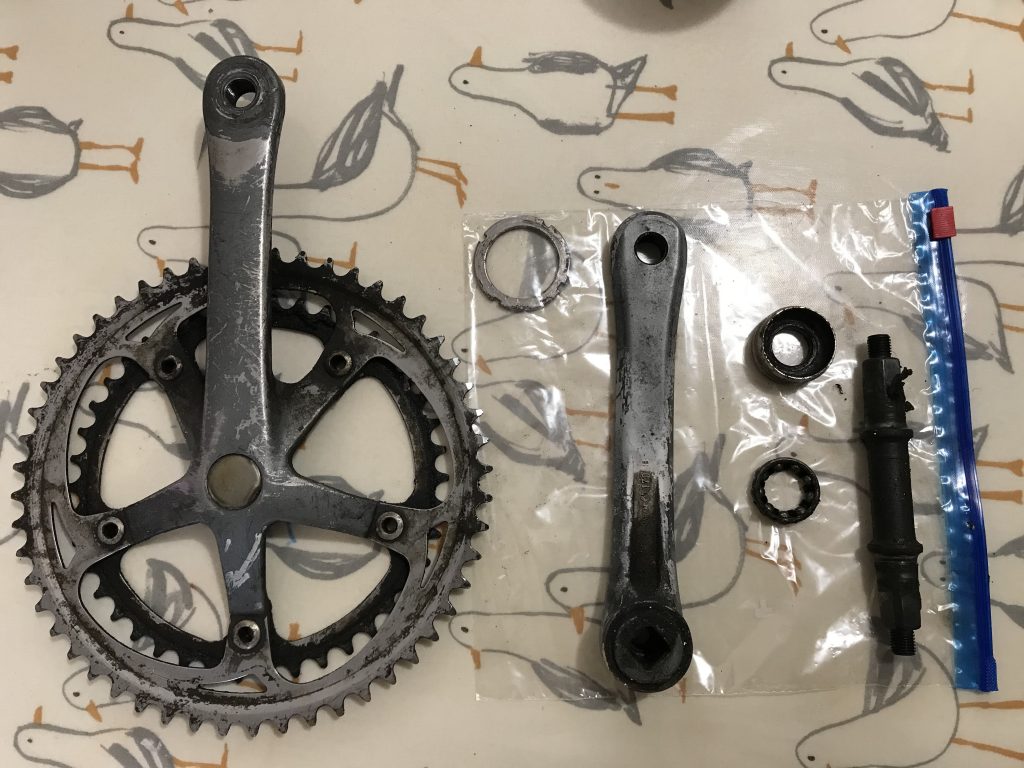
Firstly, the Campag chainset. Fairly easy to assemble and arrived in really good condition. It weighed a mere 826g compared to the Shimano’s 878g. That’s a 52g saving which, I think you’ll agree, will help on the Pyrenees. For comparison, a modern Shimano Ultegra chainset weighs 674g and a Campag Chorus chainset 684g. The majority of this I would assume is owing to the carbon fibre construction.

Secondly was the shifters, which arrived separate. It’s a bit like a jigsaw without the lid. Weight-wise, a whopping gramme lies between them. Comparison with modern components is difficult as latterday shifters are combined with levers. However, as more components arrive (and are removed), we ought to be able to construct a picture.

Speaking of construction… the jigsaw. Happily, lots of other people on the Internet have had the same problem. I’m going to put tow links here so I at least can find them later:

A final detail: the crank bolts are just that; not nuts. This means that I cannot reuse the spindle I had previously. Options are to find a comparable Campagnolo spindle or to buy a new sealed cartridge bottom bracket. Acquiring a decent spindle shouldn’t be too much of an issue; there are plenty about, albeit overseas. There are also vintage sealed cart BBs. So many decisions!

Get your cranks off, baby

I had found there is little in this world quite as satisfying as removing a stuck-on crank. It’s like that feeling you get when removing the protective film from a new mobile phone, achieving the gift-wrap-glide or watching a slinky on a treadmill.

Postie brought me presents today. First up was the crank puller. I was reflecting that, depending on what I cranks I put on, I may never user this tool ever again and I probably could have borrowed one – but hey ho, its outline looks good on the tool wall. Pulling a crank is shown very well at https://www.youtube.com/watch?v=64m1mmPFxcc; that bit at 3:00? Ooh….

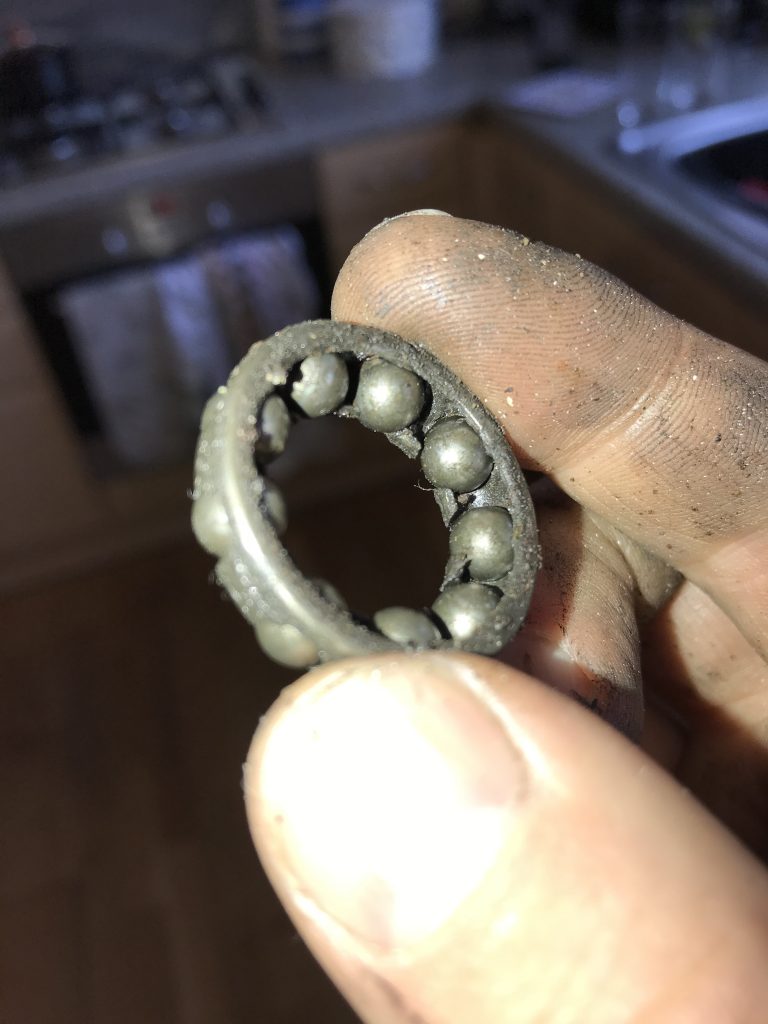
With the cranks and locknut off, the cups came out easily and with them the axle. As expected, the bearings were properly manky with barely a drop of grease to be seen and plenty of dirt. I now need to decide whether to clean, re-grease and replace the bearings – assuming they’re in good nick (I haven’t had a proper look) or whether to install a modern square taper sealed cartridge BB like those found at https://www.sjscycles.co.uk/square-tapered-other/ Given that a packet of BBs is only half the price of a sealed cartridge I’ll probably opt for the latter.

The second postie present was a set of thread pitch gauges, using which I have confirmed my BB uses 24tpi threads. The last detail is important; old Raleighs often used 26tpi and that would have made sourcing a replacement tricky. Happily I can rest easy! It’s also 68mm and English threaded (lefty-tighty, righty-loosy on the drive side).

For completeness, I also removed the gear cable guide from the underside of the BB and the iconic Raleigh Heron badge from the front. The strip is complete! All I need now before heading to the blasters is to sort out these wretched forks…

Stripdown

Stripping down a bike is fun. There’s always just one more thing to do! Indeed I got so involved that I missed my window of actually riding which was annoying. I didn’t set out to strip it; I set out to remove the forks so I could see exactly what I needed. But one thing led to another, and well… most of the components are now off. All I need now is a crank puller so I can pull some cranks. One’s been on the way for a week.

Things I found:

  • 30+ years gathers a lot of crud. Mental note for the future: make sure I clean my bike regularly. Removing the front derailleur was horrendous and the bottom jockey wheel on the rear didn’t actually spin.
  • The brake cables were fine (IIRC I replaced these about 200 miles ago). The gear cables had so much slack I’m surprised they shifted at all.
  • Nut sizes in the 80s were variable to say the least. Imperial? Metric? Let’s have a bit of everything!
  • My best friend was the adjustable spanner and a block of wood.
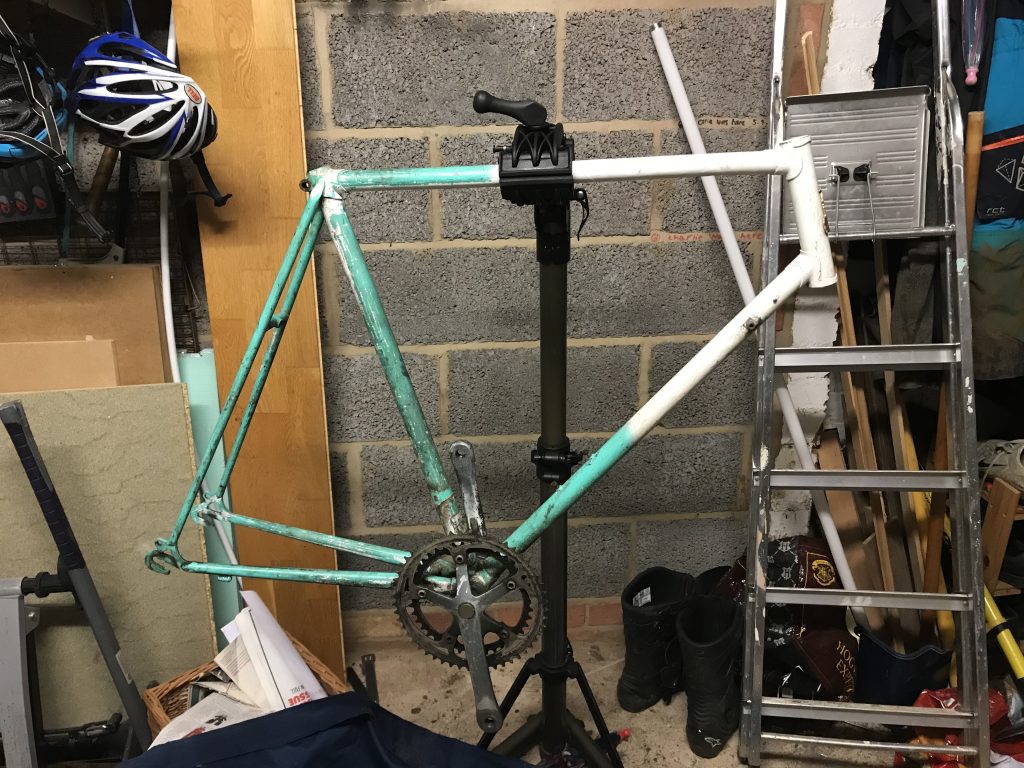
So, the fork is a 1″ threaded fork with 8″ steerer for 700c wheels. And I really want one with the big 80s shoulderpads. To e-bay!

… where I might have already found a Campagnolo Record chainset for sale. Probably shouldn’t have hit ‘buy’ but there’s nothing like shiny hardware lying around to motivate…

Bearings and Bendings

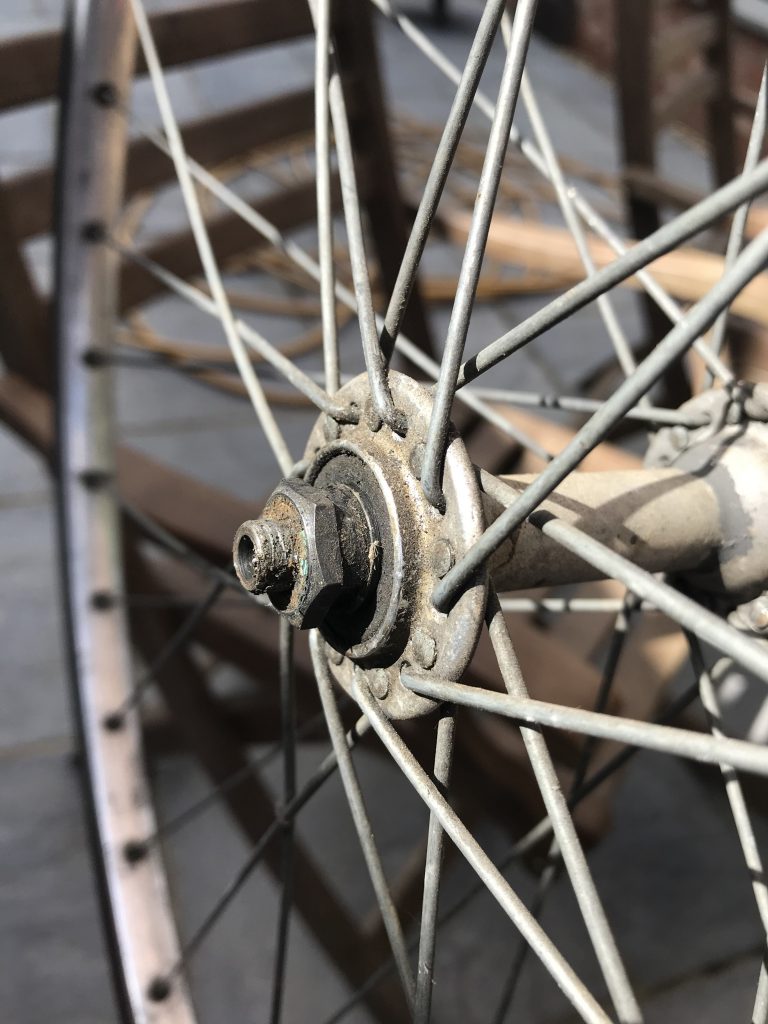
In between other tasks today, I stripped, cleaned and re-greased the bearings on the front wheel (I had done the rear previously). They started mucky, they ended beautifully clean!

All I need now is a tool to remove my cranks and that’s part one done. Tools used: 13mm cone wrench, adjustable spanner (imperial) and a tub of grease.

After a nudge from a friend, I inspected the frame. The forks are quite bent; each blade is bent back and each by a different amount. You can see some bend in the picture below. Not sure what to do about this. I might just deal with it – after all I never really noticed, other than having to be careful when mounting wheels and not turning too sharply lest I foul on my foot. The rear, however…

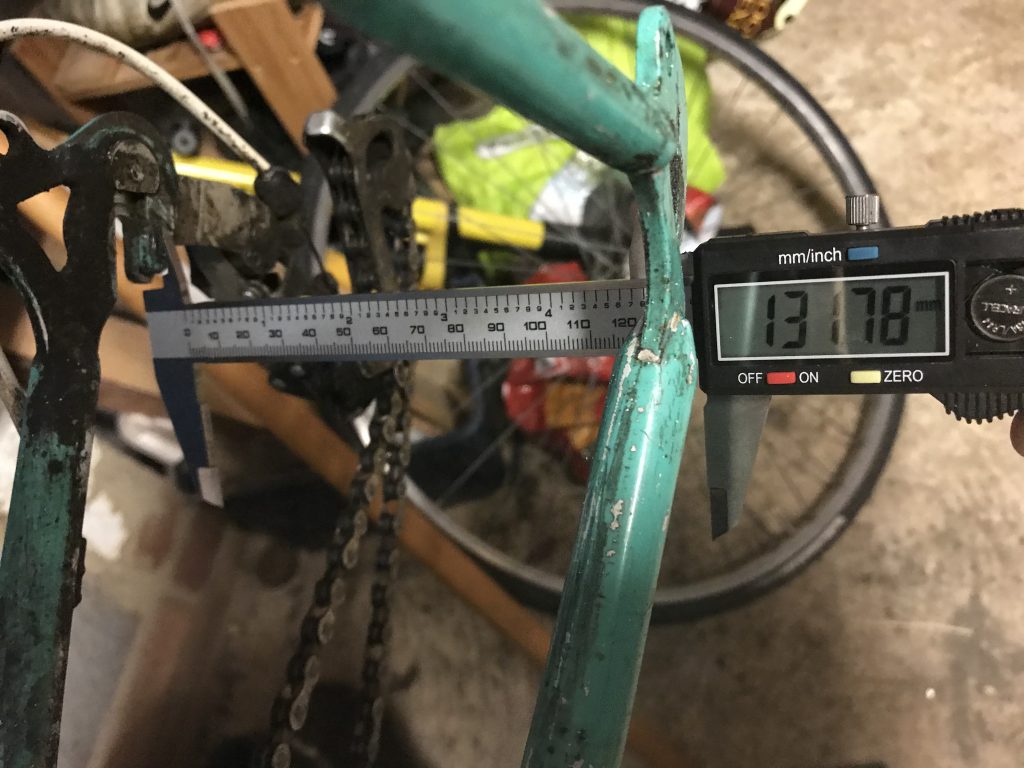
I used a broom handle to check the frame alignment. You run the handle down next to the head tube and seatpost and inside the rear stays, right down to the dropout. Measure the distance from the handle to the dropout. Repeat both sides; the distance should be the same. It wasn’t; the left side was 15mm away; the right 36mm! A major imbalance. Furthermore, I said previously I didn’t want to cold-set to 130mm spacing at the rear; however, it turns out that someone else got there first.

The gap from centre to each side should be 66mm, having originally been 63mm. A bit of maths tells me it’s now 56mm on the left and 76mm on the right; so not only has the frame been widened, both stays have been pushed to the right.

This leaves me in a quandary. I’m not going to try and cold-set the frame back to 126mm; leaving it as-is gives me loads of options including freewheel-based Campy 7-8 speed or freehub-based 8 speed and up. However, I ought to centre it so that the frame is at least aligned which means moving both stays by 10mm – but then it doesn’t shimmy and I can ride it hands-free so i’m half tempted to leave it.

Wider stays meant I was able to put my (knackered) Fulcrum RQ Carbons in, just for kicks and giggles. Talk about era clash. So wrong it’s right!

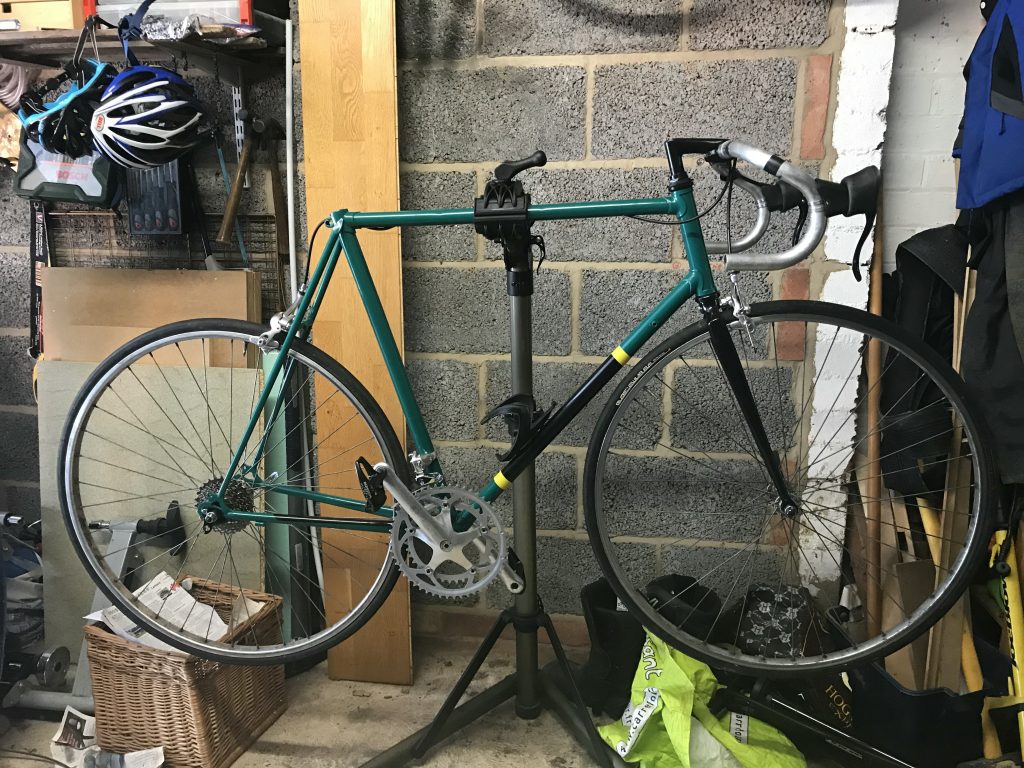
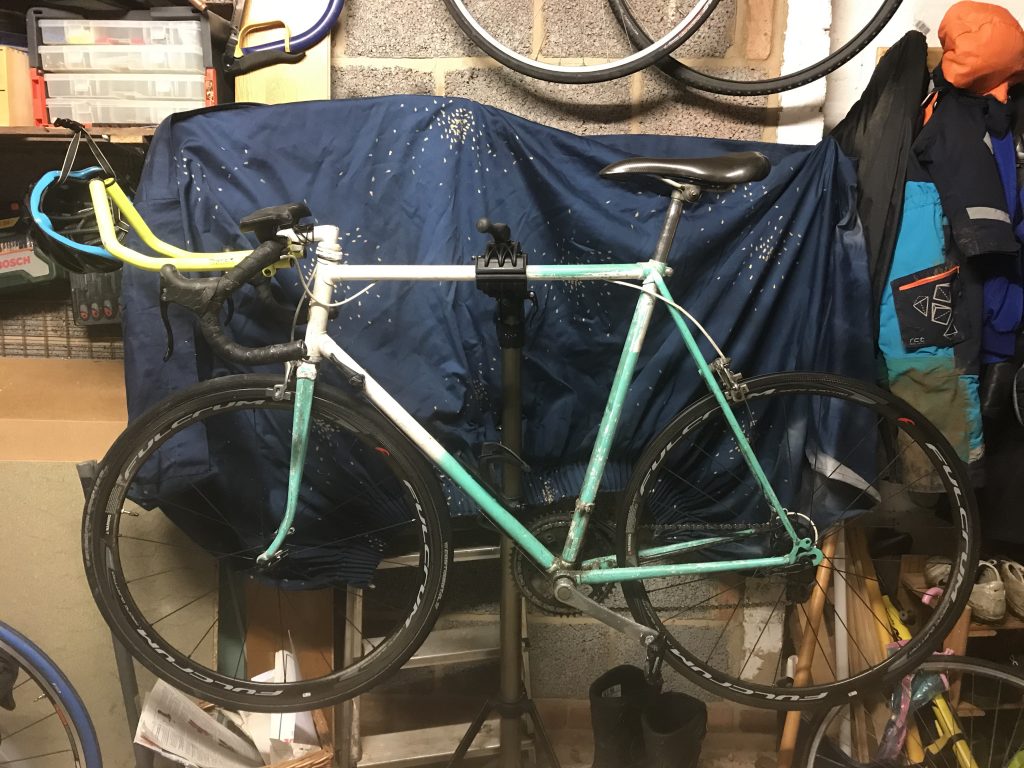
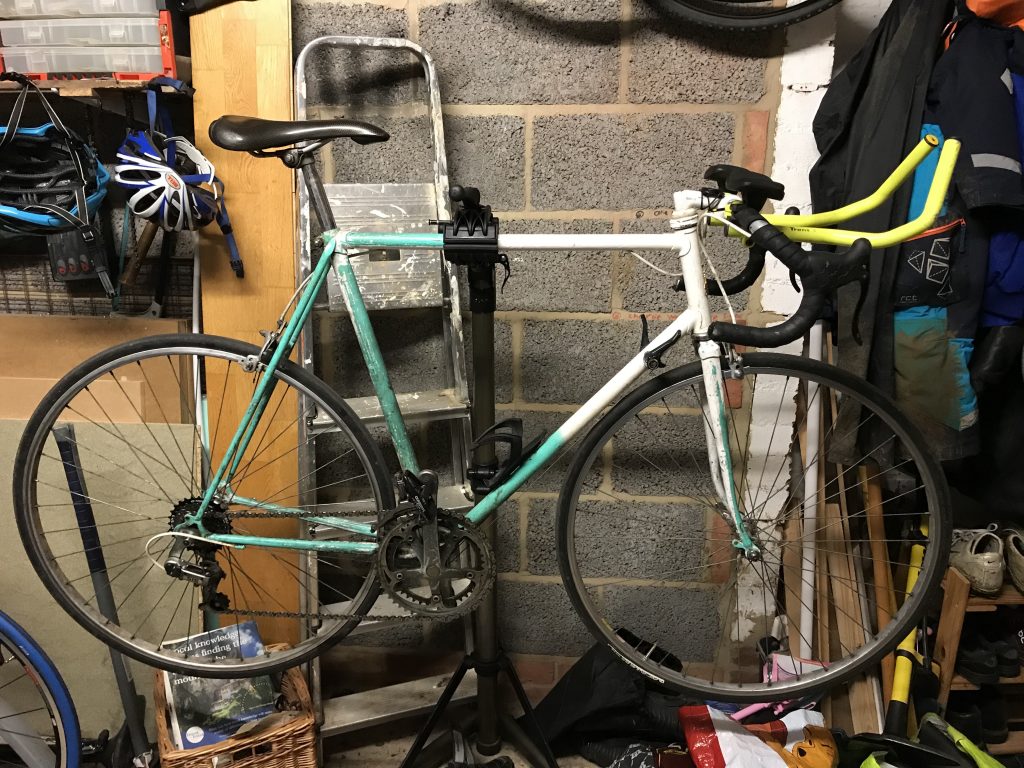
The bike, as was.

The Lockdown Project

Slightly late to the party; I’ve spent the first eight weeks of COVID-19 Lockdown working hard, but as the fine weather has been growing I’ve been doing more cycling; and, to keep it fun, I’ve been using my 1988 Raleigh Equipe. Now this is a bit old and rusty and I’ve been meaning to overhaul it for a while. What better time than the present?

Why this bike? Simply, it’s mine. I bought it for £50 from a man in Haywards Heath when I was 14 and it’s been with me for the last 25 years. I’ve done thousands of miles on it, including commuting 3.2 (important!) miles each way to school for two year, my first sportive, the BHF London to Brighton in 1996, and it was my hack at Uni. My Dad bought me the tri-bars for my 15th birthday and they’ve been on ever since.

It’s a bit of a behemoth. As pictured, it weighs 11.9kg. I believe it’s made from high-tensile steel – not even Reynolds 501. Ideally I’d have a 501 (or even 531!) tubing bike to do up – but it wouldn’t be mine, and that’s important. It has six-speed SIS gears – among the earliest – and predates quick-release. The skewers work but there aren’t any “lawyer lips”. I ditched the suicide brake levers some time in the late 90s and replaced them with sawn-off levers with hidden cables. Sawn off because those grammes mattered. Around 2010 I finally changed them for a pair of Cane Creek levers; so much better. The calipers are original Weinmann; the pedals Shimano SPD-SL because that matches my other bikes. Chainset is 52/36; oddly, I spend all my time in the inner ring. These things are heavy! The cassette is a recent 14-28. and the chain a recent KMC X7 (love the snaplinks).
The paint job… some nutter in the late 90s decided his bike would look better white, bodged it then bodged scraping it all back off.

So, what to do with it? I have three main goals:

  1. Bearings. The grease is all old and manky, they’re not rolling so smoothly and the crank is wobbling. Sort ’em out! This may involve replacement; it may involve just a good old clean up and re-grease. See what I find. Chief culprits are wheels, headset and bottom bracket.
  2. Paint. It’s been a tribute to misguided youth for too long. I’d like to have it shot(?)-blasted then powder coated in a colour scheme of my choosing. It’s not going to ape any of the historic cycling teams – but it will relate to something I love with a retro cycling twist.
  3. Gruppo. Long time Campagnolo admirer and there are lots of retro bits on e-bay. Some are NOS and £££££; some are well used and £. The wheel is 126mm and uses a freewheel. I’m not interested in cold-setting the frame (hard work plus I have other 9- and 11- speed bikes) so this puts me at 7-speed. Given the era, parts appear interchangeable so I can put them on in any order I like. In theory, this should mean I always have a working bike.

This bike is for relaxed cycle rides with the family; I have others for weight-weenie-ing. That said, I’ll be interested to see what it weighs at the end. Might drop a whole half a kilo!