Installation is the reverse of removal

“Installation is the reverse of removal” is a familiar phrase to anyone who’s read a Haynes manual. It usually appears at the end of a set of long and complicated instructions about removing something oily and can be translated as: “putting it back on is just as hard and complicated as taking it off. Good luck!”

With the bike back, it’s now time to re-build. So far there haven’t been too many issues.

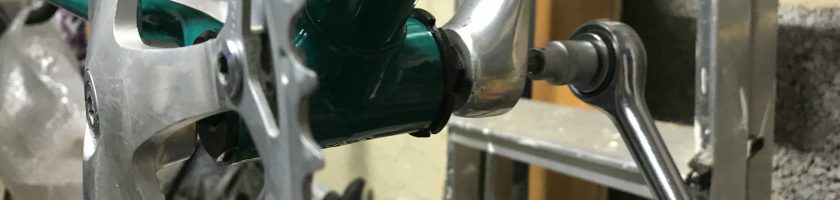
First up was the bottom bracket and cranks. These went on like a dream, the replacement BB cup and cone fitting perfectly after I’d cleaned up the shell threads. The axle went in, the cranks went on, followed by the pedals; it was pretty much perfect.
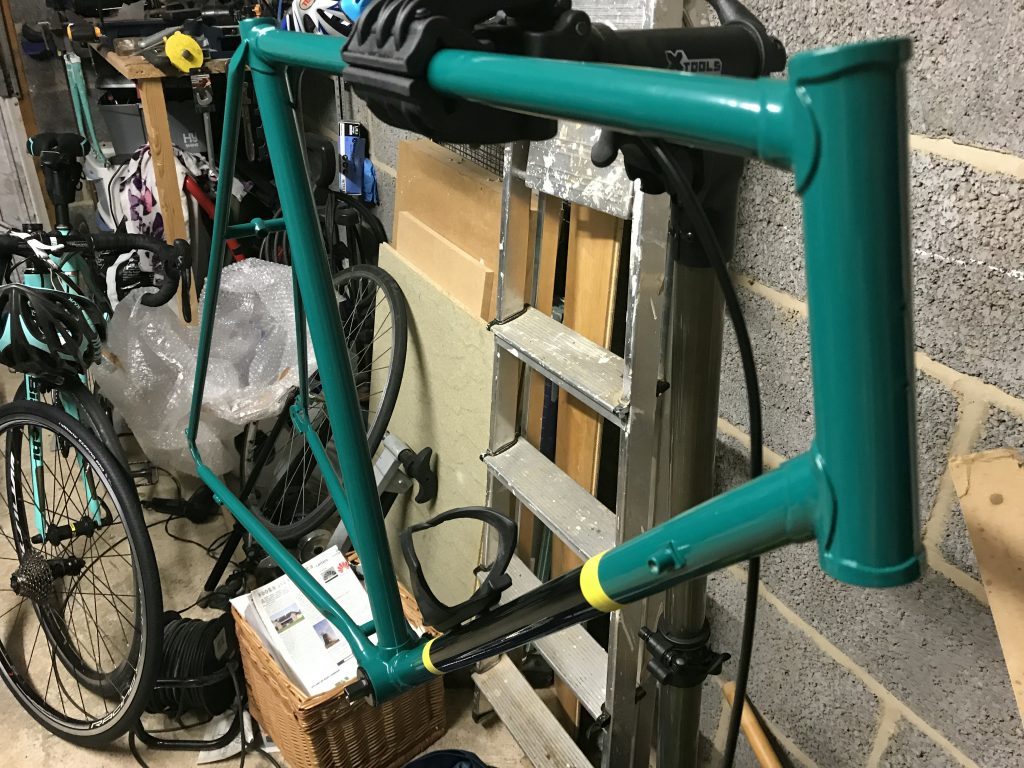
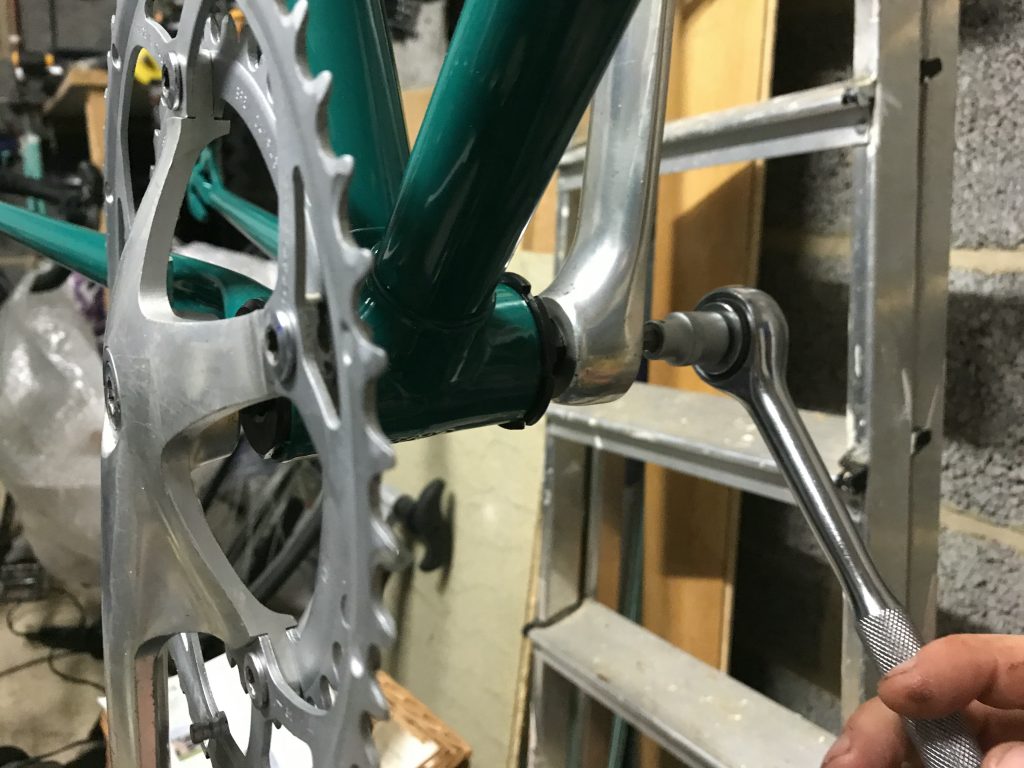
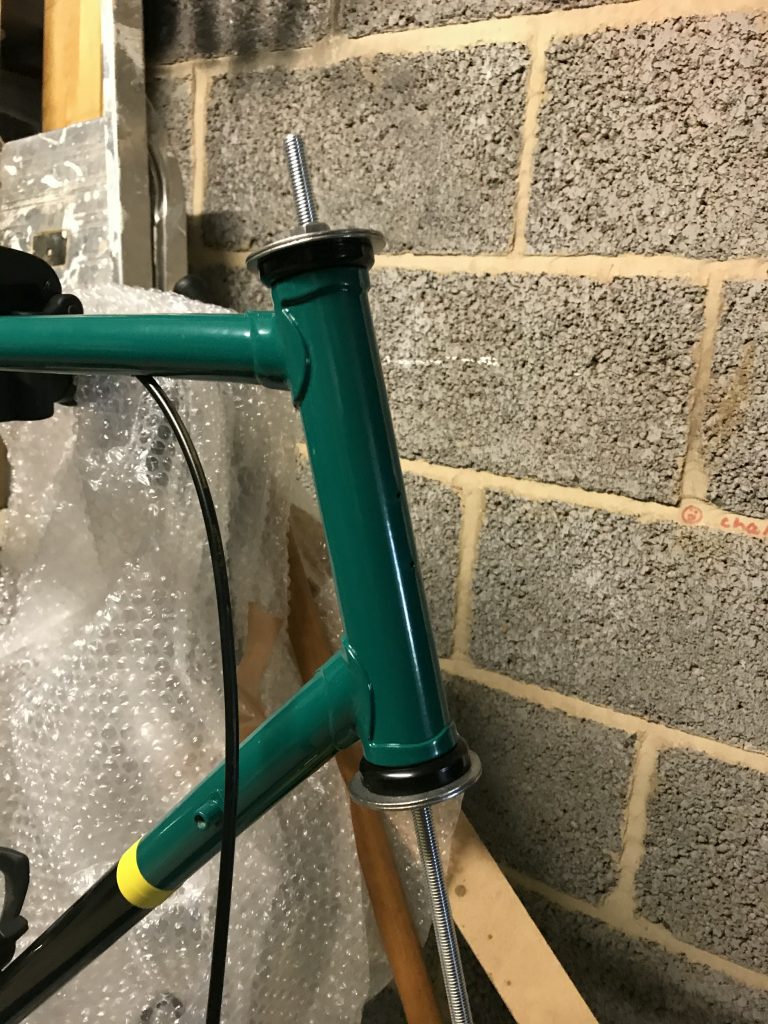
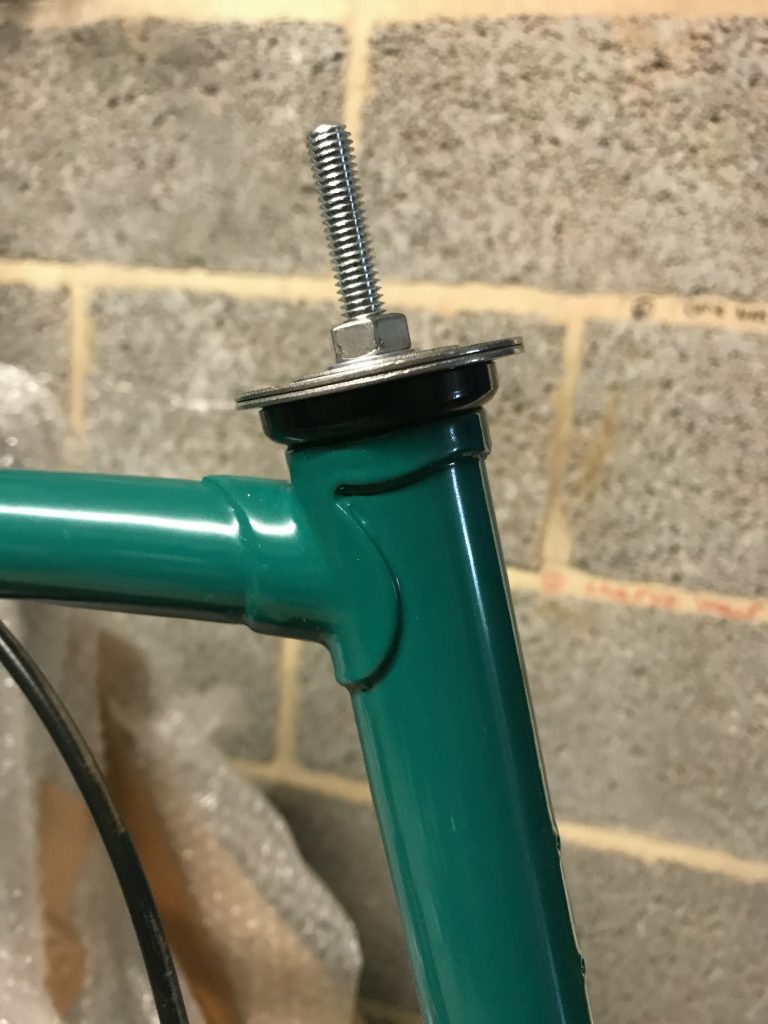
I then fitted the headset. The interface between the headset cup races and the frame is snug and this is rather important. Play here will lead to wear on the interface; the very thing the bearings are there to avoid! To fit the races, one typically uses a bearing press such as the Park Tools HHP-2, which retails for £140. Being a cheapskate, I made my own, using:

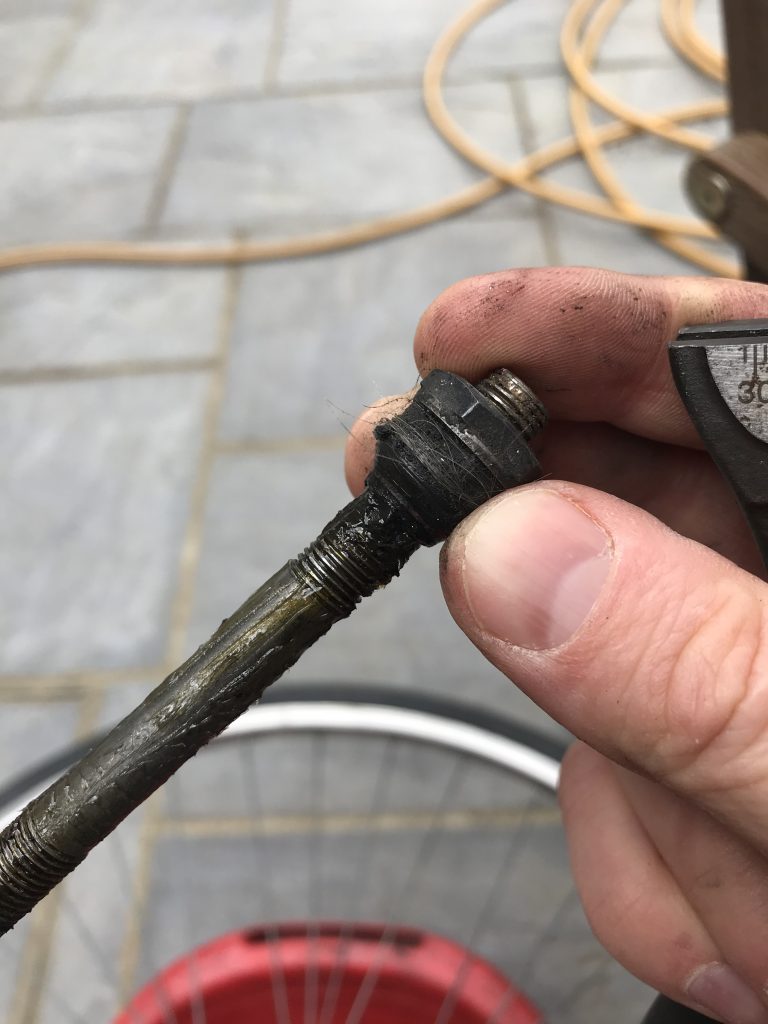
  • An M8 threaded rod (M8x1000 but M8x250 would do just fine)
  • Two M8 nuts
  • Four M8x50 penny washers
  • Two M8x25 penny washers

Thread the contraption through the head tube and tighten with trusty pair of spanners. I first tried with just the nuts and 50mm penny washers; the force exerted was enough to bend the washers! I suspect the new paint was thicker than the old, which won’t have helped. Using two of them, and spreading the load with a 25mm washer did the trick. Cups inserted!

If I was doing it again, I might be tempted by an M10 (or even M12) setup. M8 worked, but I did put a lot of force through those threads.

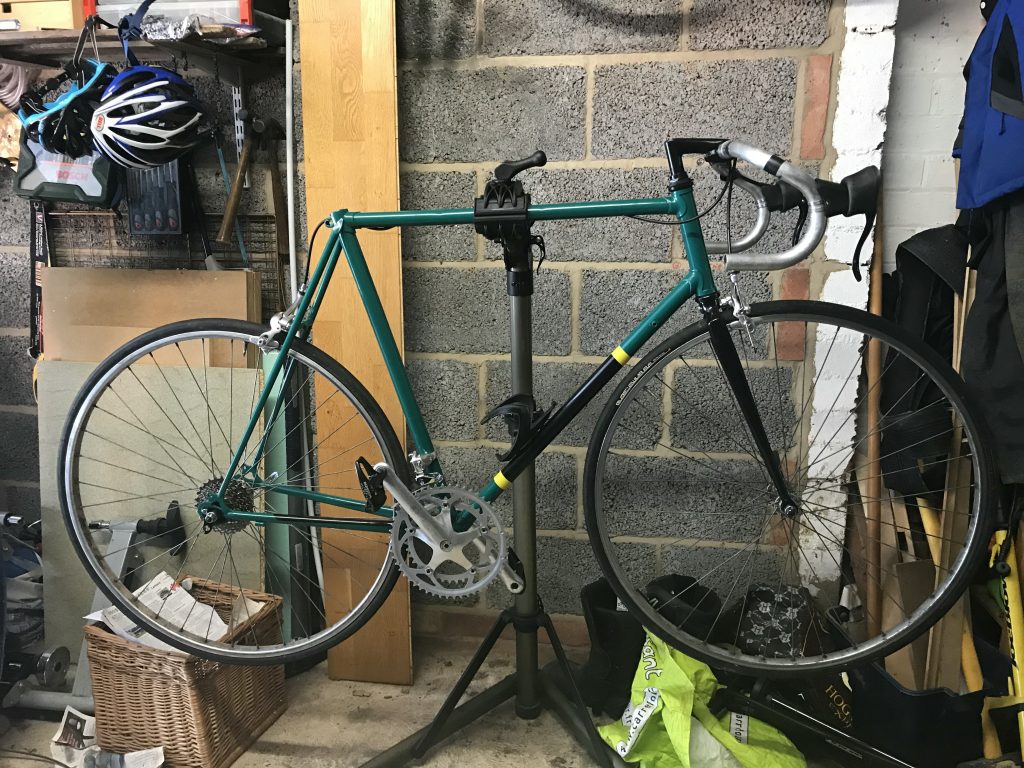
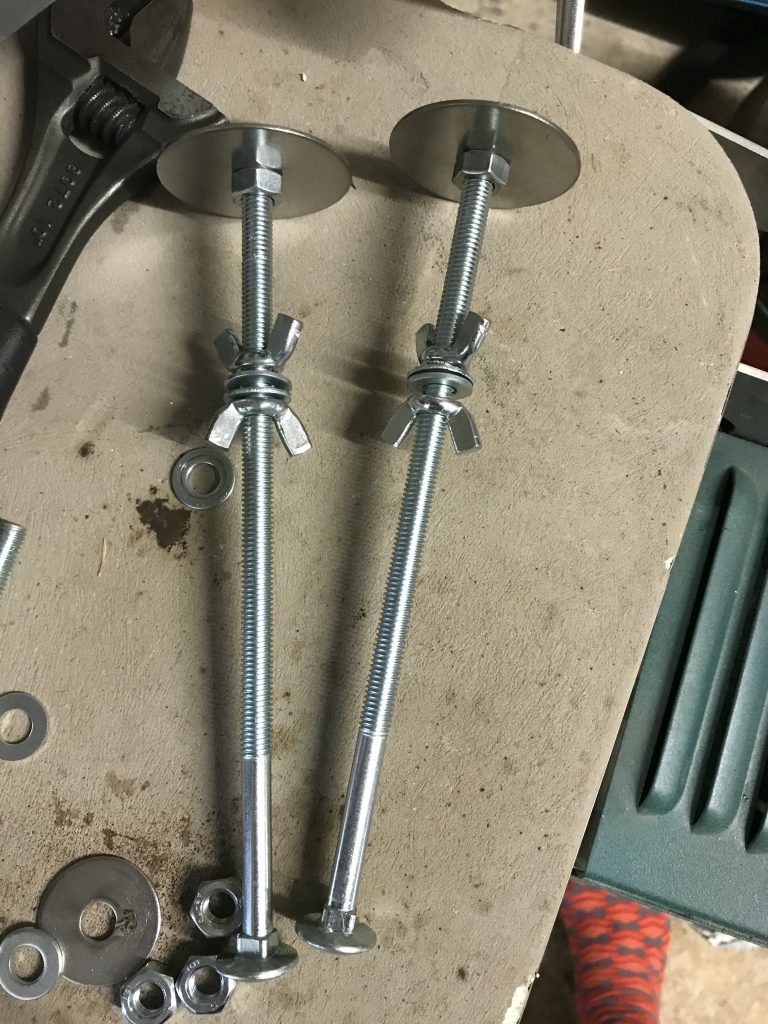
With the cups in, I mounted the forks and applied the headset. Lovely. While I was looking at the frame, I needed to check the rear dropouts were aligned; these should both be pointing straight forward. Again, the usual tool for this is a Park Tools FFG-2 which retails for a hundred quid; again, you can make your own. I used:

  • Two M8x200 carriage bolts
  • Two M8x50 penny washers
  • Four wingnuts
  • Four M8x16 (ish) washers
  • Two nuts
  • Two locknuts

Incidentally, the cost for all these tools was under a tenner.

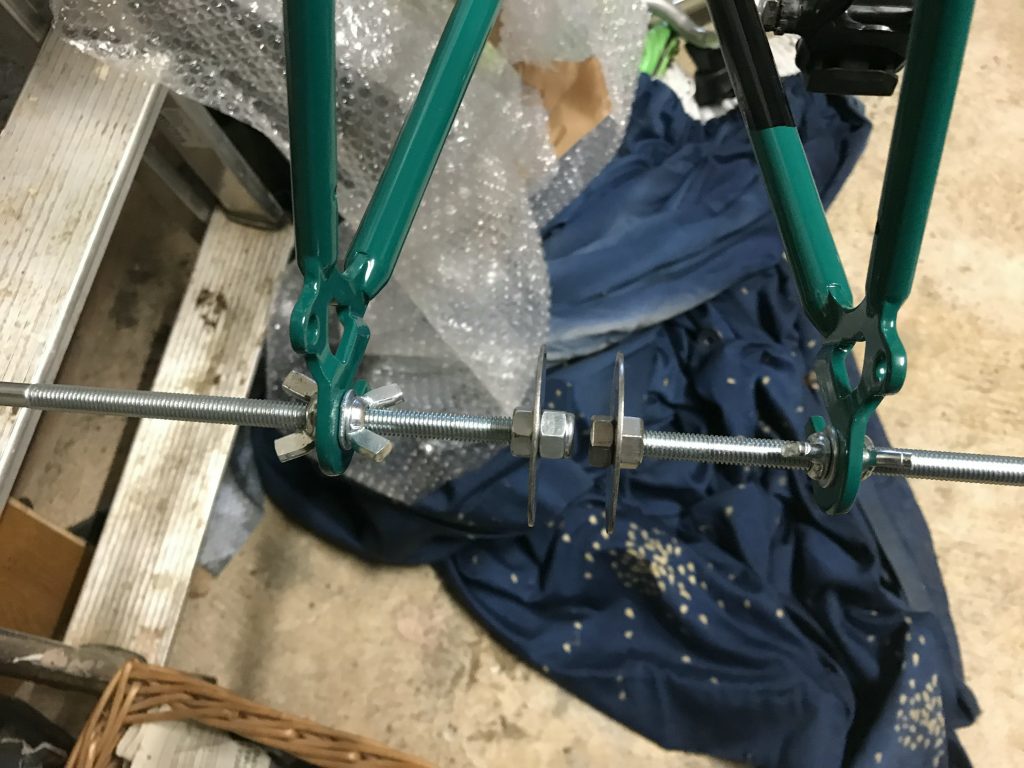
The procedure is: lock the tools in as per the picture; use the leverage of the carriage bolt to line up the penny washers. It’s slightly trickier than with the proper tool, which effectively has two sockets you perfectly match up; but it’s an awful lot cheaper! Mine were pretty good; the photo shows the pre-adjustment alignment. Not too much tweaking at all and I’d have been gutted to spend a hundred pounds.
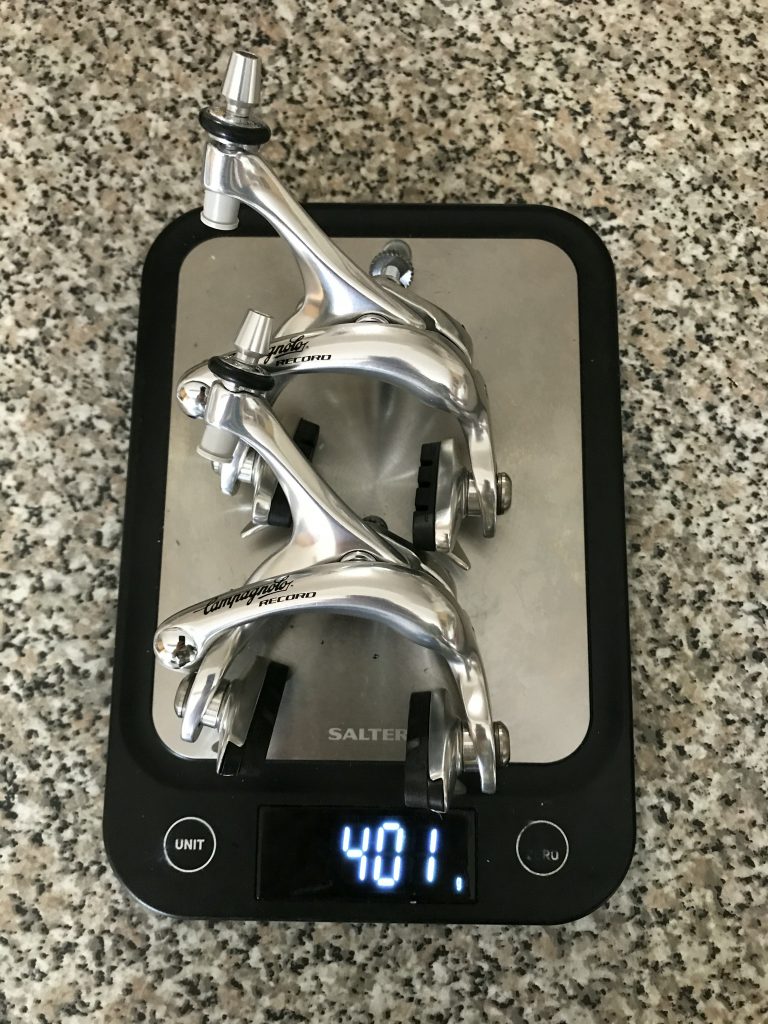
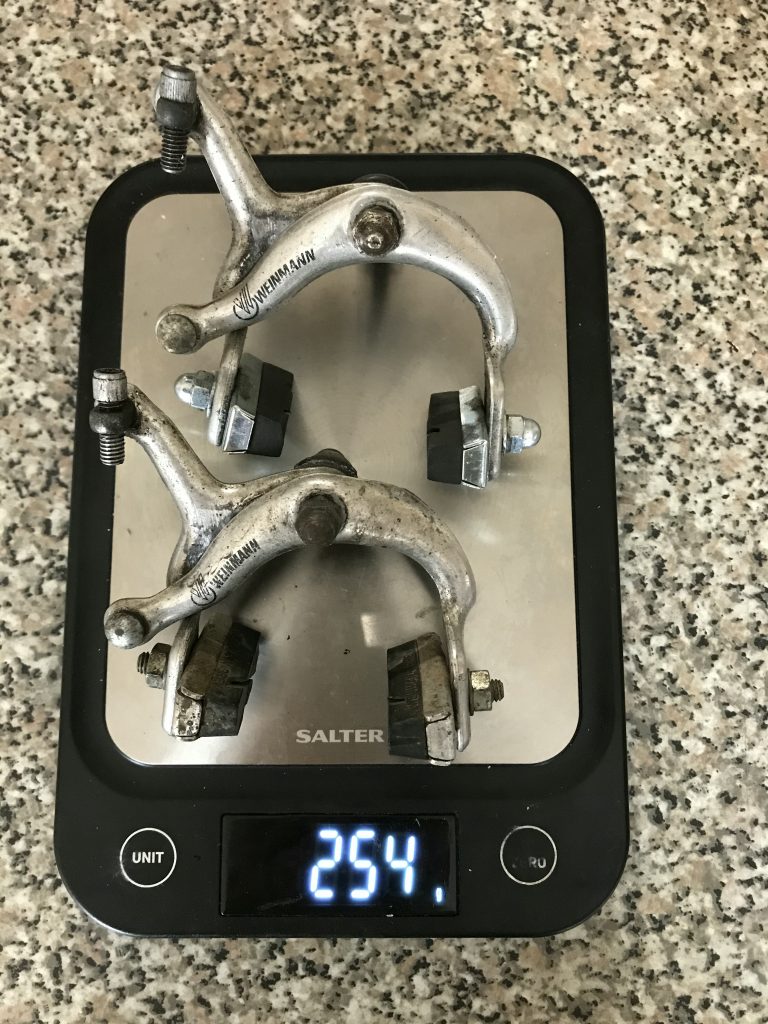
With the frameset done, brakes were next. I had found a set of brand new 1990s Campagnolo Record dual pivot calipers. Technically, they still have a three year warranty. They’re lovely, although they are significantly heavier than my previous Weinmanns. A new length of outer slipped through the top tube really easily – I’ve heard it can be a nightmare but no dramas here. A couple of new cables and the braking system is done!
The last major system is the drivetrain – read: gearing – and finishing kit. The front mech is on; the rear is on the way. It will need a new hanger, which Keith The Cycle Guy sorted for me when I popped in for some brake cables. Then it’s just a case of fitting the gear levers & cables and tuning the thing. Maybe I should go fixie after all…
Forks In

So, forks. After much deliberation, watching youtube and the thought of flexing my puny cyclist arms against forged steel, I decided to abandon the idea and buy new ones. I managed to find the sole auction for a set of 1″ threaded forks with a steerer over 207mm and hit ‘buy’.

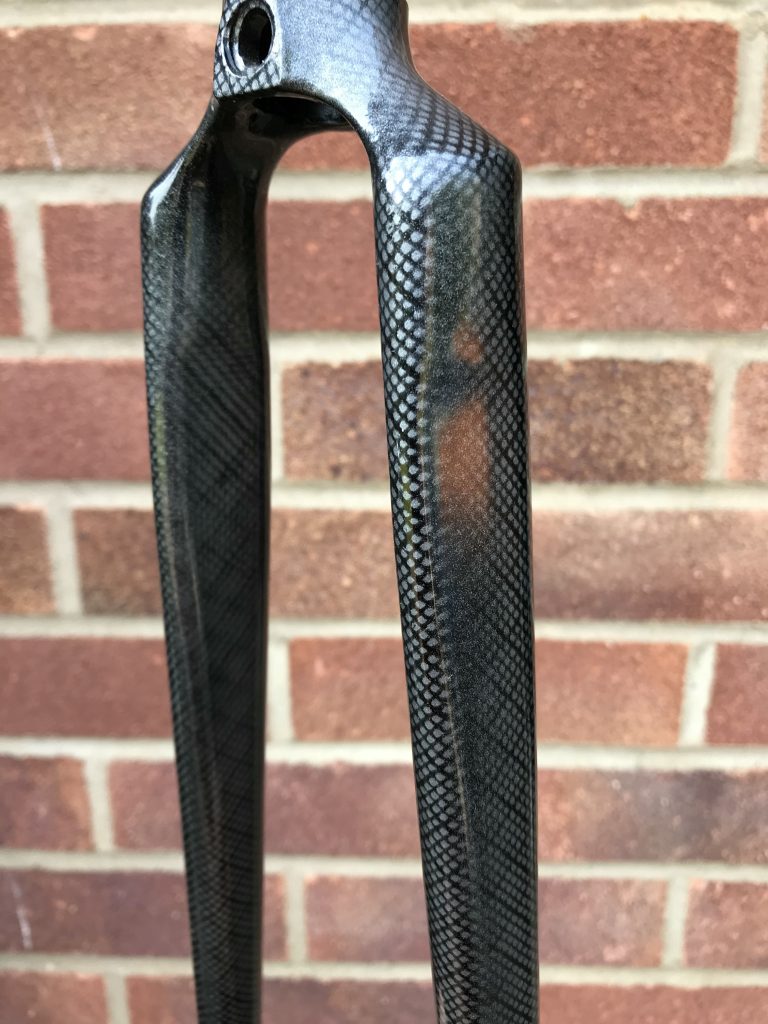
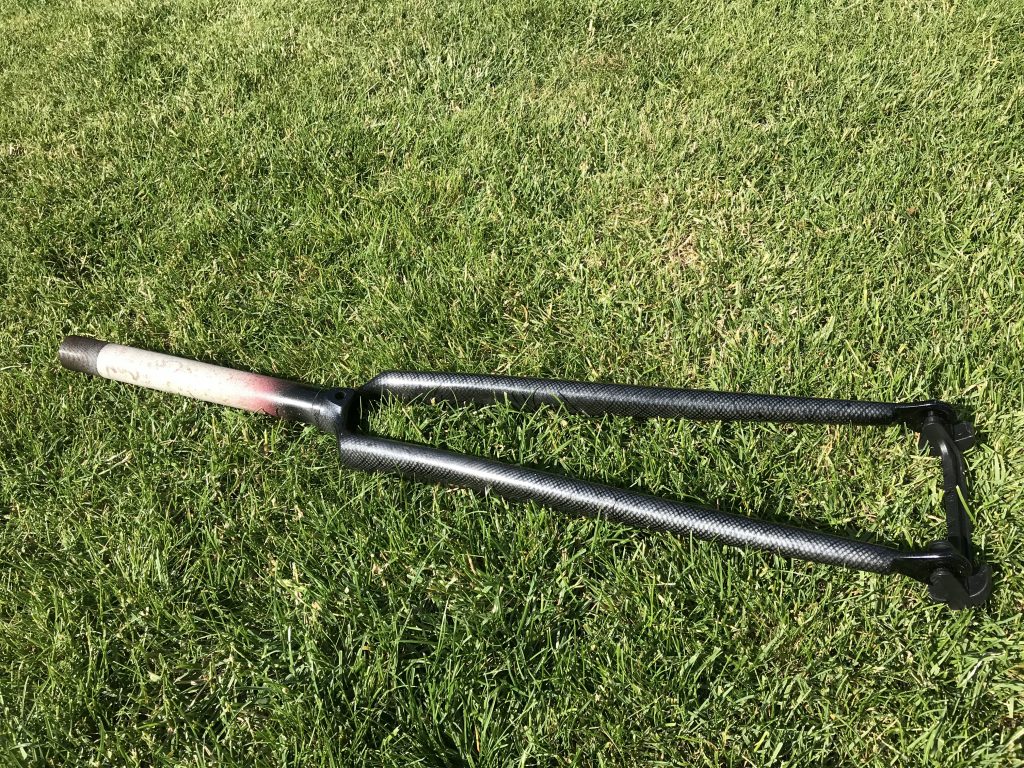
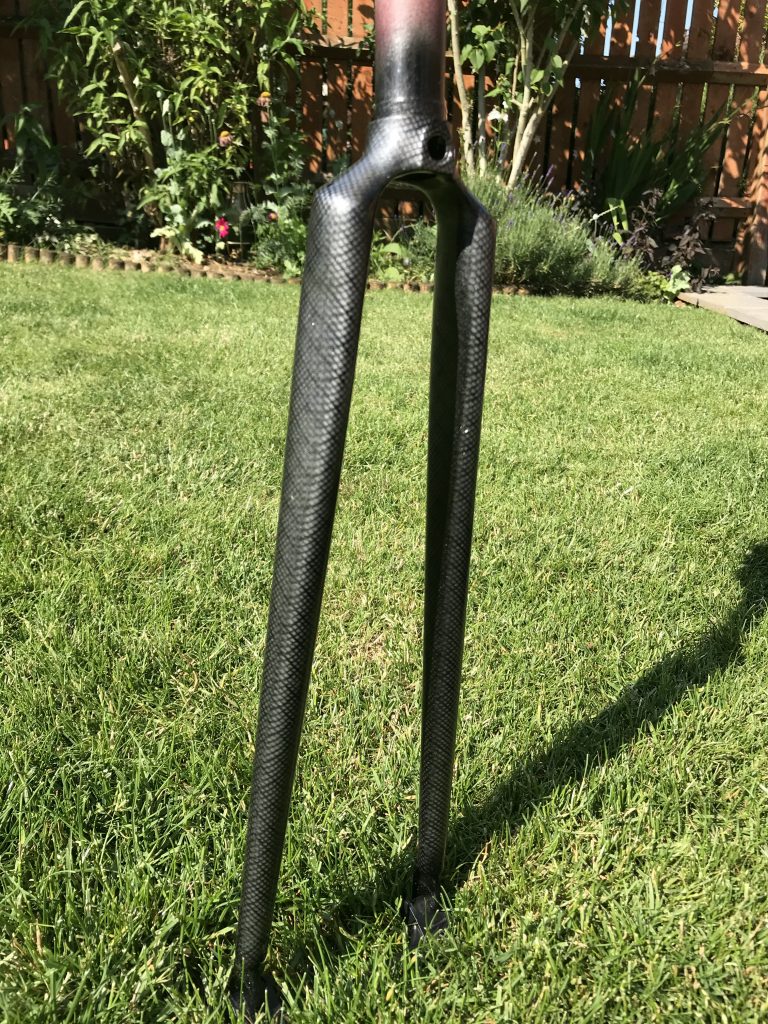
They’re made from Columbus SL tubing (apparently “the Italian Reynolds”) and have a lovely bladed profile to them. They’re currently painted in a really dodgy carbon fibre-effect so they’ll be joining the frame in the blasters and coaters. Seriously. Who’d put carbon effect on a steel road fork?

Dodgy carbon effect aside, I’m really pleased. They’re apparently new; the general condition bears that out, particularly the brake mounting point. They don’t have the chunky shoulder pads I was hoping for but the blades more than make up for that.

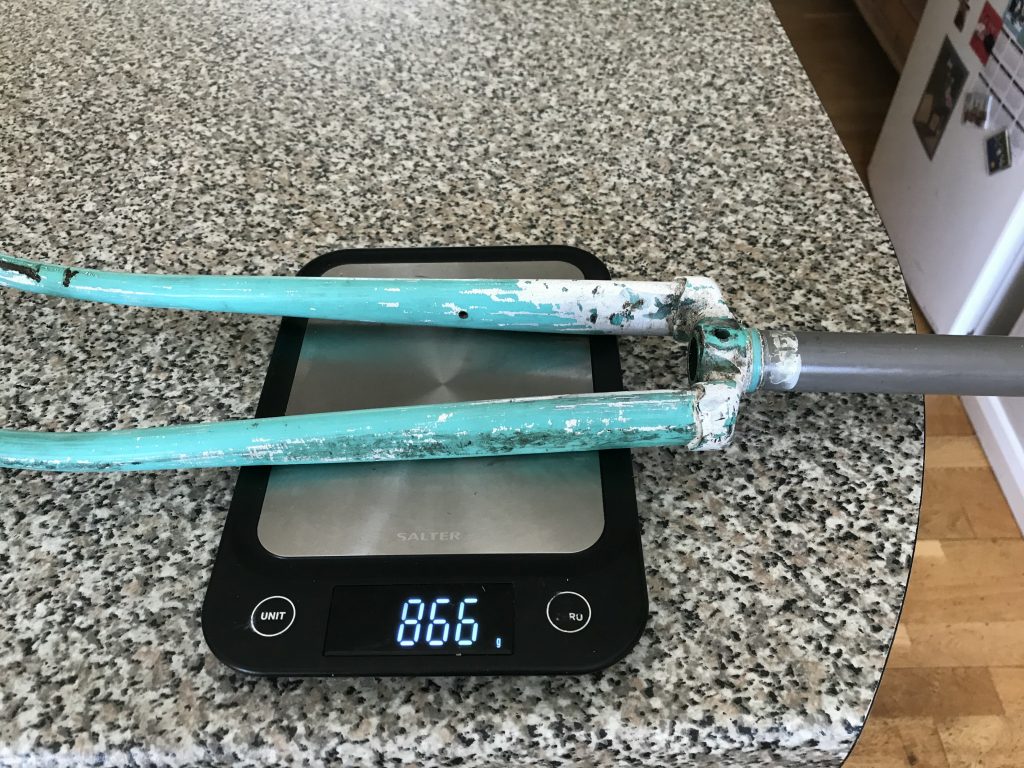
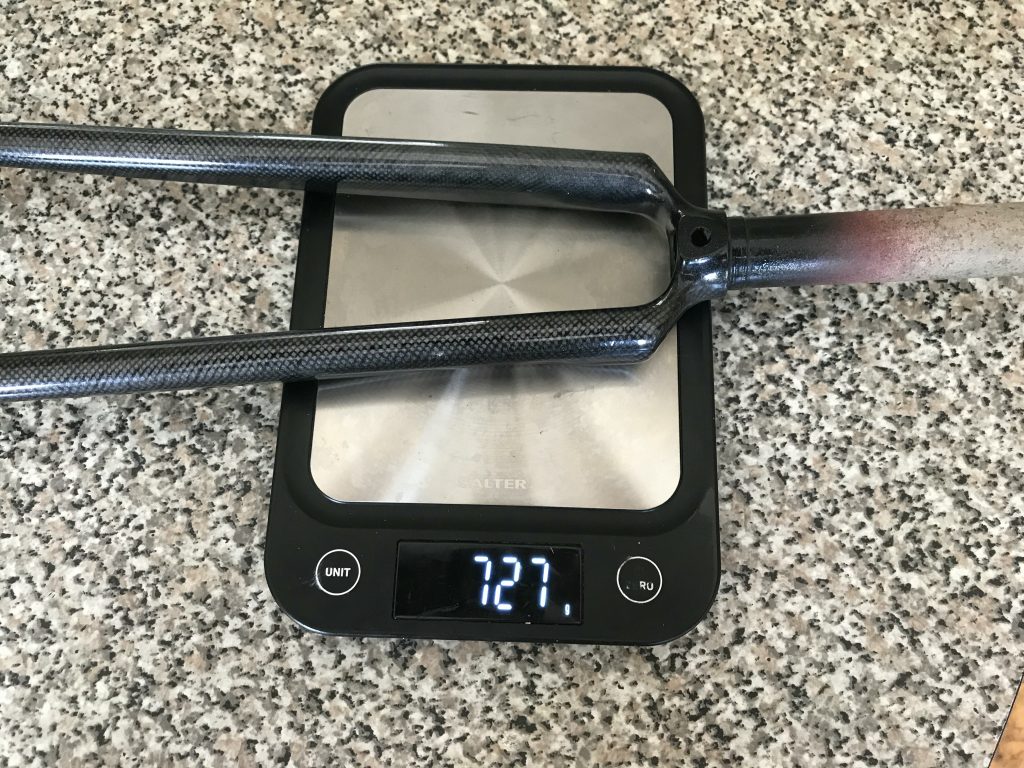
Of course, I had to weigh the two. For once, there is real daylight between the two components. 151g. I mean, that’s enough for me to eat almost three Mars bars and still be ahead. Ventoux watch out.

I also made a decision on the frame. I’ not going to try and cold set it. It is wonky but it rides just fine and that’s what I’m going to be calling “character”.

With the forks in and frame ready, I can take the next step. I’ve booked them in with Vapour Blasting Northants to be vapour blasted and powder coated and will be dropping them off tomorrow morning after the school run. I’ve kindly been given the right Pantone colour, found a dodgy Internet site which reckons it’s found the nearest RAL code and apparently that’s what I need for paint. We’ll see how it turns out next week!

Bearings and Bendings

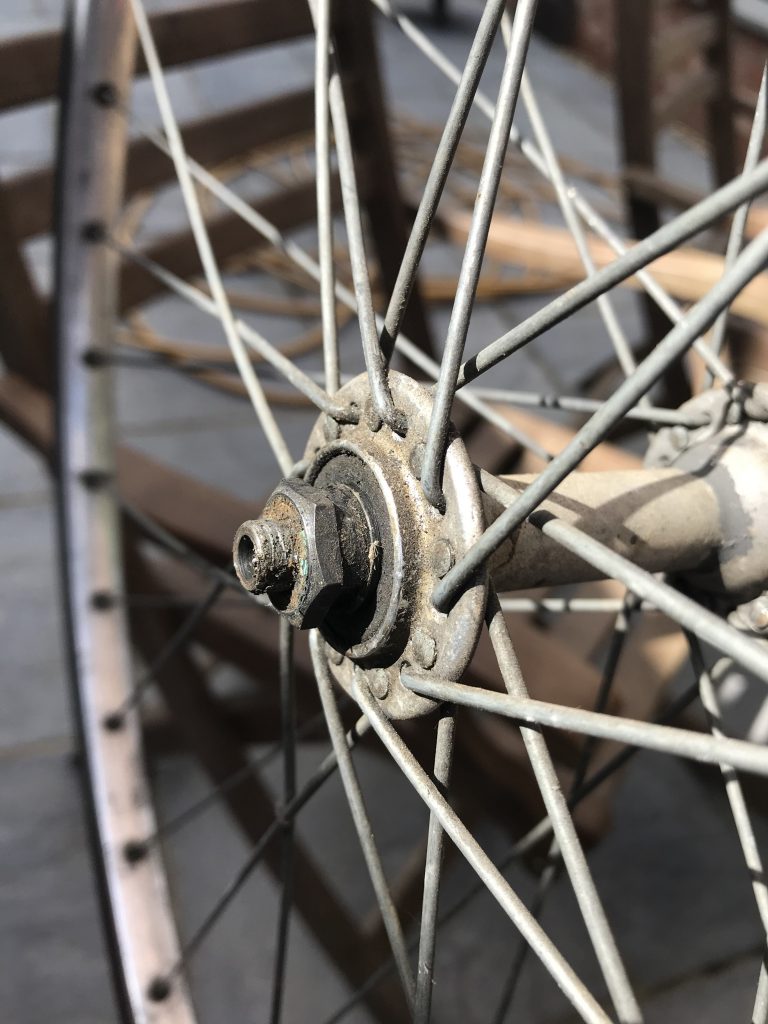
In between other tasks today, I stripped, cleaned and re-greased the bearings on the front wheel (I had done the rear previously). They started mucky, they ended beautifully clean!

All I need now is a tool to remove my cranks and that’s part one done. Tools used: 13mm cone wrench, adjustable spanner (imperial) and a tub of grease.

After a nudge from a friend, I inspected the frame. The forks are quite bent; each blade is bent back and each by a different amount. You can see some bend in the picture below. Not sure what to do about this. I might just deal with it – after all I never really noticed, other than having to be careful when mounting wheels and not turning too sharply lest I foul on my foot. The rear, however…

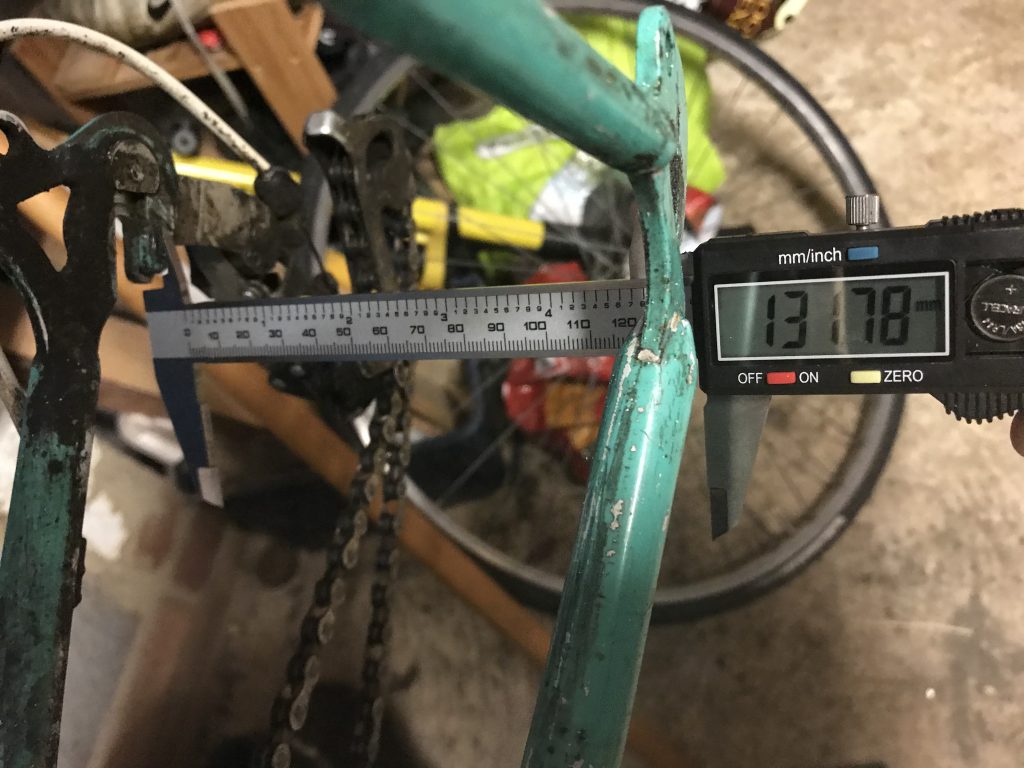
I used a broom handle to check the frame alignment. You run the handle down next to the head tube and seatpost and inside the rear stays, right down to the dropout. Measure the distance from the handle to the dropout. Repeat both sides; the distance should be the same. It wasn’t; the left side was 15mm away; the right 36mm! A major imbalance. Furthermore, I said previously I didn’t want to cold-set to 130mm spacing at the rear; however, it turns out that someone else got there first.

The gap from centre to each side should be 66mm, having originally been 63mm. A bit of maths tells me it’s now 56mm on the left and 76mm on the right; so not only has the frame been widened, both stays have been pushed to the right.

This leaves me in a quandary. I’m not going to try and cold-set the frame back to 126mm; leaving it as-is gives me loads of options including freewheel-based Campy 7-8 speed or freehub-based 8 speed and up. However, I ought to centre it so that the frame is at least aligned which means moving both stays by 10mm – but then it doesn’t shimmy and I can ride it hands-free so i’m half tempted to leave it.

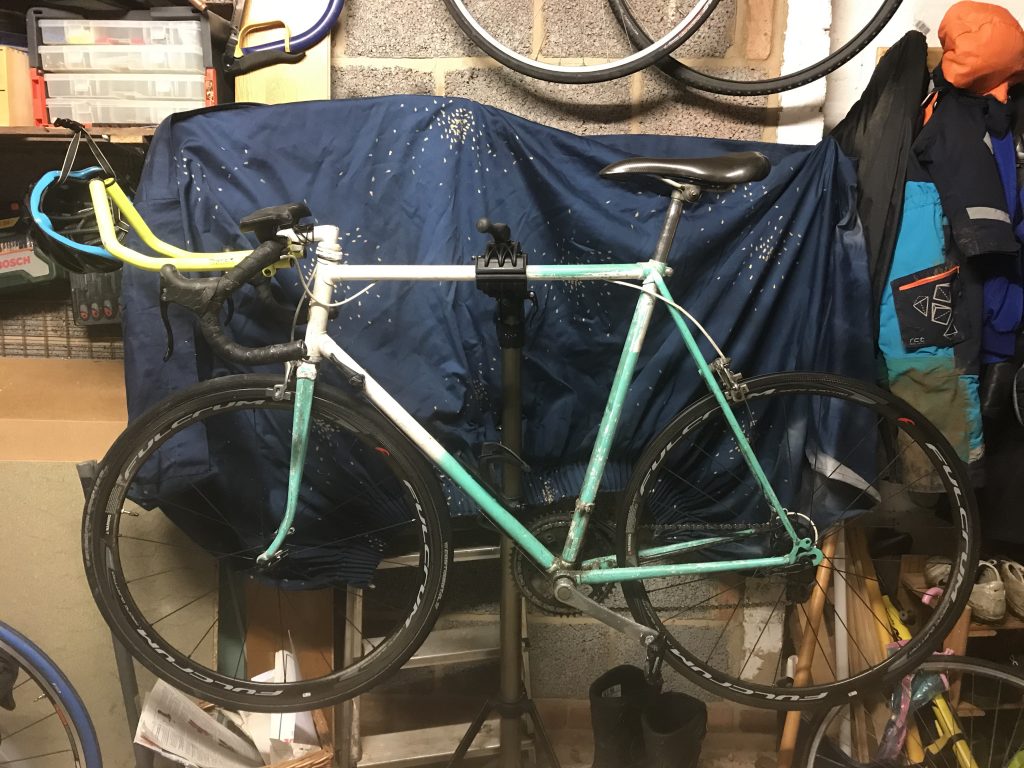
Wider stays meant I was able to put my (knackered) Fulcrum RQ Carbons in, just for kicks and giggles. Talk about era clash. So wrong it’s right!