Installation is the reverse of removal
“Installation is the reverse of removal” is a familiar phrase to anyone who’s read a Haynes manual. It usually appears at the end of a set of long and complicated instructions about removing something oily and can be translated as: “putting it back on is just as hard and complicated as taking it off. Good luck!”
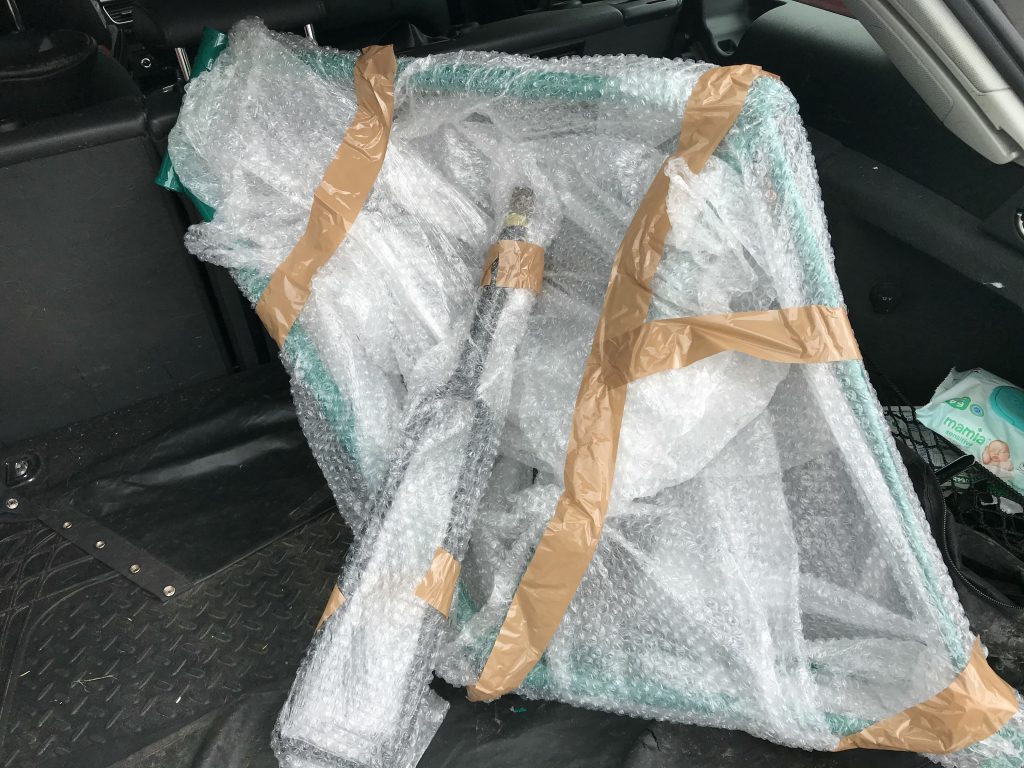
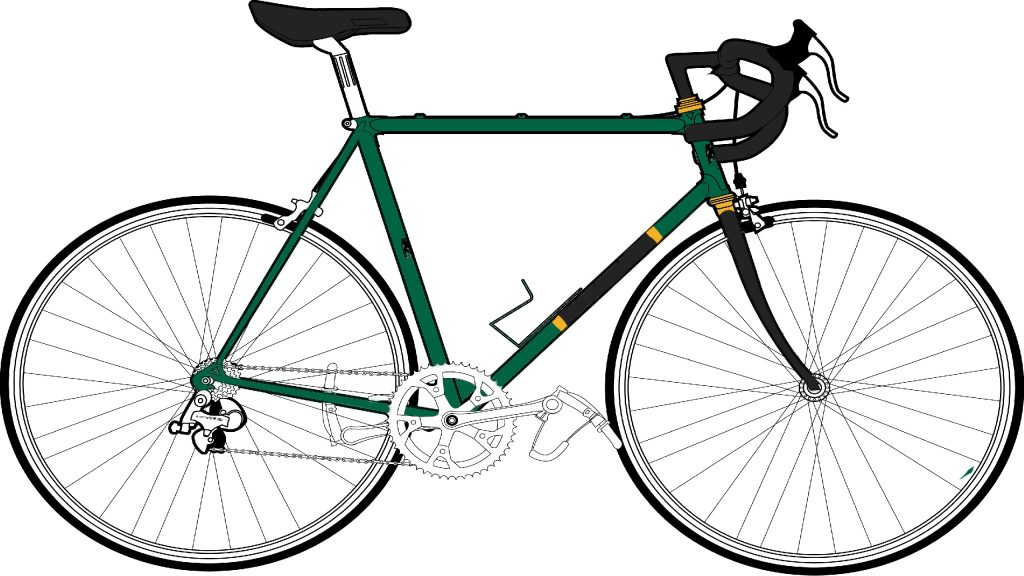
With the bike back, it’s now time to re-build. So far there haven’t been too many issues.
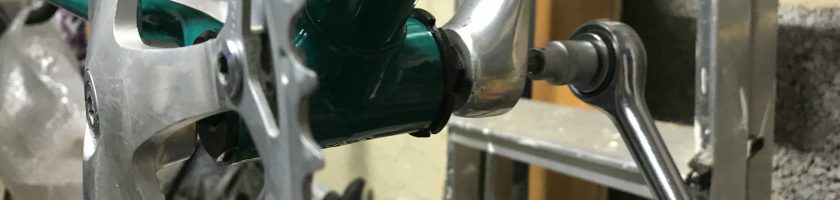
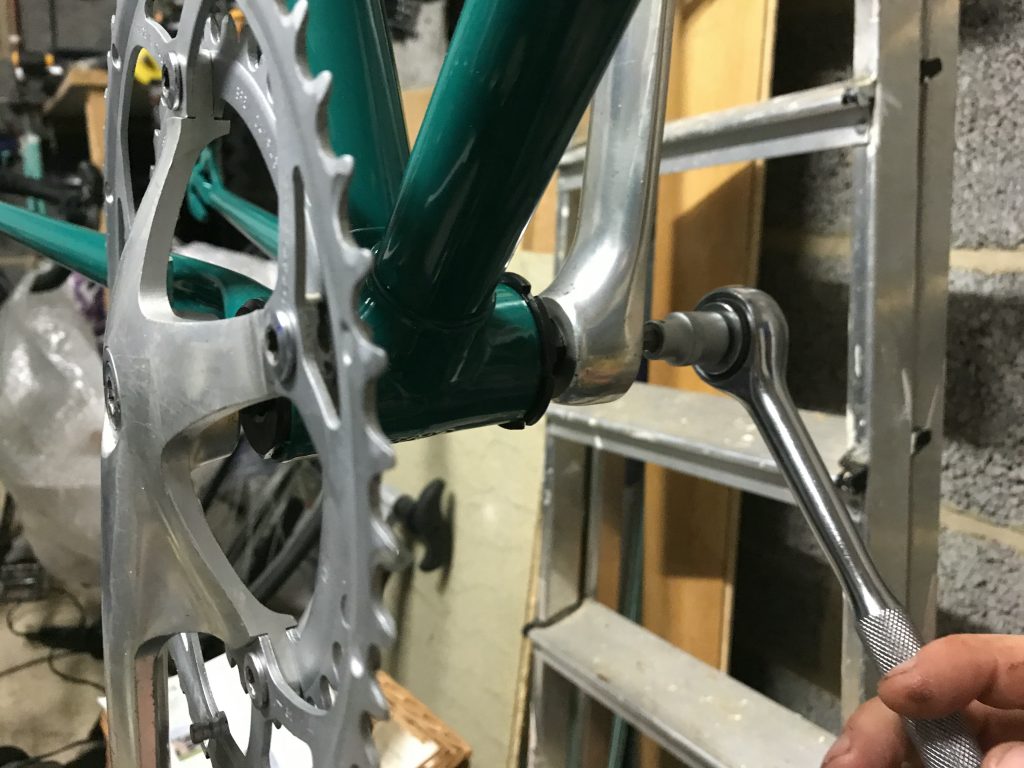
First up was the bottom bracket and cranks. These went on like a dream, the replacement BB cup and cone fitting perfectly after I’d cleaned up the shell threads. The axle went in, the cranks went on, followed by the pedals; it was pretty much perfect.
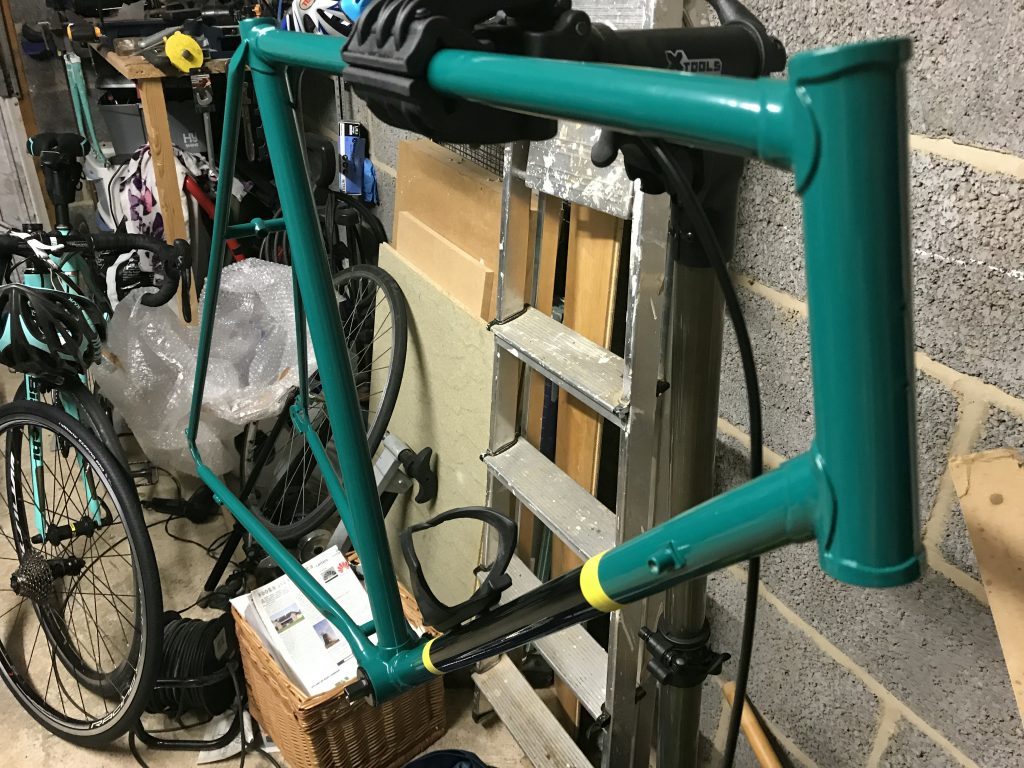
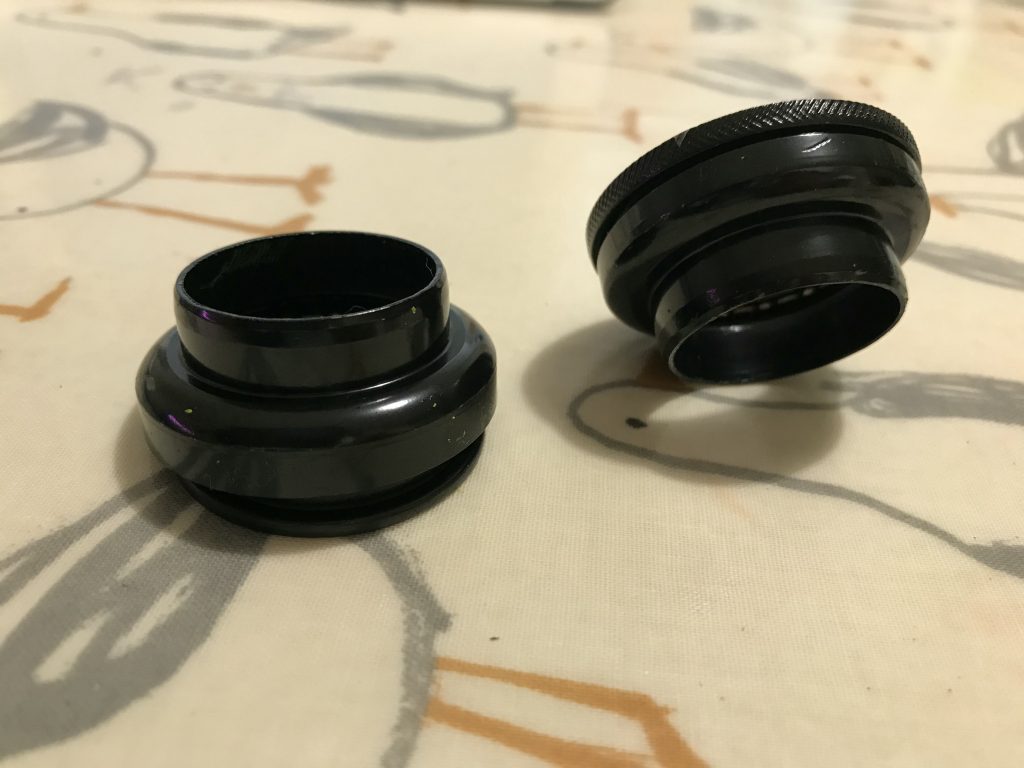
I then fitted the headset. The interface between the headset cup races and the frame is snug and this is rather important. Play here will lead to wear on the interface; the very thing the bearings are there to avoid! To fit the races, one typically uses a bearing press such as the Park Tools HHP-2, which retails for £140. Being a cheapskate, I made my own, using:
- An M8 threaded rod (M8x1000 but M8x250 would do just fine)
- Two M8 nuts
- Four M8x50 penny washers
- Two M8x25 penny washers
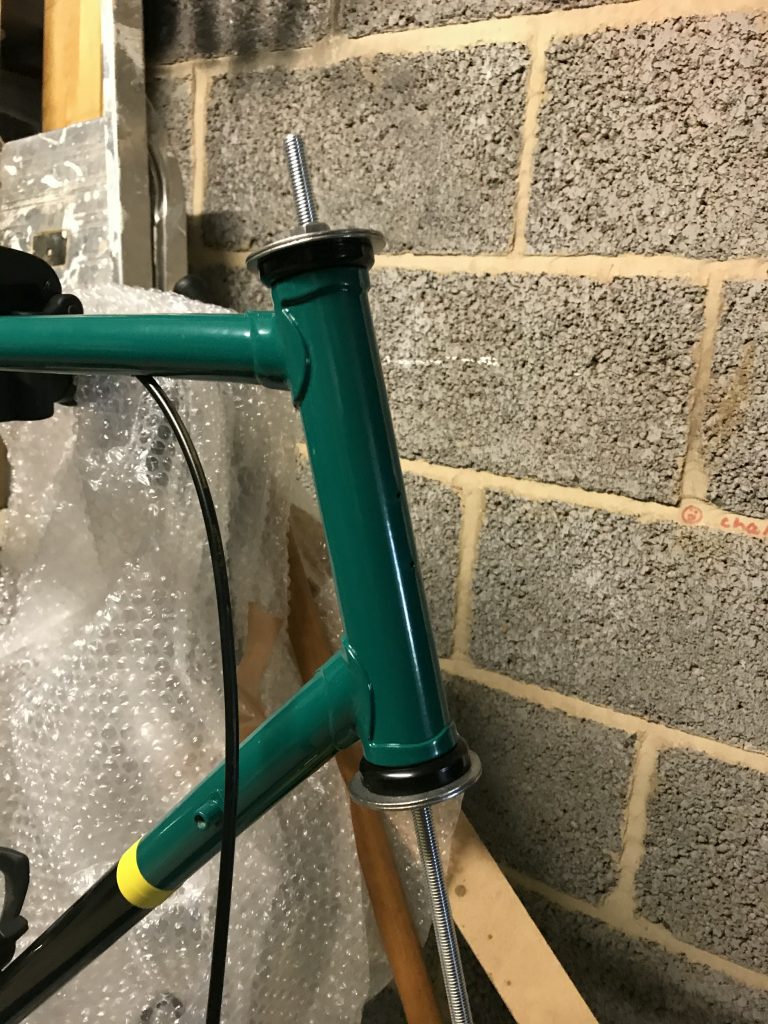
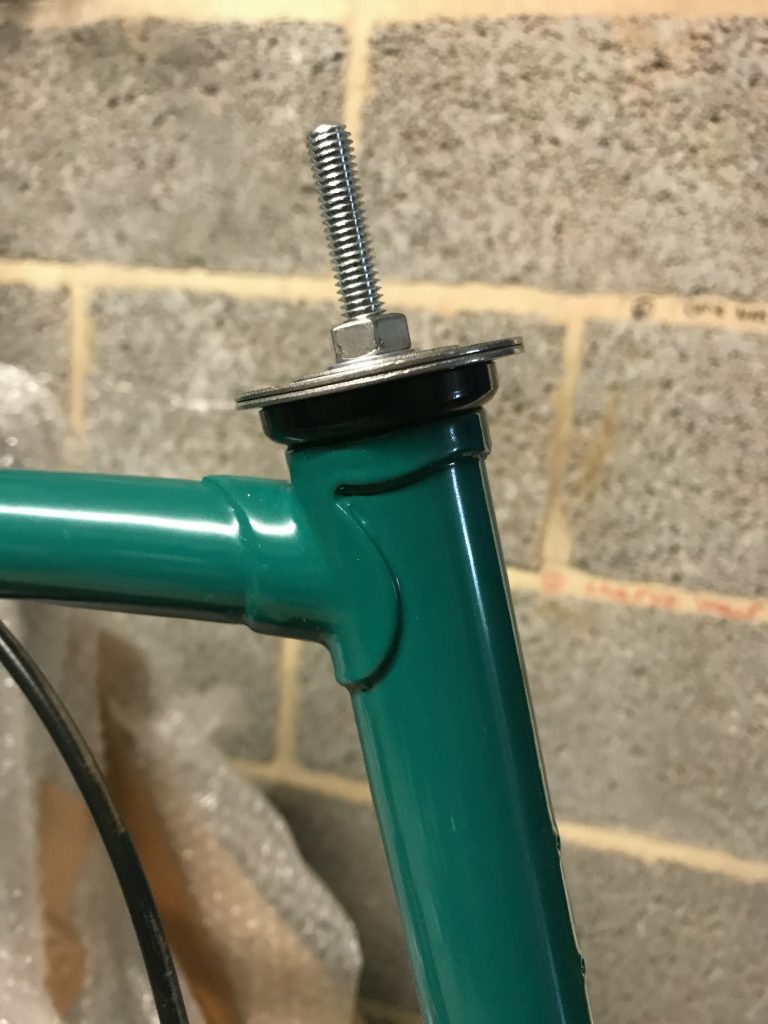
Thread the contraption through the head tube and tighten with trusty pair of spanners. I first tried with just the nuts and 50mm penny washers; the force exerted was enough to bend the washers! I suspect the new paint was thicker than the old, which won’t have helped. Using two of them, and spreading the load with a 25mm washer did the trick. Cups inserted!
If I was doing it again, I might be tempted by an M10 (or even M12) setup. M8 worked, but I did put a lot of force through those threads.
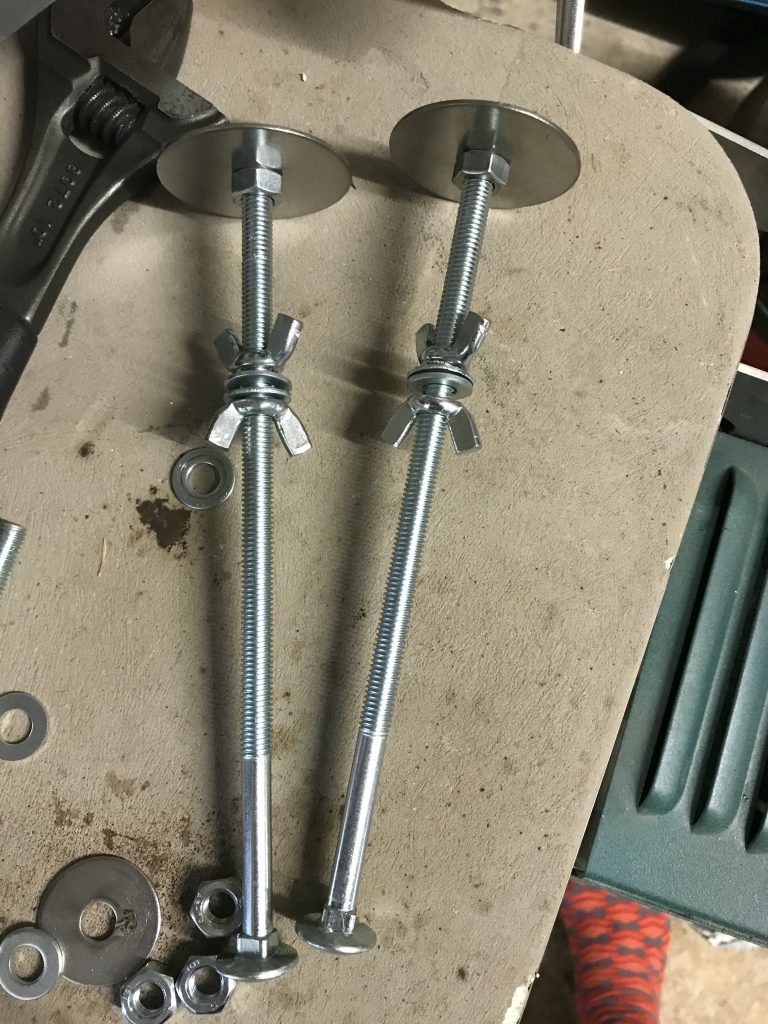
With the cups in, I mounted the forks and applied the headset. Lovely. While I was looking at the frame, I needed to check the rear dropouts were aligned; these should both be pointing straight forward. Again, the usual tool for this is a Park Tools FFG-2 which retails for a hundred quid; again, you can make your own. I used:
- Two M8x200 carriage bolts
- Two M8x50 penny washers
- Four wingnuts
- Four M8x16 (ish) washers
- Two nuts
- Two locknuts
Incidentally, the cost for all these tools was under a tenner.
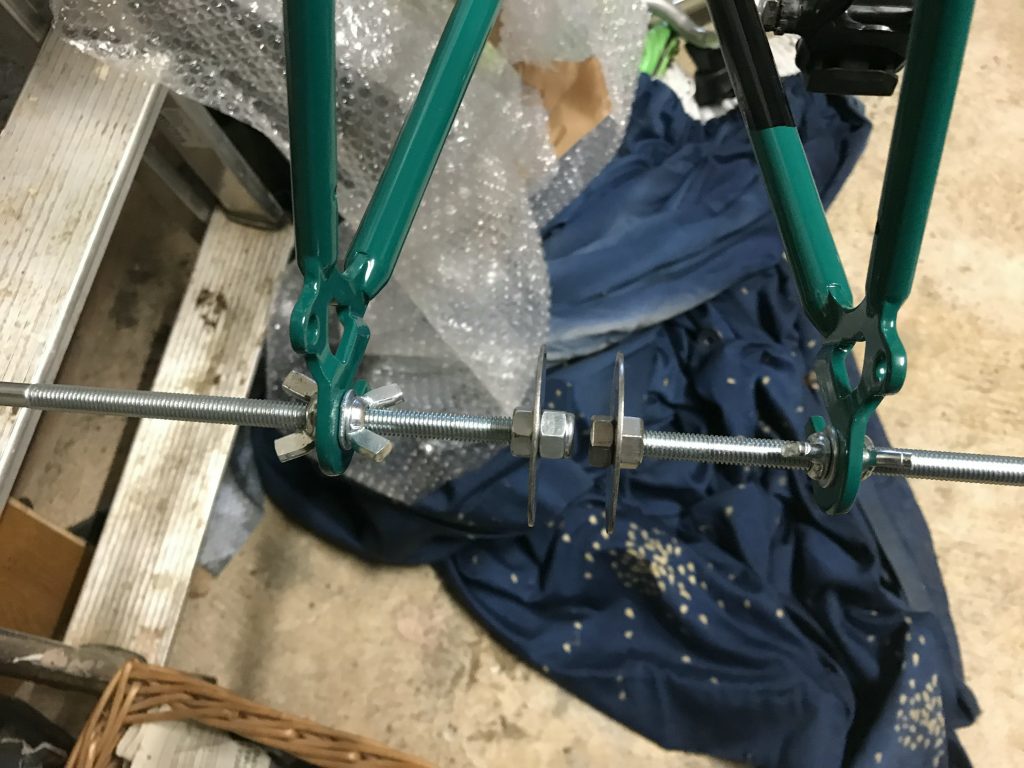
The procedure is: lock the tools in as per the picture; use the leverage of the carriage bolt to line up the penny washers. It’s slightly trickier than with the proper tool, which effectively has two sockets you perfectly match up; but it’s an awful lot cheaper! Mine were pretty good; the photo shows the pre-adjustment alignment. Not too much tweaking at all and I’d have been gutted to spend a hundred pounds.
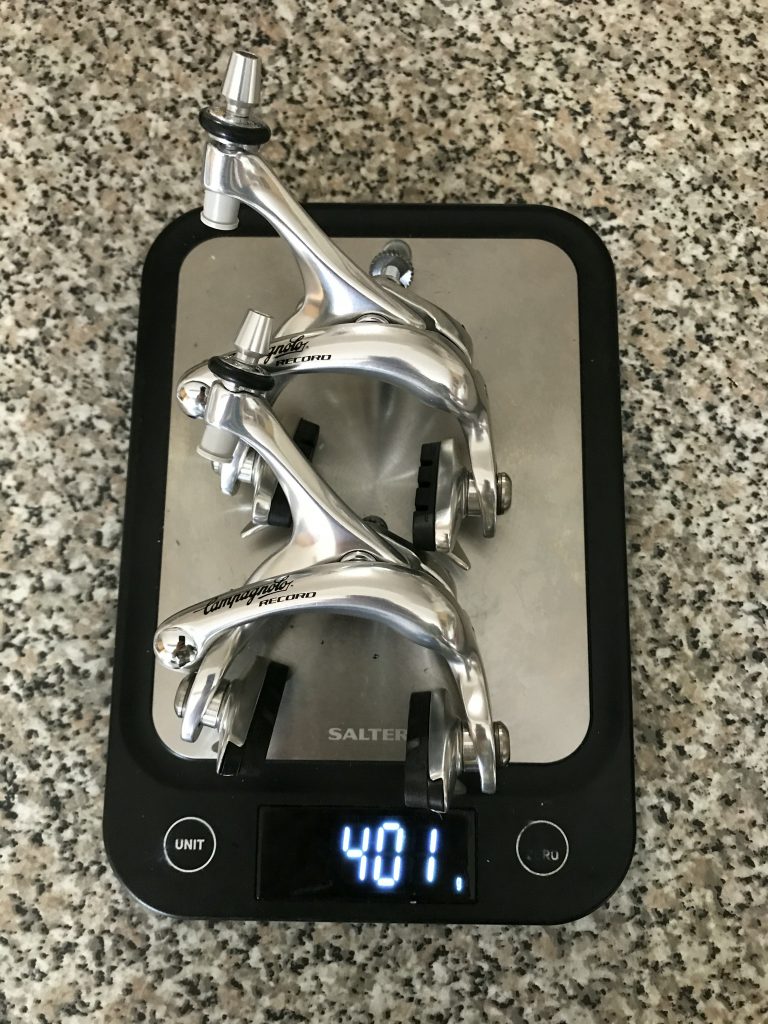
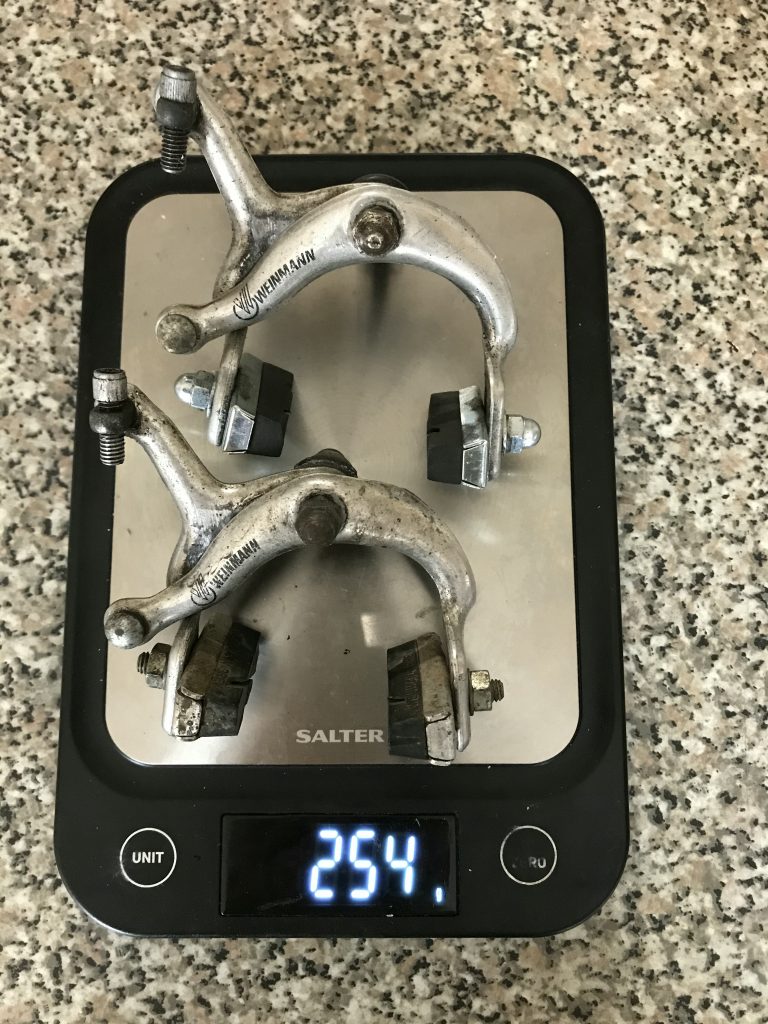
With the frameset done, brakes were next. I had found a set of brand new 1990s Campagnolo Record dual pivot calipers. Technically, they still have a three year warranty. They’re lovely, although they are significantly heavier than my previous Weinmanns. A new length of outer slipped through the top tube really easily – I’ve heard it can be a nightmare but no dramas here. A couple of new cables and the braking system is done!
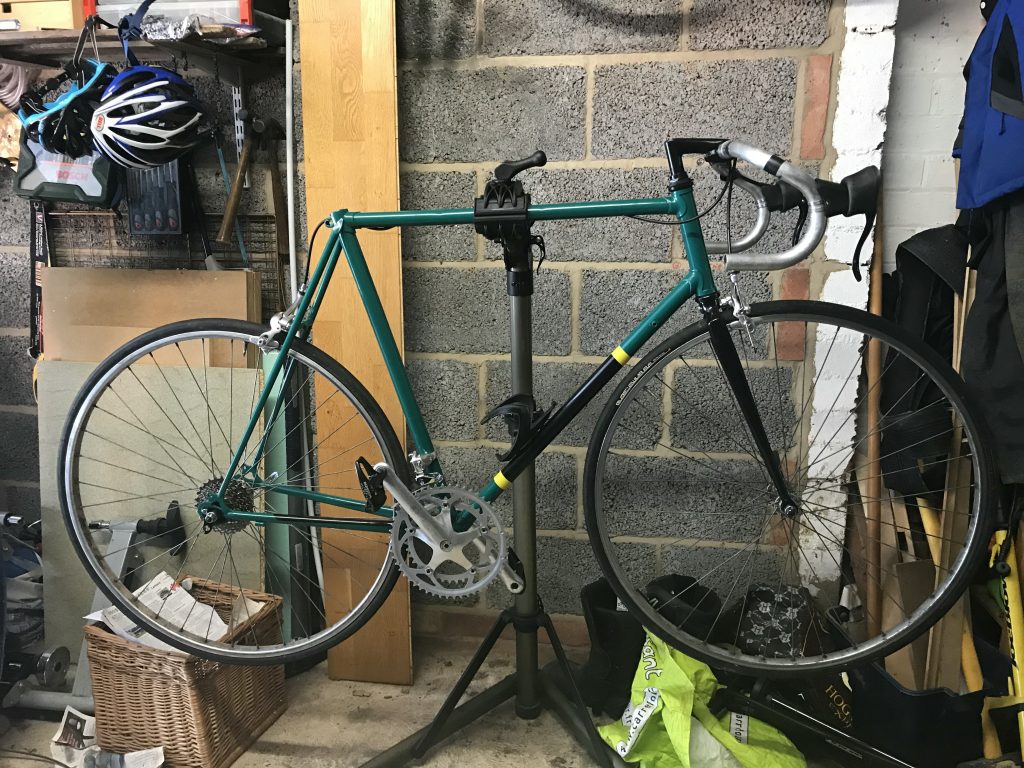
The last major system is the drivetrain – read: gearing – and finishing kit. The front mech is on; the rear is on the way. It will need a new hanger, which Keith The Cycle Guy sorted for me when I popped in for some brake cables. Then it’s just a case of fitting the gear levers & cables and tuning the thing. Maybe I should go fixie after all…