Get your cranks off, baby

I had found there is little in this world quite as satisfying as removing a stuck-on crank. It’s like that feeling you get when removing the protective film from a new mobile phone, achieving the gift-wrap-glide or watching a slinky on a treadmill.

Postie brought me presents today. First up was the crank puller. I was reflecting that, depending on what I cranks I put on, I may never user this tool ever again and I probably could have borrowed one – but hey ho, its outline looks good on the tool wall. Pulling a crank is shown very well at https://www.youtube.com/watch?v=64m1mmPFxcc; that bit at 3:00? Ooh….
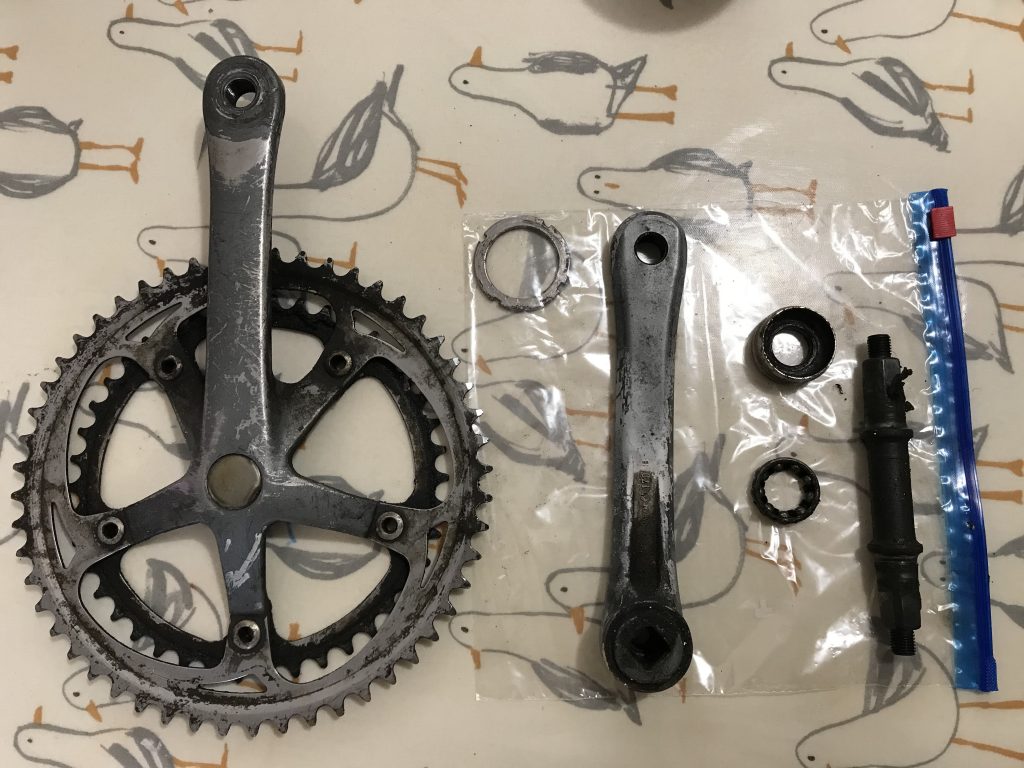
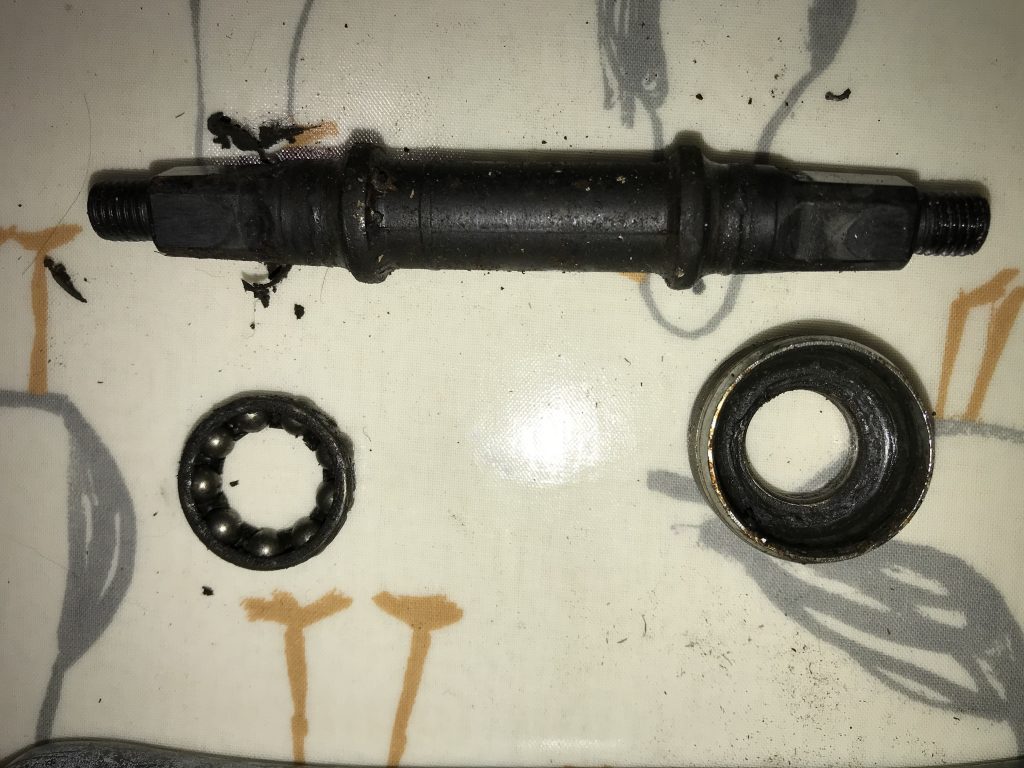
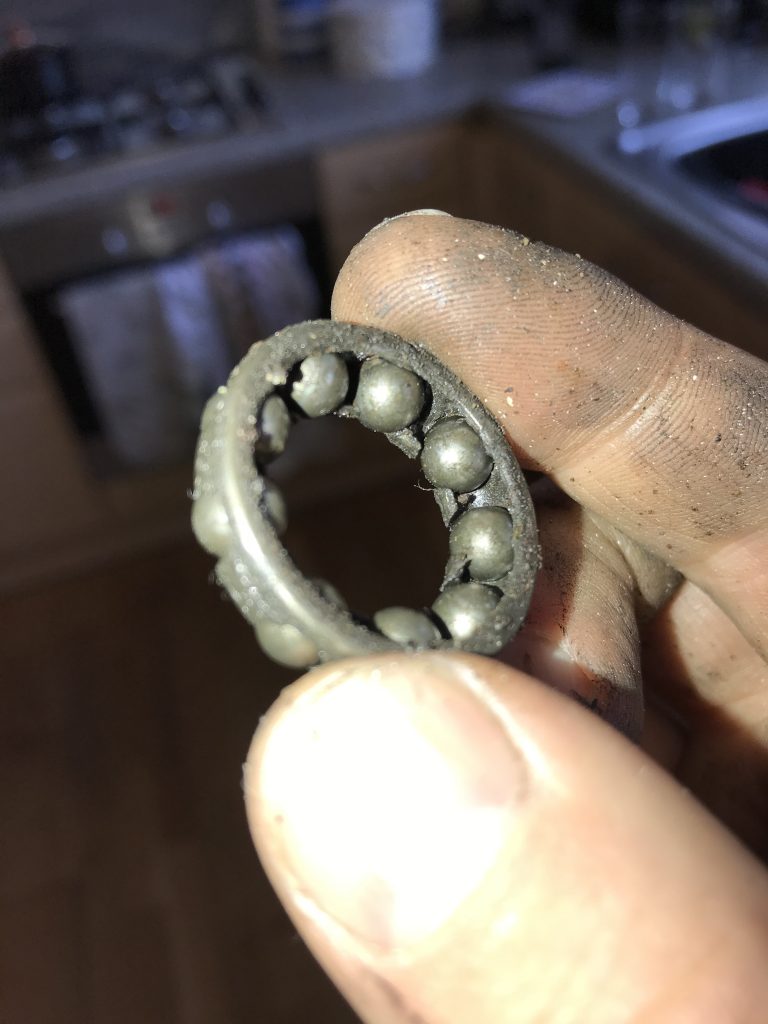
With the cranks and locknut off, the cups came out easily and with them the axle. As expected, the bearings were properly manky with barely a drop of grease to be seen and plenty of dirt. I now need to decide whether to clean, re-grease and replace the bearings – assuming they’re in good nick (I haven’t had a proper look) or whether to install a modern square taper sealed cartridge BB like those found at https://www.sjscycles.co.uk/square-tapered-other/ Given that a packet of BBs is only half the price of a sealed cartridge I’ll probably opt for the latter.

The second postie present was a set of thread pitch gauges, using which I have confirmed my BB uses 24tpi threads. The last detail is important; old Raleighs often used 26tpi and that would have made sourcing a replacement tricky. Happily I can rest easy! It’s also 68mm and English threaded (lefty-tighty, righty-loosy on the drive side).

For completeness, I also removed the gear cable guide from the underside of the BB and the iconic Raleigh Heron badge from the front. The strip is complete! All I need now before heading to the blasters is to sort out these wretched forks…
Stripdown

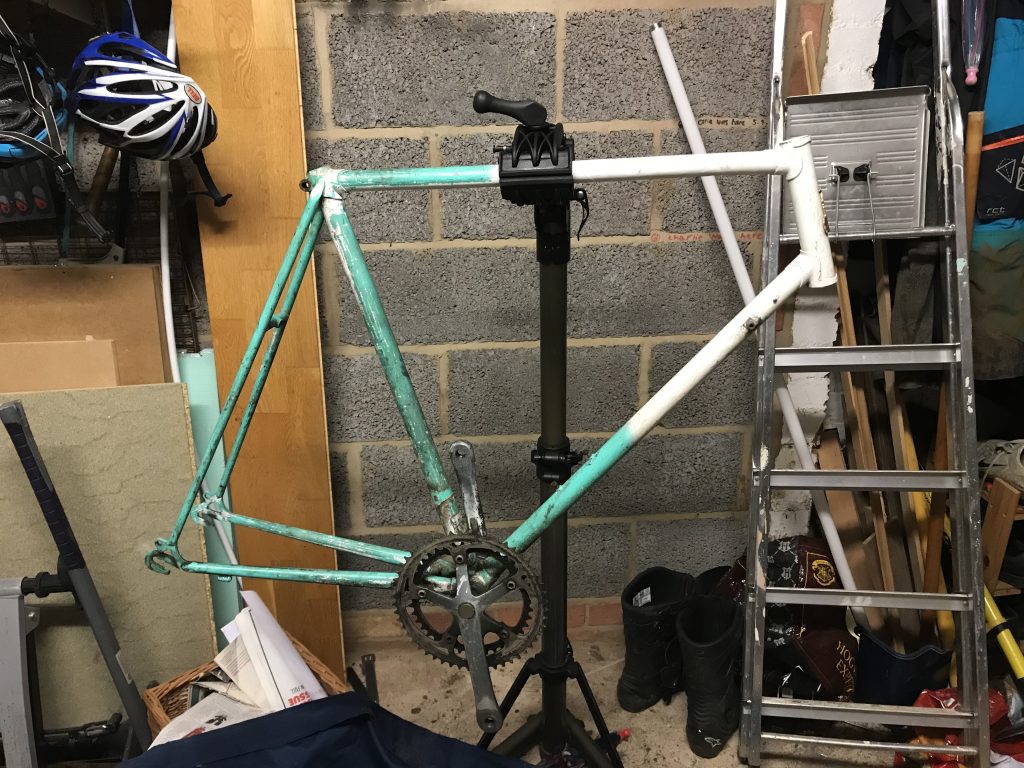
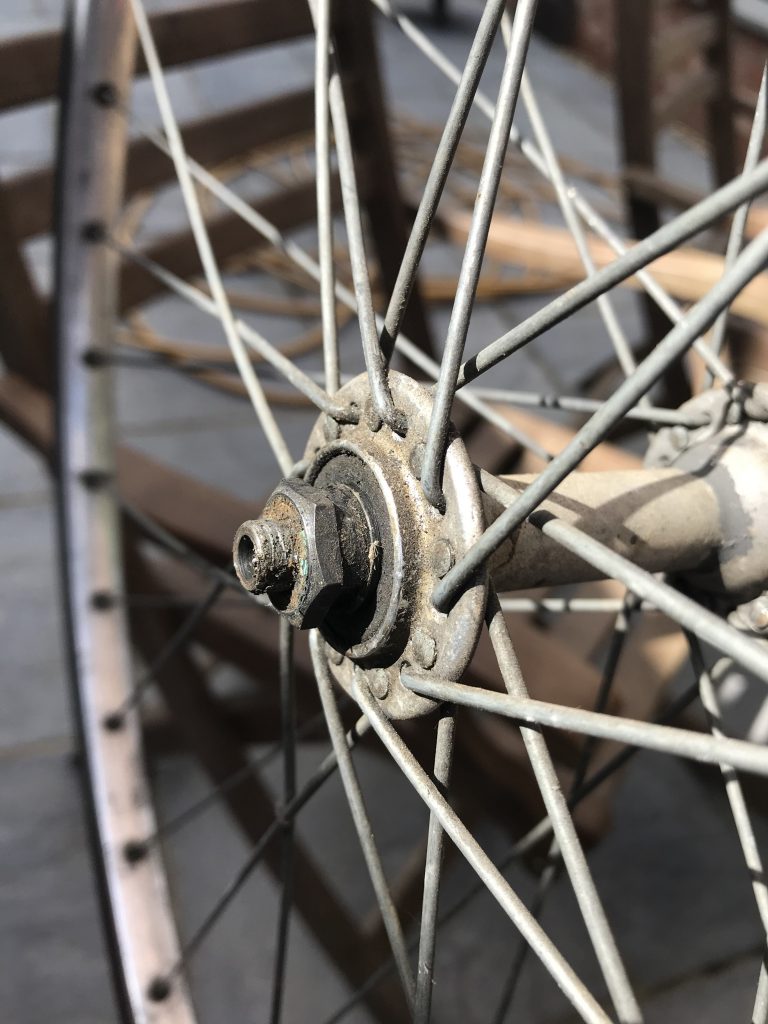
Stripping down a bike is fun. There’s always just one more thing to do! Indeed I got so involved that I missed my window of actually riding which was annoying. I didn’t set out to strip it; I set out to remove the forks so I could see exactly what I needed. But one thing led to another, and well… most of the components are now off. All I need now is a crank puller so I can pull some cranks. One’s been on the way for a week.

Things I found:

  • 30+ years gathers a lot of crud. Mental note for the future: make sure I clean my bike regularly. Removing the front derailleur was horrendous and the bottom jockey wheel on the rear didn’t actually spin.
  • The brake cables were fine (IIRC I replaced these about 200 miles ago). The gear cables had so much slack I’m surprised they shifted at all.
  • Nut sizes in the 80s were variable to say the least. Imperial? Metric? Let’s have a bit of everything!
  • My best friend was the adjustable spanner and a block of wood.

So, the fork is a 1″ threaded fork with 8″ steerer for 700c wheels. And I really want one with the big 80s shoulderpads. To e-bay!

… where I might have already found a Campagnolo Record chainset for sale. Probably shouldn’t have hit ‘buy’ but there’s nothing like shiny hardware lying around to motivate…

Bearings and Bendings

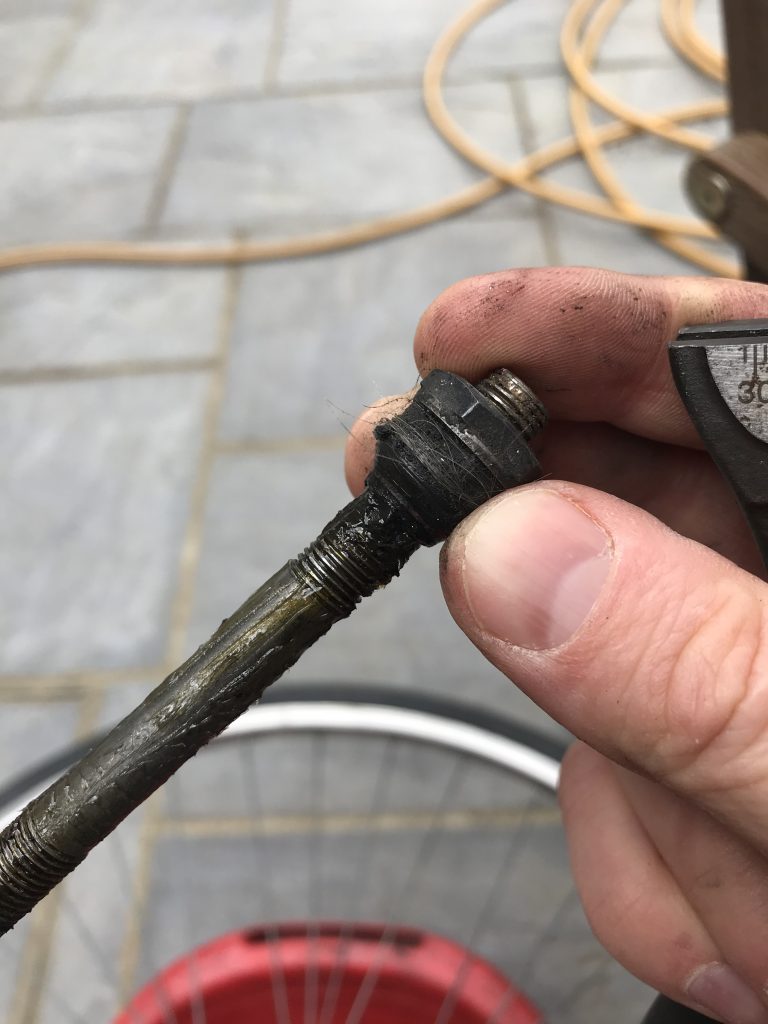
In between other tasks today, I stripped, cleaned and re-greased the bearings on the front wheel (I had done the rear previously). They started mucky, they ended beautifully clean!

All I need now is a tool to remove my cranks and that’s part one done. Tools used: 13mm cone wrench, adjustable spanner (imperial) and a tub of grease.

After a nudge from a friend, I inspected the frame. The forks are quite bent; each blade is bent back and each by a different amount. You can see some bend in the picture below. Not sure what to do about this. I might just deal with it – after all I never really noticed, other than having to be careful when mounting wheels and not turning too sharply lest I foul on my foot. The rear, however…

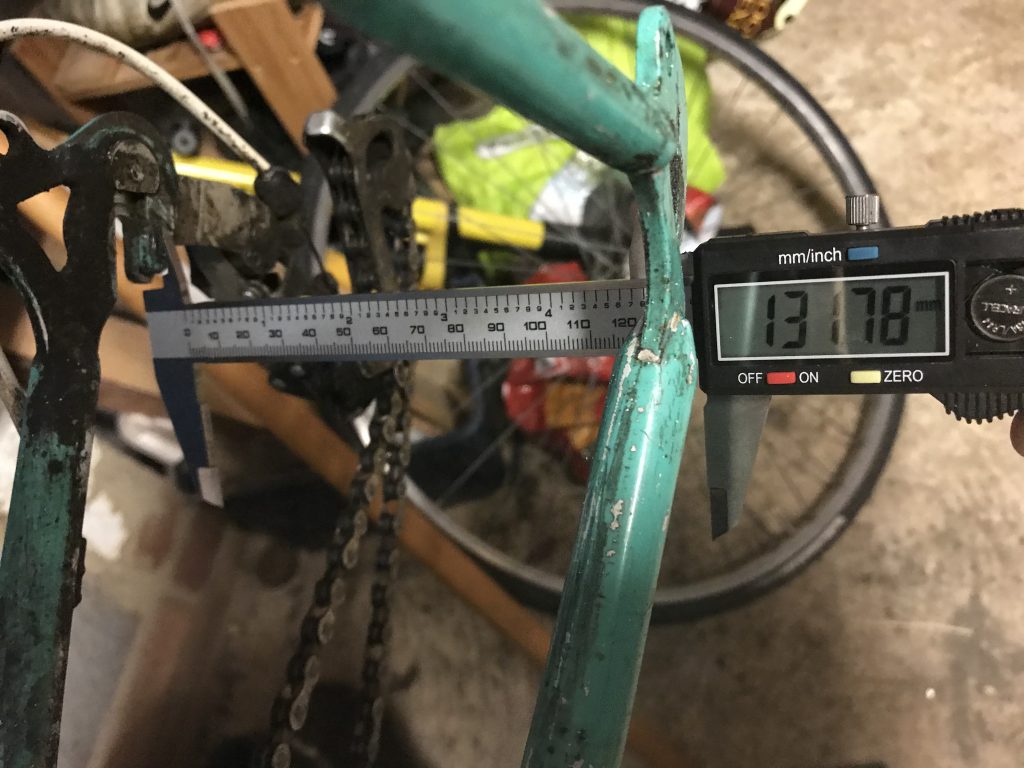
I used a broom handle to check the frame alignment. You run the handle down next to the head tube and seatpost and inside the rear stays, right down to the dropout. Measure the distance from the handle to the dropout. Repeat both sides; the distance should be the same. It wasn’t; the left side was 15mm away; the right 36mm! A major imbalance. Furthermore, I said previously I didn’t want to cold-set to 130mm spacing at the rear; however, it turns out that someone else got there first.

The gap from centre to each side should be 66mm, having originally been 63mm. A bit of maths tells me it’s now 56mm on the left and 76mm on the right; so not only has the frame been widened, both stays have been pushed to the right.

This leaves me in a quandary. I’m not going to try and cold-set the frame back to 126mm; leaving it as-is gives me loads of options including freewheel-based Campy 7-8 speed or freehub-based 8 speed and up. However, I ought to centre it so that the frame is at least aligned which means moving both stays by 10mm – but then it doesn’t shimmy and I can ride it hands-free so i’m half tempted to leave it.

Wider stays meant I was able to put my (knackered) Fulcrum RQ Carbons in, just for kicks and giggles. Talk about era clash. So wrong it’s right!

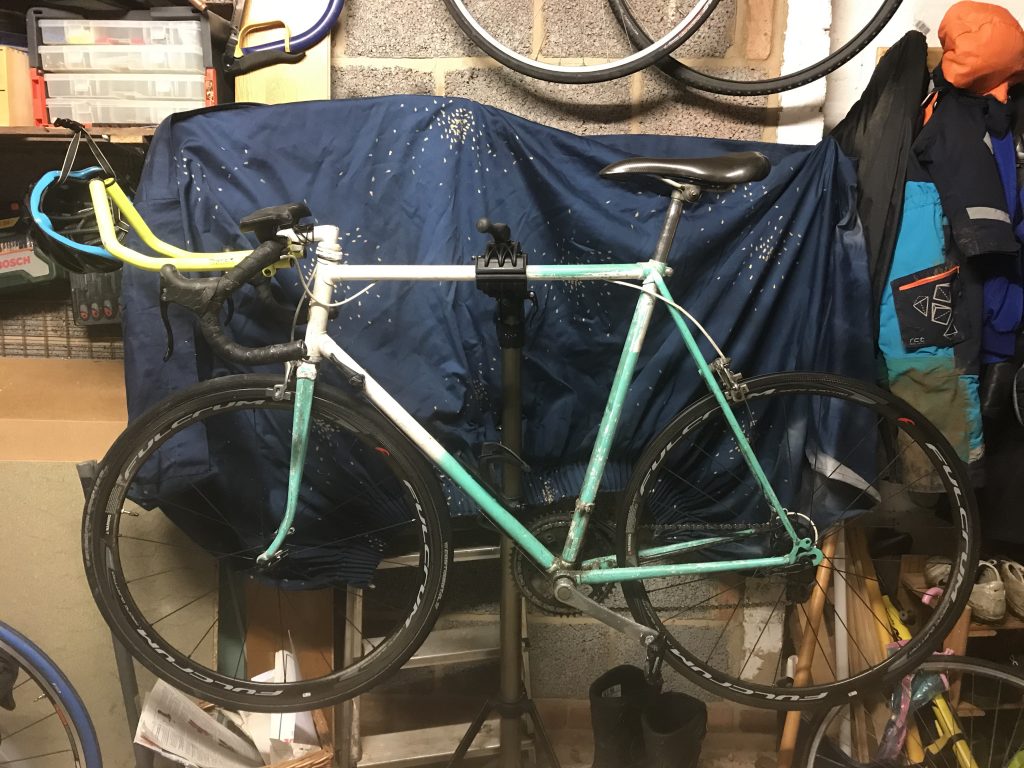
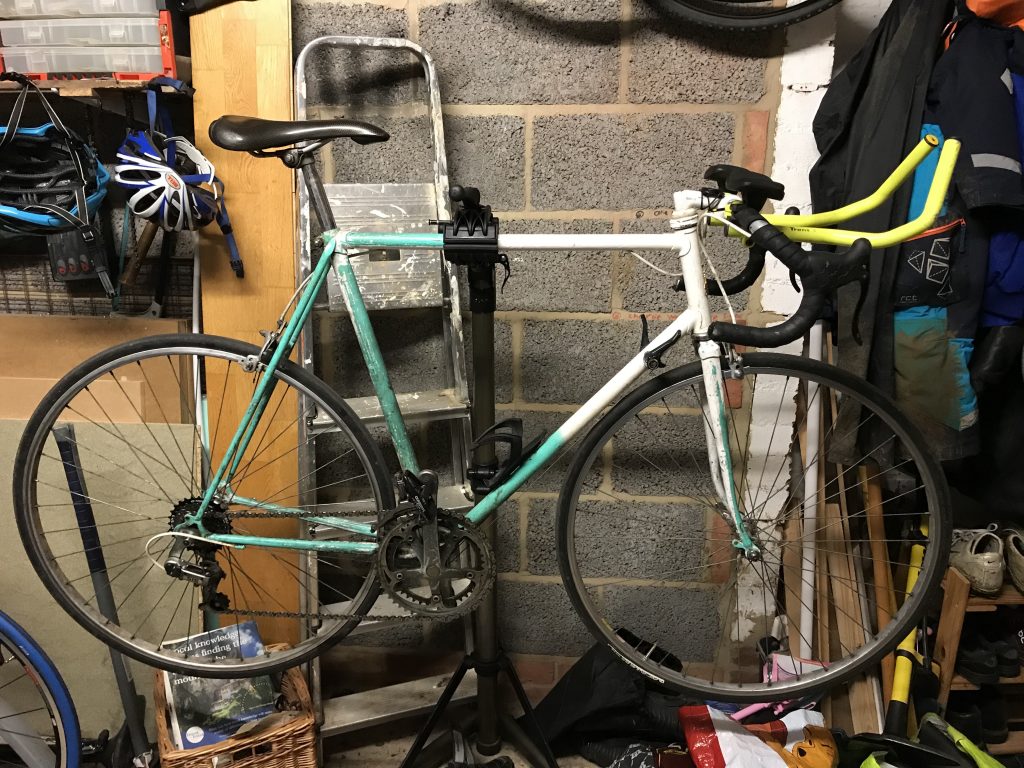
The bike, as was.

The Lockdown Project

Slightly late to the party; I’ve spent the first eight weeks of COVID-19 Lockdown working hard, but as the fine weather has been growing I’ve been doing more cycling; and, to keep it fun, I’ve been using my 1988 Raleigh Equipe. Now this is a bit old and rusty and I’ve been meaning to overhaul it for a while. What better time than the present?

Why this bike? Simply, it’s mine. I bought it for £50 from a man in Haywards Heath when I was 14 and it’s been with me for the last 25 years. I’ve done thousands of miles on it, including commuting 3.2 (important!) miles each way to school for two year, my first sportive, the BHF London to Brighton in 1996, and it was my hack at Uni. My Dad bought me the tri-bars for my 15th birthday and they’ve been on ever since.

It’s a bit of a behemoth. As pictured, it weighs 11.9kg. I believe it’s made from high-tensile steel – not even Reynolds 501. Ideally I’d have a 501 (or even 531!) tubing bike to do up – but it wouldn’t be mine, and that’s important. It has six-speed SIS gears – among the earliest – and predates quick-release. The skewers work but there aren’t any “lawyer lips”. I ditched the suicide brake levers some time in the late 90s and replaced them with sawn-off levers with hidden cables. Sawn off because those grammes mattered. Around 2010 I finally changed them for a pair of Cane Creek levers; so much better. The calipers are original Weinmann; the pedals Shimano SPD-SL because that matches my other bikes. Chainset is 52/36; oddly, I spend all my time in the inner ring. These things are heavy! The cassette is a recent 14-28. and the chain a recent KMC X7 (love the snaplinks).

The paint job… some nutter in the late 90s decided his bike would look better white, bodged it then bodged scraping it all back off.

So, what to do with it? I have three main goals:

  1. Bearings. The grease is all old and manky, they’re not rolling so smoothly and the crank is wobbling. Sort ’em out! This may involve replacement; it may involve just a good old clean up and re-grease. See what I find. Chief culprits are wheels, headset and bottom bracket.
  2. Paint. It’s been a tribute to misguided youth for too long. I’d like to have it shot(?)-blasted then powder coated in a colour scheme of my choosing. It’s not going to ape any of the historic cycling teams – but it will relate to something I love with a retro cycling twist.
  3. Gruppo. Long time Campagnolo admirer and there are lots of retro bits on e-bay. Some are NOS and £££££; some are well used and £. The wheel is 126mm and uses a freewheel. I’m not interested in cold-setting the frame (hard work plus I have other 9- and 11- speed bikes) so this puts me at 7-speed. Given the era, parts appear interchangeable so I can put them on in any order I like. In theory, this should mean I always have a working bike.

This bike is for relaxed cycle rides with the family; I have others for weight-weenie-ing. That said, I’ll be interested to see what it weighs at the end. Might drop a whole half a kilo!